

Showing posts with label birthday. Show all posts
Showing posts with label birthday. Show all posts
Sunday, March 21, 2010
Tuesday, October 13, 2009
Tutorial -- Princess and the Pea Playset
Am I the only one who has craft fantasies? Not so much while I'm crafting, but after the craft has been made. I know, it's weird, right? I noticed it after the crayon wallets were made, and the fantasy went something like this... We're seated at a restaurant waiting for our food, and Emily pulls out her crayon wallet and happily begins to doodle. There's a woman seated across the room and she catches a glimpse of the crayon wallet, does a double-take, and then makes her way over to our table to say that she doesn't mean to sound like a stalker, but could I please tell her where we bought such an awesome crayon wallet? "Oh, I'm sorry, woman-from-across-the-room, but I made this wallet, and it's not available in stores everywhere." At which point, she says something like "I work for [insert craft publishing company here], perhaps you'd be interested in writing a book for us?"


Ahhhh, wouldn't that be fun?
Well, can you imagine the fantasy going through my head after making this Princess and the Pea Playset??

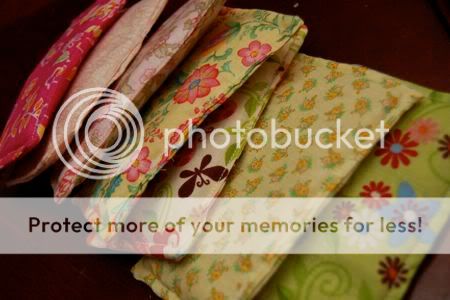
We were inspired by this old post on SouleMama. Mark, Emily and I all worked on this together, and it was so much fun to make! It's a present for one of the birthday parties Emily has coming up... and she is super-excited to give it to her little friend. While we were working on it, I kept fantasizing about this girl finding the playset years later and passing it along to her daughter or granddaughter........ Well, I can dream, can't I???
Emily picked out all the pretty fabric for the mattresses from our stash, and we used a 3" x 5" index card for the pattern. With two pieces of fabric cut, I placed them right sides together and stitched along the edges as shown below. I left an opening for turning the mattress right side out.
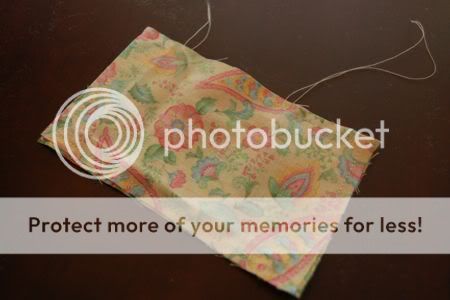
Next, turn the mattress right side out and gently poke out the corners with a chopstick or knitting needle.
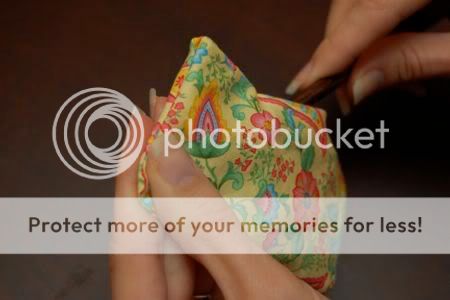
I used some of our felted sweater to stuff the insides of the mattresses. Also, I should note that Mark helped stuff many of the mattresses. Isn't he the best husband ever?
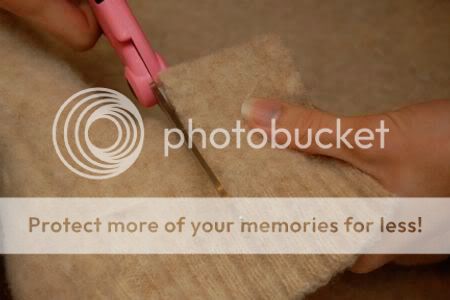

Fold the seam near the opening to top stitch it closed.
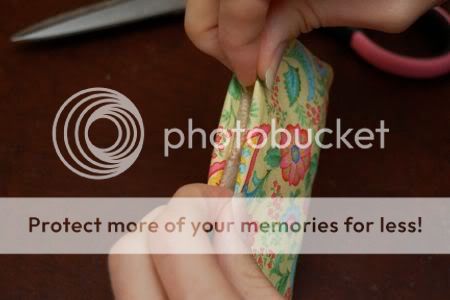
Top stitch around the entire mattress again and be sure to close the opening.
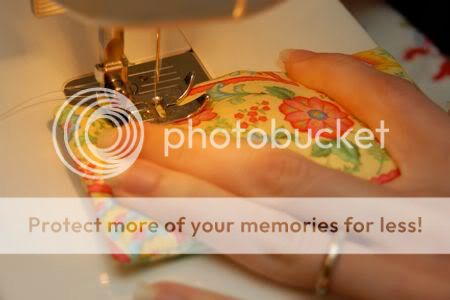
Emily trimmed the excess threads.

The pea was made from fabric.
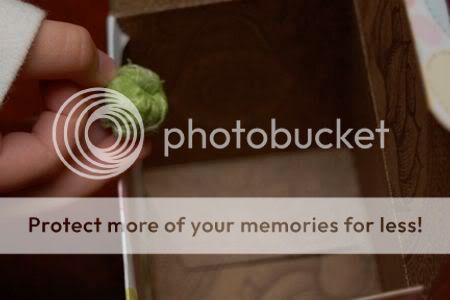
The doll was made by Mark using a miniature version of his napkin doll technique. She is sleeping on one side and awake on the other.
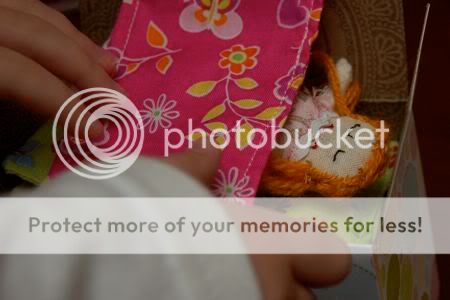
Now... time to play!
Sunday, October 4, 2009


Monday, September 14, 2009
Happy Birthday to Me!
Elements for the perfect birthday.


5. Coming home to many birthday wishes from friends, family, and YOU! I am feeling very blessed. Thank you!
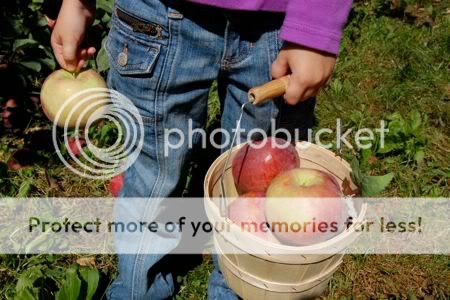
1. Gorgeous weather making it perfect for picking our own organic apples at Rodale Farm.
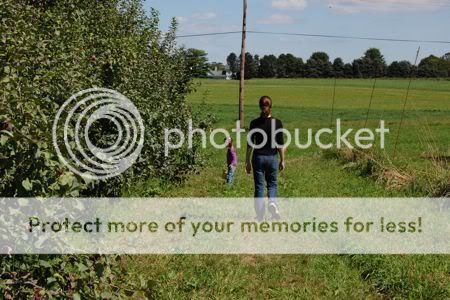
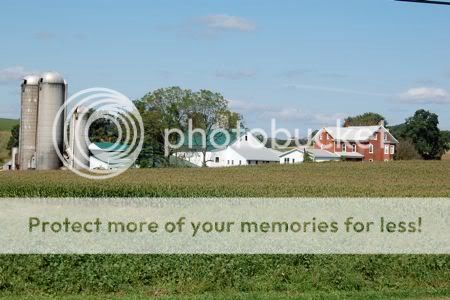

2. An afternoon game of tennis with my dad.
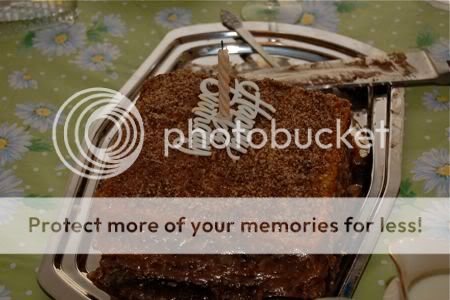
3. Back home to enjoy Chinese food, open presents, and eat cake.

4. The celebration continued the next day with a completely spontaneous and FUN road trip to Lewisburg to stomp around campus at my alma mater (Bucknell University). I gave the girls a quick tour and then we spent the rest of the afternoon at a massive playground.
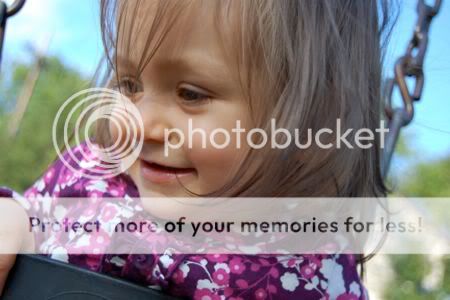
5. Coming home to many birthday wishes from friends, family, and YOU! I am feeling very blessed. Thank you!
More frugal crafty goodness coming up!
Saturday, June 27, 2009
Happy Birthday, Clara!
Clara has turned one year old! We invited some family members over for a daisy-themed birthday luncheon this afternoon. It was a great success, and it didn't break the bank! The key to planning a party on a budget lies in the little details. These tiny touches do not have to cost much, and might not even take up a lot of time, but are done with love and intention.
 The paper daisies hanging from the ceiling came from Big Lots and cost just $2 for the set of 3. The fresh flower bouquet came from our local grocery store. It was filled with yellow carnations, and of course daisies! The napkin rings were made of ribbon with a piece of cardstock attached to serve double-duty as placecards.

 Tea sandwiches are a great way to make your guests feel special! I wrapped these in waxed paper to keep the bread from going stale, and also to dress them up a bit.
 All this attention made for one very happy little girl!
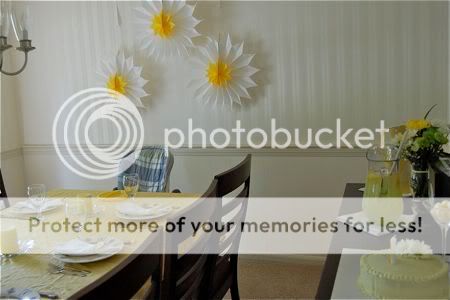 The paper daisies hanging from the ceiling came from Big Lots and cost just $2 for the set of 3. The fresh flower bouquet came from our local grocery store. It was filled with yellow carnations, and of course daisies! The napkin rings were made of ribbon with a piece of cardstock attached to serve double-duty as placecards.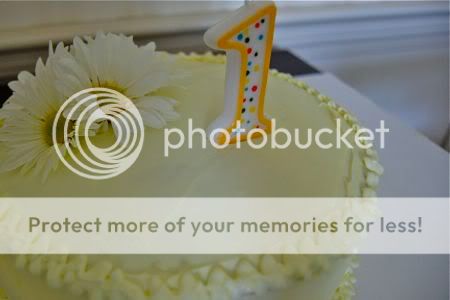
In our household, Mark is the baker, and he baked and decorated this cake all by himself. Fresh flowers are a beautiful alternative to icing flowers, and no cake-decorating class is necessary.
 Tea sandwiches are a great way to make your guests feel special! I wrapped these in waxed paper to keep the bread from going stale, and also to dress them up a bit.
  All this attention made for one very happy little girl!
Simple First Birthday Luncheon Menu
Selection of Tea Sandwiches (Ham and Swiss, Turkey and Provolone, Cucumber and Cream Cheese)
Bacon Ranch Pasta Salad
Fruit Cocktail (Fresh Watermelon and Blueberries served in a Martini Glass)
Drinks
Lemonade, Ice Water, Coffee, Tea
Dessert
White Birthday Cake with Lemon Icing
Tips to Cut Costs:
Keep the Guest List Small -- By keeping our guest list small, I was able to use dishes instead of paper plates, glasses instead of plastic cups, and silverware instead of plastic utensils. This is both budget-friendly and good for the planet.
Skip the Soda -- Lemonade, Iced Tea, and Water are great, inexpensive alternatives to soda.
Late Afternoon Works Best -- To avoid having to serve a meal, schedule your party to begin late in the afternoon when guests have already eaten lunch.
Wednesday, March 18, 2009
Emily Turns Five!
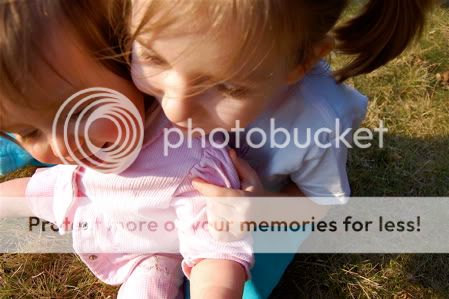 It happened right before my very eyes. She was four years old one minute... and then... POOF! Five years old the next! We went to a friend's playgroup (Thanks for hosting us, Debbie!) and Emily played her little heart out. Mark came home from work early, and we spent the rest of the daylight hours out in the yard. Emily and Clara enjoyed some snuggling in the sunshine.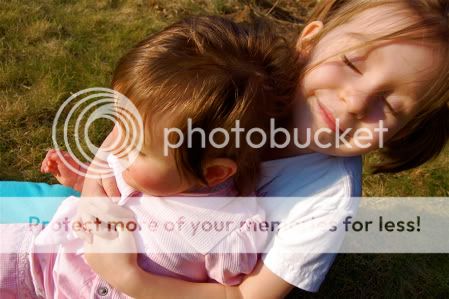

 After it got dark, we headed over to Friendly's to celebrate. The waiters and waitresses even came over to sing to Emily, which made her grin from ear to ear! Since Monday, Friendy's has been featuring a kid's menu promo between 4-7pm with $1.99-$3.99 kid's meals. The promo ends March 19th.
  Mmmm... birthday ice cream!

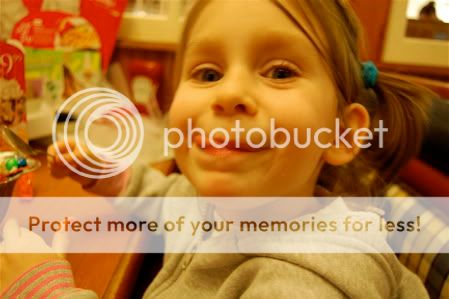 I would say she had waaaaay more than $1.99 worth of fun, wouldn't you?
 Thursday, February 19, 2009
The Celebration Continues...
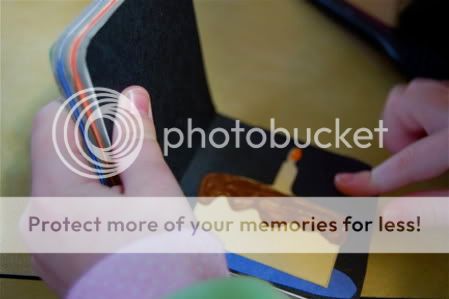
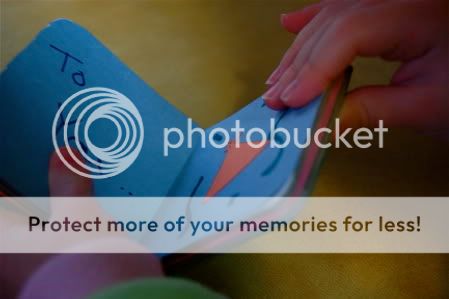
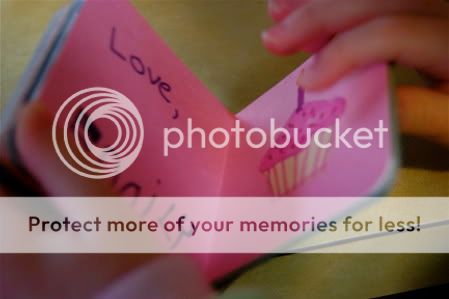
 Emily had this idea to make a birthday book for Mark's birthday. She used one of her old, beat up board books and transformed it into this!
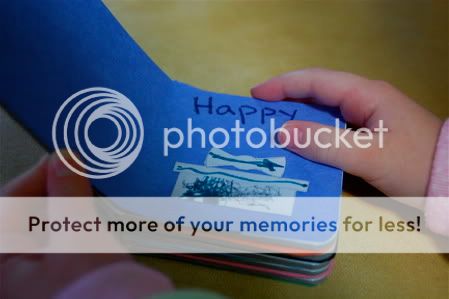 This took quite a bit of work, and she completed it in several stages. She was quite proud of herself. I helped with some of the cutting and writing, but she did the rest on her own.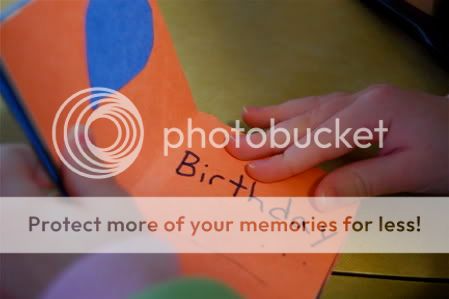
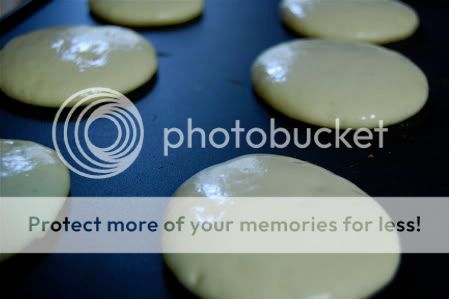 We all enjoyed a family breakfast of pancakes before Mark went off to work this morning, and later there will be some brownie bites to bake.
 Yummy!
Wednesday, February 18, 2009
Someone's Getting Older
 Emily and I spent the better part of today getting ready for Mark's birthday tomorrow. We have a special surprise for him, and she spent a lot of time working on it. In honor of his 31st birthday, here are some of my favorite photos.
 Emily loves going sledding with Daddy.
 Clara (1 day old) takes a nap on Mark's chest. This photo almost makes me want to have another one.... almost!
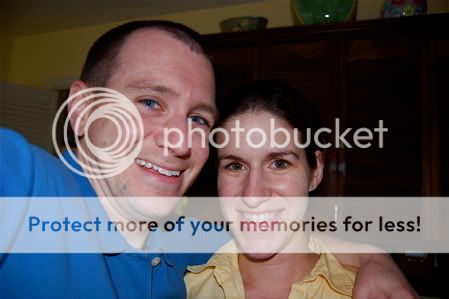 Mark's famous self-photos. He does this a lot when we are on vacations, but for some reason we were clowning around in the kitchen that day.
 Mark holding Clara when she was just a few hours old.
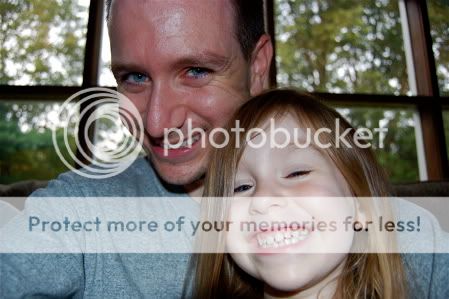 Another self-photo, this one with Emily.
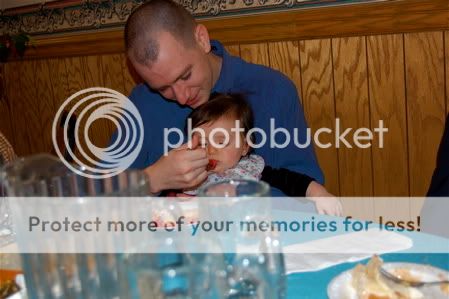 I always say he is a professional husband. Seriously, he should teach a class entitled "How to be a good husband". Happy Birthday, Honey!
Subscribe to:
Posts (Atom)
