Showing posts with label crafts. Show all posts

Thursday, July 22, 2010

Configure Your Own Cardboard Castle

We made this cardboard castle set, and it kept the girls happy and busy for a large part of this afternoon. For something as frugal as cardboard, it was a big hit!


Not only did they spend a lot of time immersed in pretend play, but they also really enjoyed getting to decorate the castle exactly the way they wanted. We did a sort of assembly-line style production. I cut the cardboard, Clara did some scribbling.....
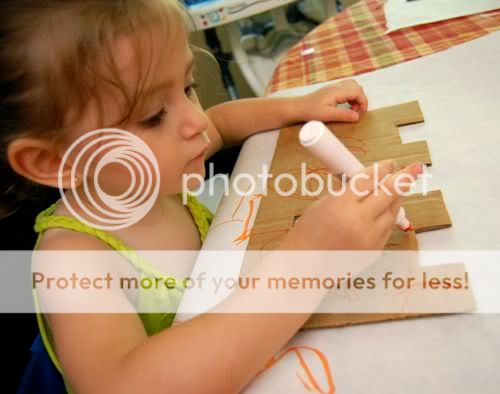

.... then Emily took over to put on the finishing touches of flower drawings and glue on bits of colorful tissue paper!
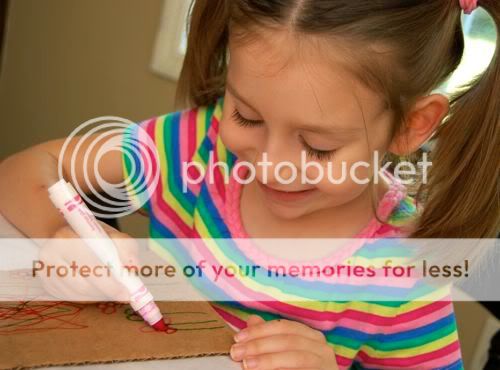

With the help of a bit of wire, I was able to make a working drawbridge! The girls LOVED that!!
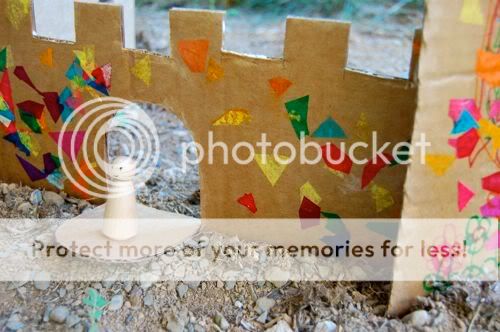

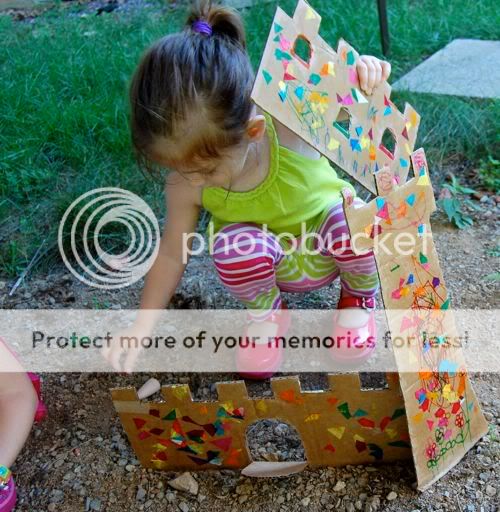
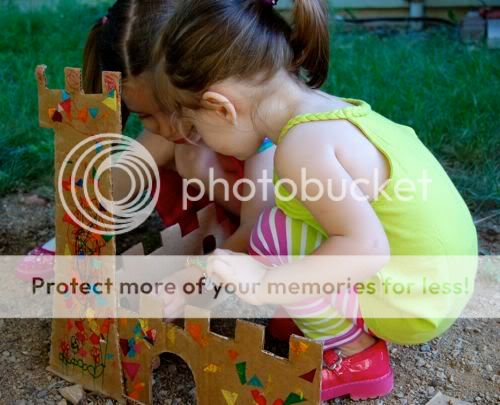
I enjoyed watching them come up with all sorts of different configurations for their castle.

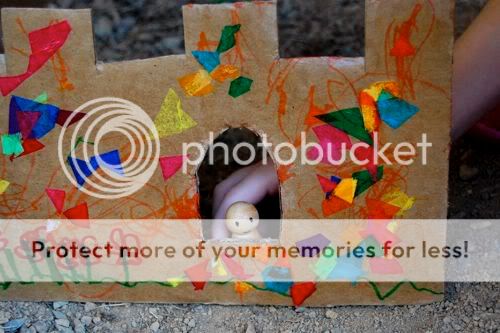
The peg dolls seemed right at home here.... Hello, peg doll!

It was starting to get dark outside, and they were still having so much fun!
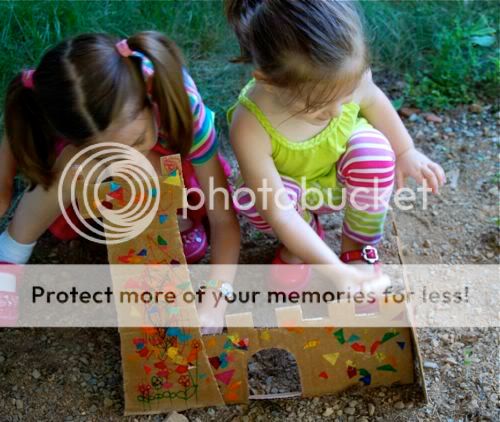

Finally, it was time to get dinner started, but I have a feeling we'll be enjoying a lot more play time with this castle for the next couple of days.... (or weeks)! 

I have some exciting things planned for our little bloggy-blog: Mark and I have been hard at work on a new layout that will make finding activities by theme, age, holiday, etc. SO much easier! There's even a section for "quick and easy" activities, and you can upload photos of your versions of our projects to share!!
Wednesday, July 21, 2010

Simple Farm Take-Along Toy

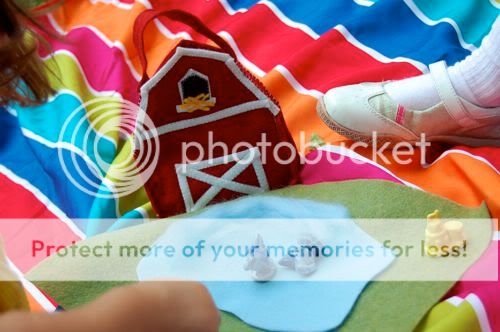
I had a bit of red and white wool felt leftover from the fold up kitchen set I made last week, which worked out perfectly to make this sweet travel farm set! It was an easy, quick and very frugal sewing project that gave the girls hours of imaginative play!


The animals are the free figurines that come with boxes of Red Rose Tea, and now they finally have a home. The girls loved this set so much, I couldn't keep them away from it!


The felt play mat folds up to fit inside the barn too. I added a handle to the barn so they can carry it with them wherever they go -- picnics, Grandma's house, the garden. The poor dog kept knocking on the barn door, but no one would let him in.

Tuesday, July 20, 2010

Quick Craft -- Colorful Window Display

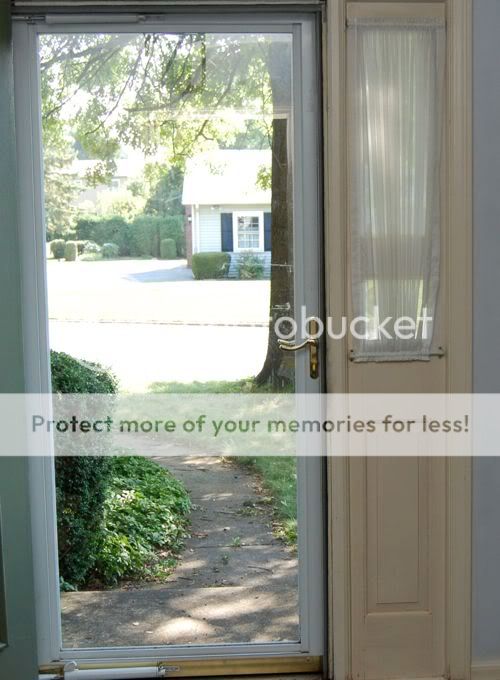
I thought our front door needed a bit more..... color.


So we broke out the paints and markers.....

Monday, July 12, 2010

Dear Tooth Fairy (and a Giveaway!)

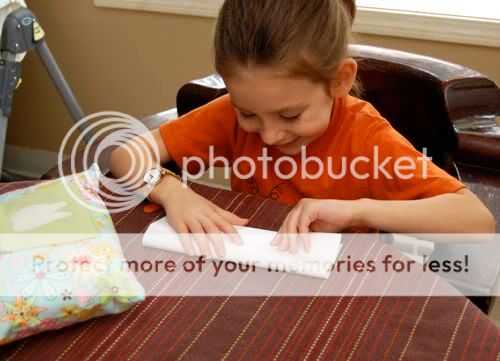
There has been much tooth fairy excitement in this household today! This morning, Emily lost her first tooth!!


Think she was a little excited?

To celebrate, she wrote a short note to the tooth fairy during Clara's nap time.


Dear Tooth Fairy,
    Here is my 1st tooth! No cavities!!! 
Please bring 2 cans of tuna fish. 
<3, Emily

Seriously??? Two cans of tuna fish?? Hey, whatever makes you happy, kiddo. The Easter Bunny snuck a can of tuna in her Easter basket last year, and she said it was her favorite! Even more so than candy!! I think it's because we ration it out. Those two cans will be spread out over the course of a couple of months, so I guess tuna has become a treat.


Coincidently, if you're looking for sustainably caught tuna, check out Wild Planet -- it has the highest Omega 3's and low mercury content. Added bonus, it's on sale at Amazon


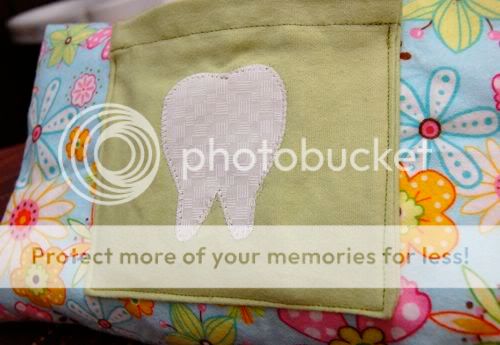
I stitched up a cute tooth fairy pillow earlier this morning -- it was a big hit! The pockets are big enough to hold a tooth and a little note. It is made with soft flannel, and the tooth is appliquéd on the outside pocket.


Isn't it so cute? The tooth fairy better appreciate it, I tell you! Emily thought it would be fun to give one away on the blog, and I completely agreed!!


Now the fun part -- one lucky reader will win a tooth fairy pillow similar to this one! Just leave a comment on this post telling us the craziest thing you or your kids ever asked for from the tooth fairy, and be sure to leave your email address in the comments field. Giveaway is open to all US and Canadian residents!


Giveaway ends Friday, July 16th @ 6:30pm EST. Good luck!!


Giveaway is now closed, and the winner is Abbie! Congratulations, and a big thank you to everyone who entered this fun giveaway! Be sure to check back -- another SUPER fun giveaway starts soon!!

Saturday, July 10, 2010

Watermelon Wrapping Paper

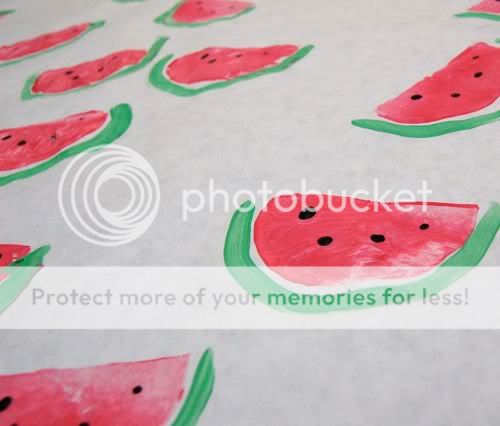
We have some special packages to mail out to friends, and I thought it would be fun to dress them up a bit. Emily had so much fun making this watermelon wrapping paper!! With just a bit of grown-up help, toddlers can have a go at this one too!


We used a potato to make the prints on long sheets of freezer paper using pink washable paint. I think it's kind of weird that we used a potato to make a watermelon print, but whatever! It worked well!

Thursday, July 8, 2010

DIY: Summer Party Invites

After the girls were in bed, I sat down with some color coding labels (one of my fave art supplies, since they are sooooo frugal) and drew up some cute watermelons!


They are so EASY to do:

Monday, July 5, 2010

Painted Orange Slices

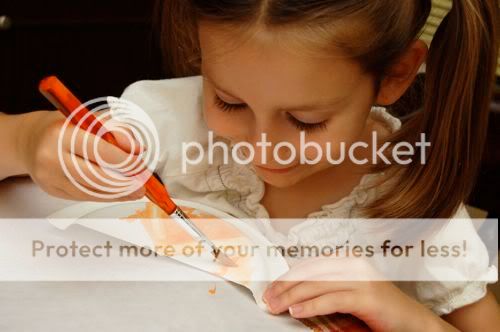
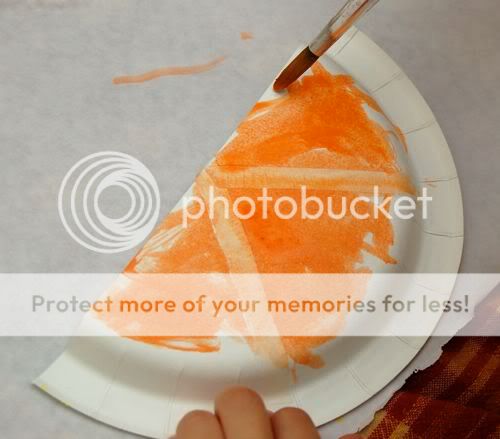
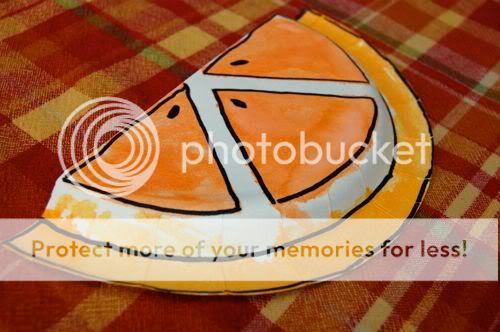
The girls loved painting these cute orange slices, and they were so simple to make! Just cut a paper plate in half, and use some masking tape to mark off the segments of the orange. Invite the kiddos over to paint!!

Emily will take any excuse to paint, plus her favorite color is orange, so this craft was an instant hit!


It didn't take long for Clara to get in on the painting action too!


Orange slices always make me think of Summer!


Allow the paint to dry completely, then peel off the masking tape and outline with black marker. Beautiful and super-frugal!!


Have fun!!

Saturday, July 3, 2010

Quick Craft -- Tie Dyed Sunshine Ornaments

You won't believe how quick, easy and frugal this project is!!


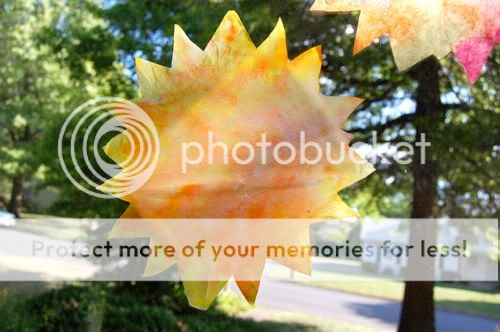
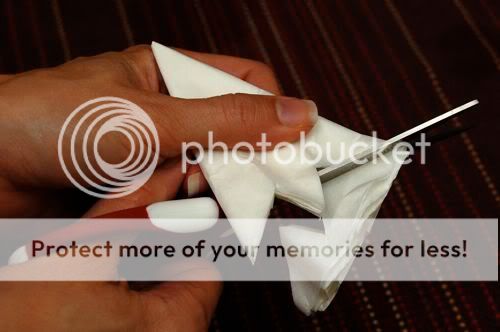
For a crafty fun time, fold a coffee filter in half 3 times, and cut the outer edge as shown.


Open up the coffee filter to make a sun, and invite the kiddos over to paint with yellow, orange, and pink/red water colors on it!!


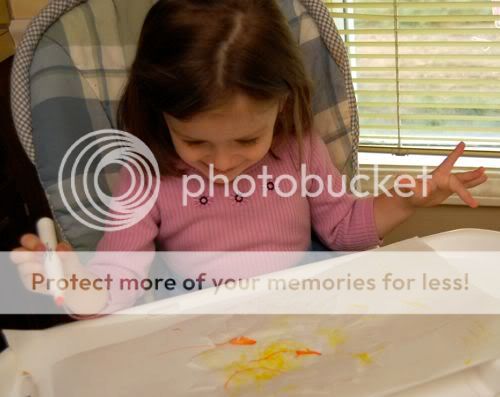
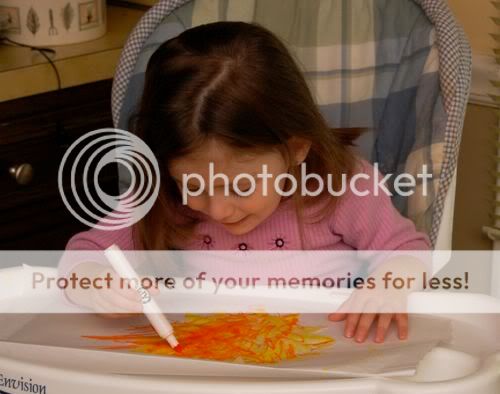
Since Clara is so young, I gave her markers to use instead (which kept the mess to a minimum), and then she painted with water over top.


She loved all the bright yellow and orange!


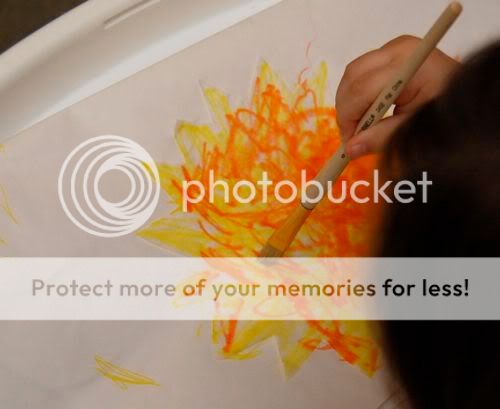
...and she especially loved using the paintbrush with some water to blend the colors together!


Emily thought the colors blended so well that it looked a bit like tie-dye!


Groovy, man!


Allow the coffee filters to dry, and display proudly in a sunny window!


They make me smile every time I see them!! Have fun!!!

Emily and I will be on NBC's The 10! Show this Tuesday to demo quick (and frugal) Summer crafts for kids -- if you would like free tickets to the show, click here! We would LOVE to meet you!!

Tuesday, June 22, 2010

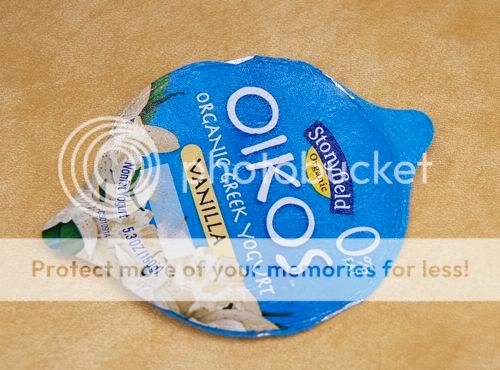
Lemon Rubbings from Yogurt Lids

Do you follow FFFB on Twitter? If not, you should! The Stonyfield Blogger Barnstorming Tour is starting this weekend, and I'll be tweeting and posting virtual postcards from the road. Thank you, thank you, thank you for voting for me! I wish I could give each of you a great big hug!! If it weren't for your votes, I wouldn't be able to go, and this trip means so much to me. In honor of all the upcoming Stonyfield fun, we made super-cute lemon rubbings recycling two foil lids from Stonyfield yogurt!!

First, layer the two lids as shown...


By the way, have you tried the Oikos yogurt with caramel?????? OH. MY. Goodness. Heaven! Now, where was I? Oh, yes....The two lids should form a lemon shape, as shown below.


Place the lids under a piece of white paper, and invite your child to make crayon rubbings with a yellow crayon. I used masking tape to help Clara keep the paper in place.


Ta-Da!!


Persuade your big sister to join you -- this shouldn't be too hard if your big sister is like Emily.


Both of the girls were so happy these drawings looked so much like real lemons!


For a more finished look, outline your lemon with a black crayon.


I love the face Emily added to her lemon! She glued her picture to a piece of yellow construction paper, and made a neat card to mail off to Grandma!


Have fun!!

Have any questions for the farmers while I'm on the tour? Leave a comment on this post, and I'll ask them for you!

Monday, June 21, 2010

Easy Garden Welcome Banner

After having done countless craft projects that involved tissue paper, I had been saving a rather large collection of tissue paper confetti. Since I'm never one to throw stuff away, I saved these bits of colorful goodness to recycle for other projects like this one! Our vegetables are starting to arrive in our garden, and what better way to welcome them than with this garden welcome banner. It's quick, easy, and even the littlest crafters can make it with great results!!


I cut out letter-frames of construction paper to spell out the word "welcome" and placed them right-side down on a sheet of clear contact paper. Then I invited the girls over to decorate the letters with all that fun confetti!


For Clara, this was a great exercise in letter-recognition and fine motor skills. She was so proud of her letters!


Emily thought the bright colors would make the plants feel as though our garden was one big fiesta!!


I added another sheet of clear contact paper sticky side down to sandwich the letters in-between. She used binder clips to attach the letters in the right order to a length of laundry line -- great spelling practice and the binder clips helped challenge her pincher grasp too.


...and now our garden is starting to look a whole lot more colorful!

Thursday, June 17, 2010

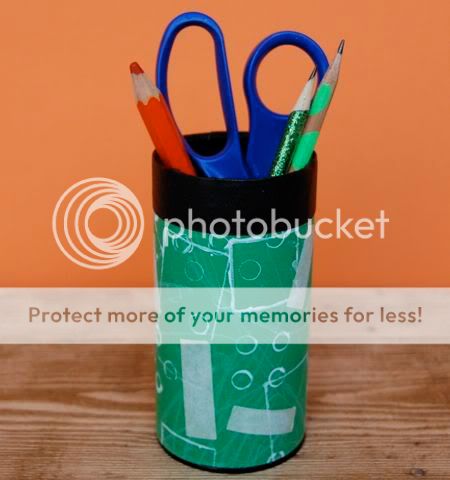
Father's Day Gifts Kids Can Make -- Circuit Board Pencil Holder

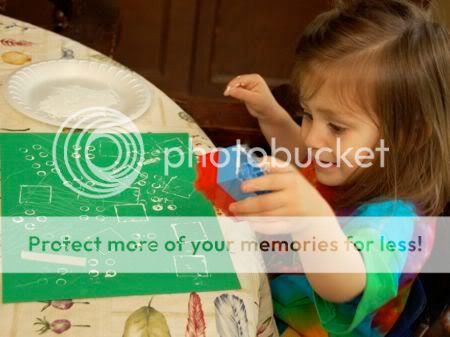
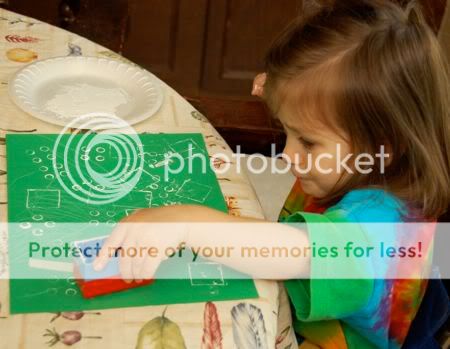
This was a fun stamping project Clara enjoyed, and we made a Father's Day gift from it as well! We used some Mega blocks as stampers with white paint on green paper (to mimic the look of a circuit board). She had so much fun!!


Stamp, stamp, stamp!! I cut up some pieces of masking tape for her to add to the design. 


We used all sides of the block to make different designs. She added some scribbles with a white crayon too.


When she was all done painting, I let the paint dry, and then wrapped it around a tea tin to make a fun pencil holder for Mark's desk. I think it will look nice next to his brag book made from computer disks.


Clara was quite proud of herself! Have fun!!
Related Posts with Thumbnails