Showing posts with label sewing. Show all posts

Wednesday, July 21, 2010

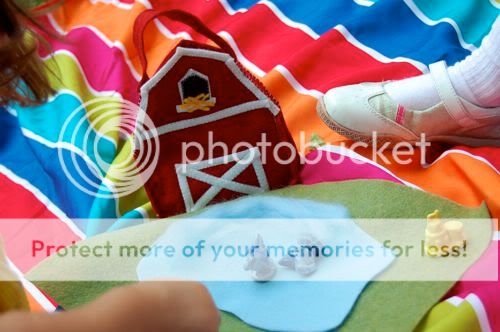
Simple Farm Take-Along Toy

I had a bit of red and white wool felt leftover from the fold up kitchen set I made last week, which worked out perfectly to make this sweet travel farm set! It was an easy, quick and very frugal sewing project that gave the girls hours of imaginative play!


The animals are the free figurines that come with boxes of Red Rose Tea, and now they finally have a home. The girls loved this set so much, I couldn't keep them away from it!


The felt play mat folds up to fit inside the barn too. I added a handle to the barn so they can carry it with them wherever they go -- picnics, Grandma's house, the garden. The poor dog kept knocking on the barn door, but no one would let him in.

Thursday, July 15, 2010

DIY: Travel Play Kitchen Set

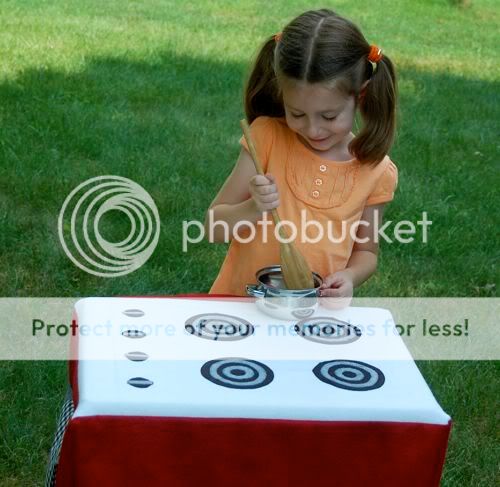
This travel play kitchen set was super-frugal to make, and is perfect for small living spaces since the entire set folds up!


I'm thinking we'll take it with us for trips to the garden plot, visits with grandparents, or just playing outside in the backyard like we did this afternoon.

Monday, July 12, 2010

Dear Tooth Fairy (and a Giveaway!)

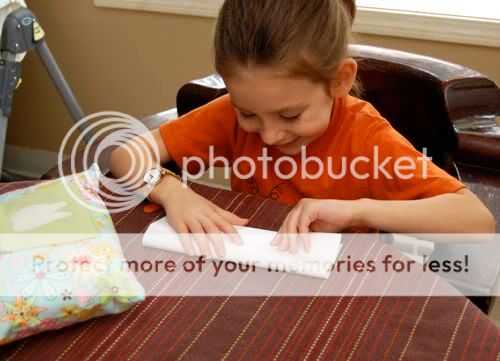
There has been much tooth fairy excitement in this household today! This morning, Emily lost her first tooth!!


Think she was a little excited?

To celebrate, she wrote a short note to the tooth fairy during Clara's nap time.


Dear Tooth Fairy,
    Here is my 1st tooth! No cavities!!! 
Please bring 2 cans of tuna fish. 
<3, Emily

Seriously??? Two cans of tuna fish?? Hey, whatever makes you happy, kiddo. The Easter Bunny snuck a can of tuna in her Easter basket last year, and she said it was her favorite! Even more so than candy!! I think it's because we ration it out. Those two cans will be spread out over the course of a couple of months, so I guess tuna has become a treat.


Coincidently, if you're looking for sustainably caught tuna, check out Wild Planet -- it has the highest Omega 3's and low mercury content. Added bonus, it's on sale at Amazon


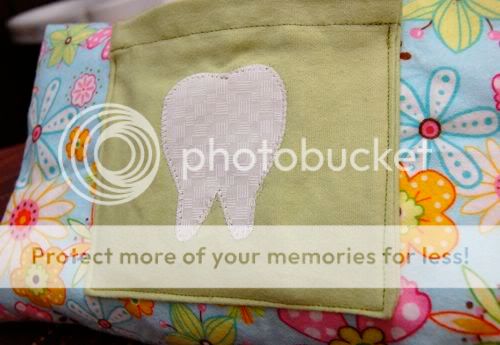
I stitched up a cute tooth fairy pillow earlier this morning -- it was a big hit! The pockets are big enough to hold a tooth and a little note. It is made with soft flannel, and the tooth is appliquéd on the outside pocket.


Isn't it so cute? The tooth fairy better appreciate it, I tell you! Emily thought it would be fun to give one away on the blog, and I completely agreed!!


Now the fun part -- one lucky reader will win a tooth fairy pillow similar to this one! Just leave a comment on this post telling us the craziest thing you or your kids ever asked for from the tooth fairy, and be sure to leave your email address in the comments field. Giveaway is open to all US and Canadian residents!


Giveaway ends Friday, July 16th @ 6:30pm EST. Good luck!!


Giveaway is now closed, and the winner is Abbie! Congratulations, and a big thank you to everyone who entered this fun giveaway! Be sure to check back -- another SUPER fun giveaway starts soon!!

Wednesday, June 9, 2010

Pretend Play on a Dime -- Donut Shop

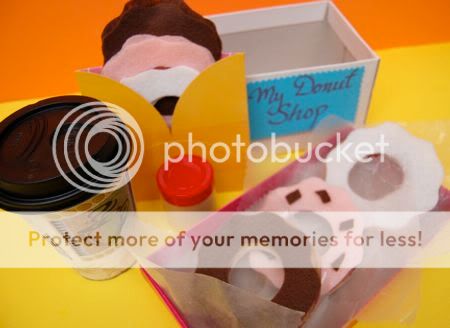
It rained all day today, so while Clara was napping, Emily and I had a nice pocket of time for some crafting. She worked on some adorable paper dolls, and I put this together -- A Mini Pretend Donut Shop!


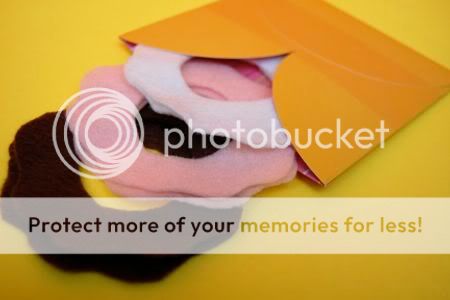
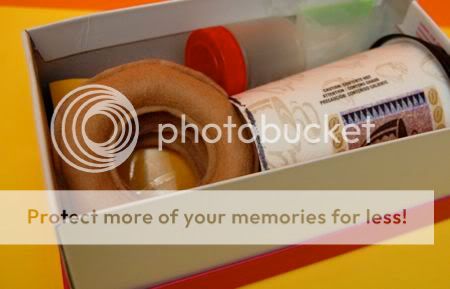
I used tan felt to sew the donuts (and batting to stuff them), then cut out pieces of felt for the icing and even some sprinkles. I love how the shoebox lid doubles as a serving tray! 


I found an envelope to store all the icing pieces....


.... and the plain donuts also double as bagels! The girls thought the pieces of waxed paper were a nice touch.


Since all of the pieces fit so nicely into a small shoebox, I thought it would be perfect to take along on vacation just in case we have a day of rain.


Clara woke up just as I had finished putting the set together, and we played Donut Shop for hours!!! Emily and I got very specific with our orders so Clara could practice her counting, "I would like one donut with vanilla icing and 4 chocolate sprinkles, please. No more, no less!"

Oh, and she loved pretending to put sugar in my coffee. Did I mention she makes a mean mochachino?

Have fun!!
I linked this post to -- Show Us Your Best!

Thursday, May 20, 2010

Cheap Thrills -- Simple Bean Bag Game

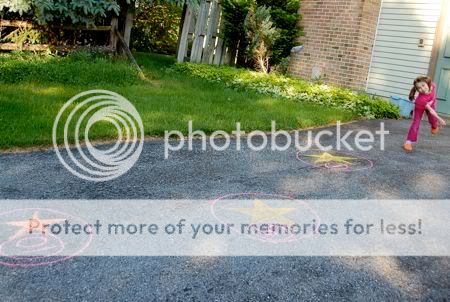
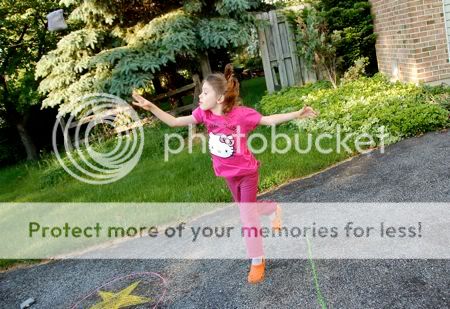
For a fun time, sew up a few easy bean bags. Then take them to your driveway for a test run with some targets drawn with sidewalk chalk!


It's so much fun, and a great way to practice addition by keeping score!


It's not solely about the execution.... bonus points for style!


Extra bonus points for joining the kiddos!


Fun!!!


Please help send me to Vermont for the Stonyfield Barnstorming Tour by voting for me here! As an added bonus, if I make the top 3, Stonyfield will make a $5000 donation to the Pancreatic Cancer Action Network. ((fingers crossed!))
You are allowed one vote per day per valid email address, and voting ends May 25th @ noon EST.

Thank you, thank you, thank you to everyone who is voting for me!! I truly appreciate it!

Thursday, April 22, 2010

Crafting with Recyclables - Design a Robot Kit

In honor of Earth Day, I thought we would do another fun craft with recyclables -- a kit to design your own robot! Of course, we craft with recyclables year round, since it's better for the environment, plus I consider them to be free art supplies. Emily has been on a robot kick lately, as seen here, so this craft was a big hit at our house!

To make the robot, I used an empty potato chip bag, washed it thoroughly and allowed it to dry completely. Then, I turned the bag inside out, and cut several shapes for the front and back of the head, body, arms, and legs. I ran each piece through my sewing machine with a zig-zag stitch around the outline, and trimmed them with pinking shears.

Monday, April 12, 2010

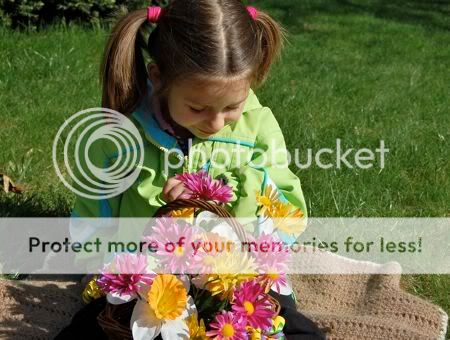
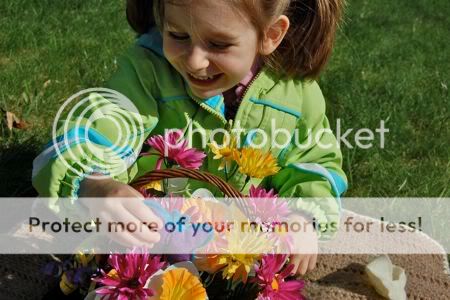
Shop Update! Butterfly Play Set

Once upon a time, there was a little caterpillar who liked to eat lots of leaves.


When he was full, he spun a cocoon, and went inside.


He was in there for a long time!


Then, the cocoon started to move, and...... out came a beautiful butterfly!!


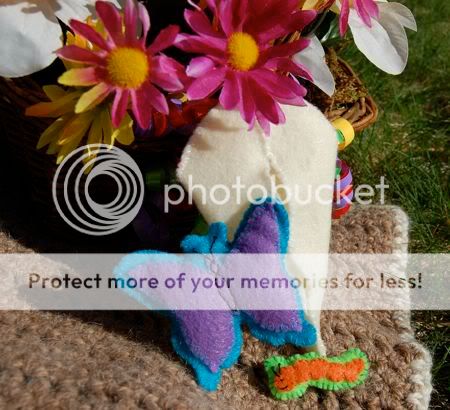
Emily had so much fun playing with this felt butterfly play set! If you would like one of your own, there is another set available for sale at our Etsy shop. [That was quick! Thank you, Marie!!] The proceeds from the sale go towards fundraising for the Walk Now for Autism Speaks event going on this weekend. While no one in our family is on the autism spectrum, Emily has several friends who are.


Included in the set are a butterfly, caterpillar, and a cocoon to store them in -- all made from felt and lovingly hand stitched by yours truly.


If you wish to make a donation toward the Walk Now for Autism Speaks event, please visit our team fundraising page. Thank you!!

Monday, January 25, 2010

Kid-Made Stuffed Toys

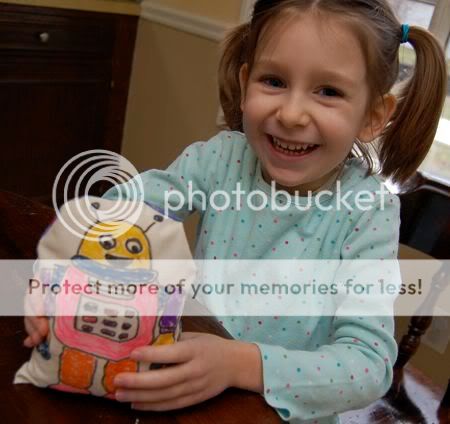
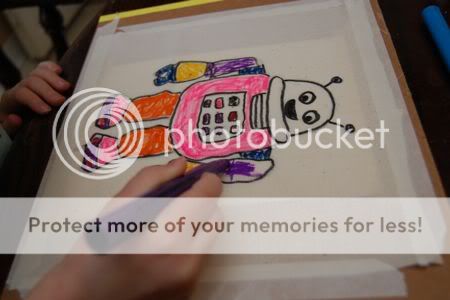
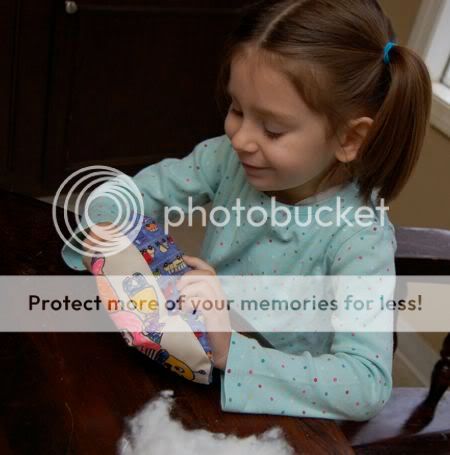
I helped Emily make this cute stuffed robot toy this afternoon, and if you have some fabric scraps, stuffing, and a some fabric markers, you can make your own stuffed toy using this technique too!


Emily was so proud to have made this toy, and plans are in the works for a home for our new robot friend, as well as other stuffed toys for gifts. You know how it is... one project, leading to another... and another!

First, we printed out an image we wanted to use. In this case, a robot image found at this free coloring page site. They have lots of other images available too! Emily traced the image onto fabric using fabric markers. We used masking tape to keep the pictures from shifting.


Color in your image with the fabric markers, and choose a contrasting fabric for the backing of your stuffed toy. I did a tiny bit of sewing. With right sides together, sew up the side, top, and down the other side, leaving an opening at the bottom.


Stuff your new toy, (Emily loved this part!) and stitch up the bottom.

... play!! Isn't he cute??

Tuesday, January 5, 2010

Penguin Playset Tutorial


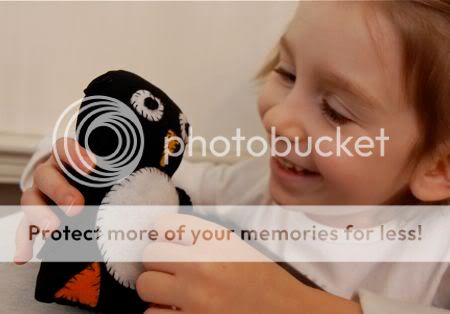
We were going through the girls out-grown clothes and deciding which ones to donate to Goodwill, when Emily spotted these old microfiber tights. She declared we could make a penguin from them, and of course I had to agree!

To make your own penguin playset, you will need: some felt, thread, old microfiber stockings, and some stuffing. First, cut off the foot of the stocking (about 7" from the toe). The toe will be the top of the penguin's head.


Stuff your penguin!


Whip stitch the body shut. Pin and sew felt pieces into place for the eyes, nose, belly, and feet. Sew on arms, and sew along the neckline with a gather stitch.


We added a small fish for our penguin to eat and used some of our snowflake ornaments to decorate his "igloo" (an empty dishwasher detergent box). Emily notified me that tomorrow is the penguin's birthday, so he's very busy sprucing up the place.

We'll be adding a mama penguin and a baby too! Both of the girls really enjoy playing with this set. Now.... off to watch March of the Penguins.........

Friday, January 1, 2010

Happy New Year!! -- Jingle Bell Noisemaker Bracelet

Emily loved ringing in the new year with this fun jingle bell noisemaker bracelet!


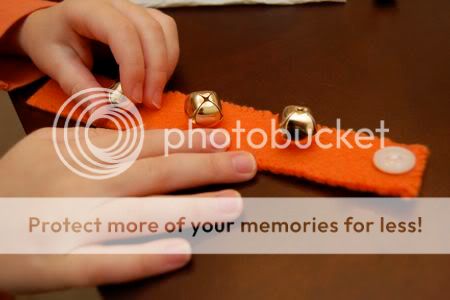
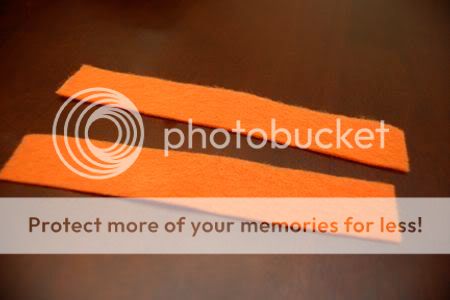
To make your own noisemaker bracelet, you will need: felt, thread, jingle bells, and a small button. Cut two long pieces of felt about 1 1/2 inches wide. Measure your child's wrist and add about 2 inches for the length.


Whip stitch around the entire bracelet.


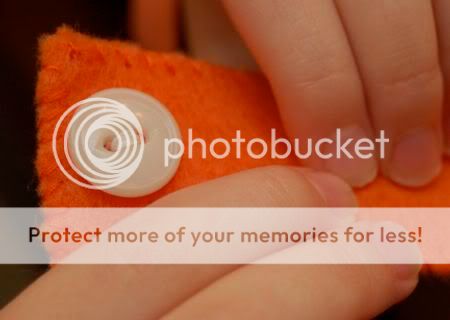
To one end, cut a small button hole and whip stitch around the opening.


To the other end, sew on a small button.


Sew on the jingle bells!


Make lots of NOISE!!


From our family to yours.... Happy New Year!

Tuesday, December 22, 2009

Handmade Holiday -- Meet Butter!


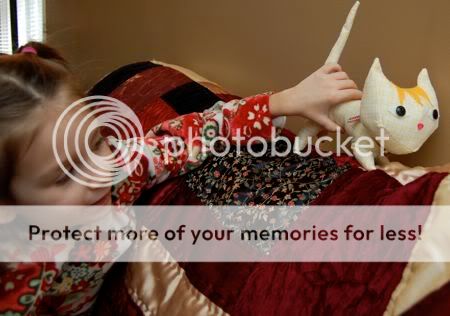
This sweet kitty cat was a late night sewing project I made using this free pattern found on Wee Wonderfuls, and I wish you could have seen the look on Emily's face when she first saw him! She immediately named him "Butter", and they have been enjoying many adventures together this morning.


Butter's made from a vintage pillowcase, some felt, stuffing, and 2 buttons for eyes. I even attached a little jingle collar, so Emily will be able to keep track of him, should he wander off on his own. The pattern only calls for 1/4 yard of fabric, so it's a good way to use up scraps. Val in the Rose Garden might recognize this fabric, since it came as part of this wonderful surprise package she mailed us. (Thanks, Val!)


Butter is so brave! Sometimes he climbs the back of the sofa and pretends to be a mountain lion!


Meow!!

Thursday, December 10, 2009

Handmade Holidays -- Felt Fairy House Tutorial

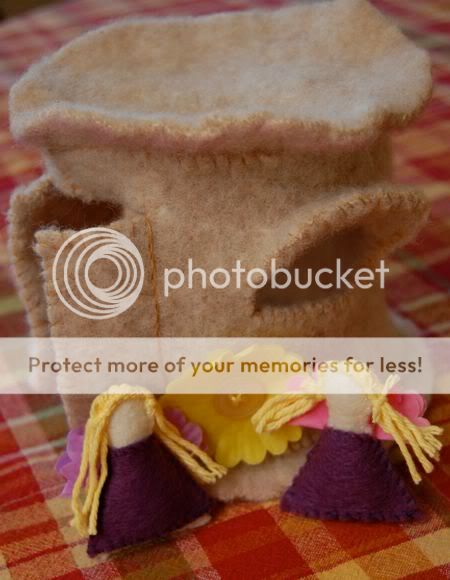
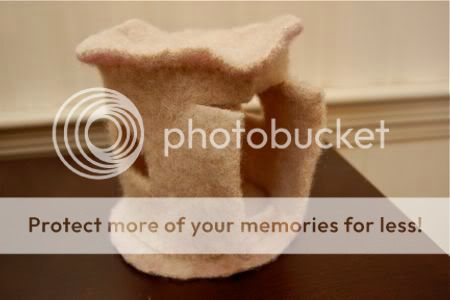
This little fairy house was an impromptu sewing project for two sweet girls (sisters) we were lucky enough to meet for a play date this afternoon. In mind was this fairy house from Imagine Childhood. Ours was made from this felted wool sweater, some other pieces of felt, a tiny bit of yarn, some buttons, and a few flowers from a lei kit. It was a great hit with the girls, and of course it was super-frugal (and fun) to make!

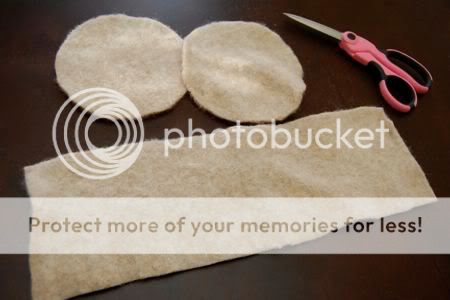
First, cut out your pieces of felt from a felted wool sweater. If you don't know how to felt a wool sweater, click here. You will need two 6" diameter circles, and one 15" x 5" rectangle. Or use whatever dimensions you want to make. I promise the fairy police will not come to your house and arrest you, so go crazy! I'm merely giving these dimensions as a guideline.

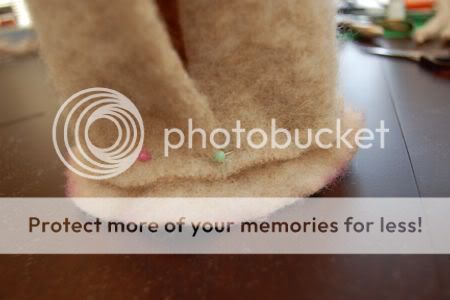
Next, pin the rectangular piece around the circle piece as shown. Whip stitch into place. To see a video demonstrating how to do a whip stitch, click here. This will be the floor of the fairy house. Do the same with the other circle piece. This will be the roof.

Cut out windows and doors. I just eyeballed it. Because I'm crazy, and live on the edge!

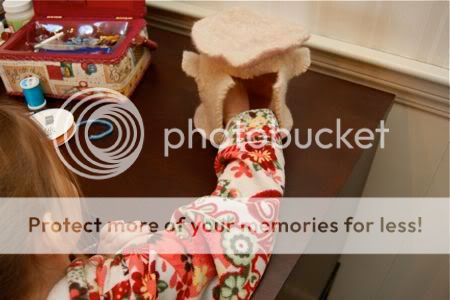
Whip stitch around the windows, and doors. Add awning to the windows, if desired. In our case, it was very much desired to have awnings on the windows. When we got to this point, I could not keep Emily from playing with this fairy house. It was like trying to hold back the ocean.


Decorate your fairy house with flowers! We used flowers from a lei kit and buttons for the centers. Very easy!

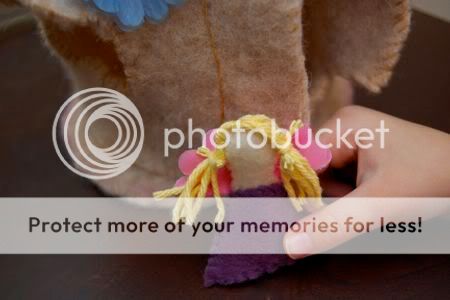
Of course, every fairy house needs fairies!!! I cut these shapes from felt for the body. Whip stitch the front and back together and leave a space for stuffing. Stuff the body and whip stitch closed.

I used a flower from the lei kit folded in half as wings, attached a dress, and stitched on some yarn for hair.

Play time!!!!


A few things I noted while working on this project:
:: I wish I had added a handle to the roof. It's the perfect size for the girls to tote around from room to room, and a handle would have been an easy addition.
:: I was surprised how sturdy the felt held up. I used a thick sweater, so that may have helped.
:: When we gave the girls some cotton balls, the fairies magically turned into snow fairies. So much fun!!


I listed this post on:
and

Related Posts with Thumbnails