Showing posts with label gifts. Show all posts

Sunday, November 29, 2009

Back to Knitting -- Free Easy Pattern

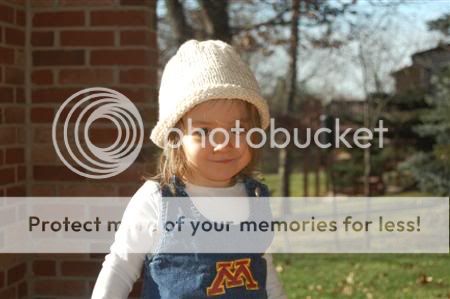
I knitted this hat for Clara from 1 skein of Lion Brand Nature's Choice organic cotton yarn purchased at JoAnn with a 50% off black Friday coupon for just $3.25. Bargain! The hat was a quick and easy knit, and is the perfect weekend knitting project! I even had enough yarn leftover to crochet a small dishcloth. The pattern for the hat is below... and it's free!


Free Toddler's Hat Pattern by Valerie @ Frugal Family Fun Blog!!

Finished hat is size 2T.

Materials:
US size 9 knitting needles (5.5 mm)
1 skein Lion Brand Nature's Choice Organic Cotton Yarn
1 yarn needle

Gauge: 16sts, 21 rows = 4" x 4" square

Directions:

Cast on 64 stitches.

Knit 5 rows.

* Purl next row. Knit next row. Repeat from * until hat measures 9 inches in length. End on a purl row.

* Knit 6, knit 2 together. Repeat from * to end of row.

* Purl 3, purl 3 together. Repeat from * to end of row. Do not cast off.

Leaving a long yarn allowance, cut yarn and thread the end through a yarn needle. Thread yarn through remaining stitches on knitting needle. Remove knitting needle and pull tightly. Sew side seam and finish off.

Clara has been wearing her new hat indoors and out! Next on the needles.... a hat for Emily!

Tuesday, October 13, 2009

Tutorial -- Princess and the Pea Playset

Am I the only one who has craft fantasies? Not so much while I'm crafting, but after the craft has been made. I know, it's weird, right? I noticed it after the crayon wallets were made, and the fantasy went something like this... We're seated at a restaurant waiting for our food, and Emily pulls out her crayon wallet and happily begins to doodle. There's a woman seated across the room and she catches a glimpse of the crayon wallet, does a double-take, and then makes her way over to our table to say that she doesn't mean to sound like a stalker, but could I please tell her where we bought such an awesome crayon wallet? "Oh, I'm sorry, woman-from-across-the-room, but I made this wallet, and it's not available in stores everywhere." At which point, she says something like "I work for [insert craft publishing company here], perhaps you'd be interested in writing a book for us?"

Ahhhh, wouldn't that be fun?

Well, can you imagine the fantasy going through my head after making this Princess and the Pea Playset??


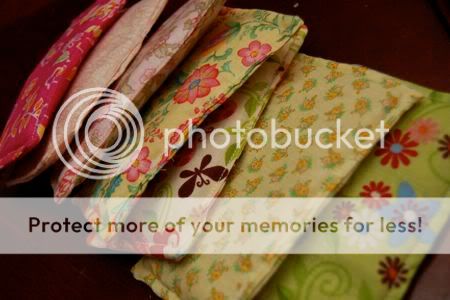
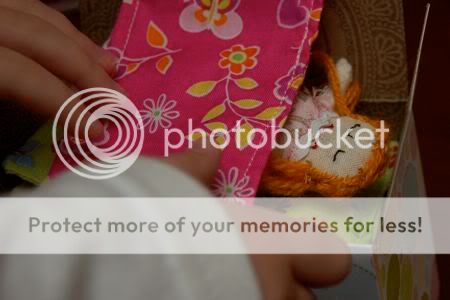
We were inspired by this old post on SouleMama. Mark, Emily and I all worked on this together, and it was so much fun to make! It's a present for one of the birthday parties Emily has coming up... and she is super-excited to give it to her little friend. While we were working on it, I kept fantasizing about this girl finding the playset years later and passing it along to her daughter or granddaughter........ Well, I can dream, can't I???

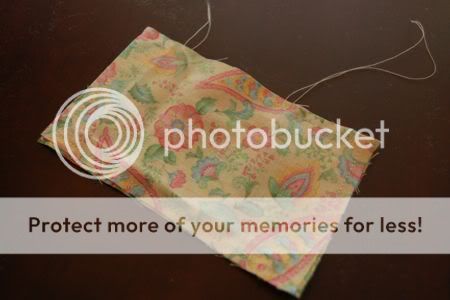
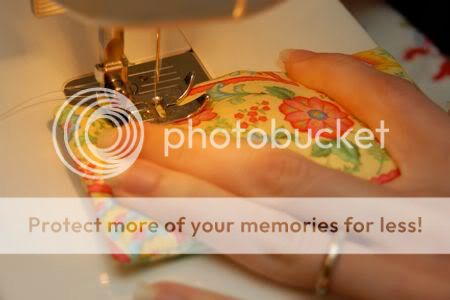
Emily picked out all the pretty fabric for the mattresses from our stash, and we used a 3" x 5" index card for the pattern. With two pieces of fabric cut, I placed them right sides together and stitched along the edges as shown below. I left an opening for turning the mattress right side out.


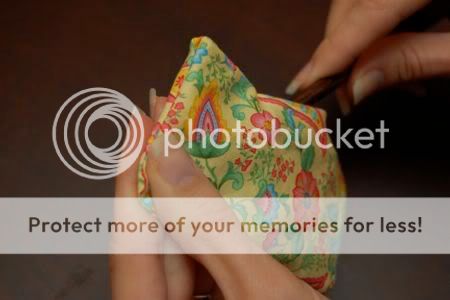
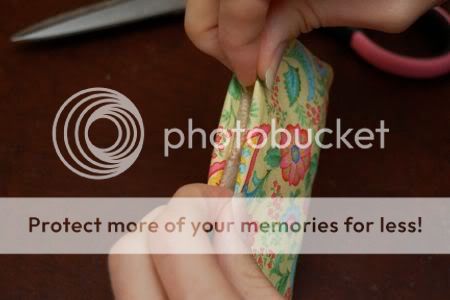
Next, turn the mattress right side out and gently poke out the corners with a chopstick or knitting needle.


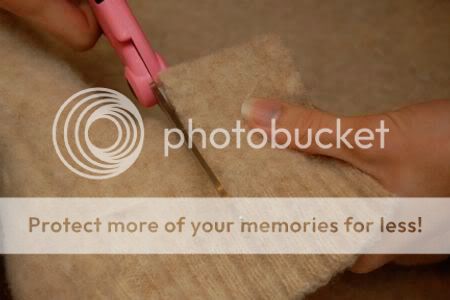
I used some of our felted sweater to stuff the insides of the mattresses. Also, I should note that Mark helped stuff many of the mattresses. Isn't he the best husband ever?


Fold the seam near the opening to top stitch it closed.


Top stitch around the entire mattress again and be sure to close the opening.


Emily trimmed the excess threads.


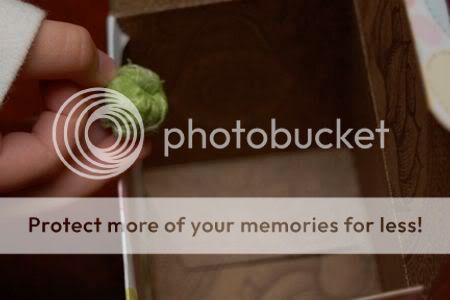
The pea was made from fabric.


The doll was made by Mark using a miniature version of his napkin doll technique. She is sleeping on one side and awake on the other.


Now... time to play!

Monday, October 12, 2009

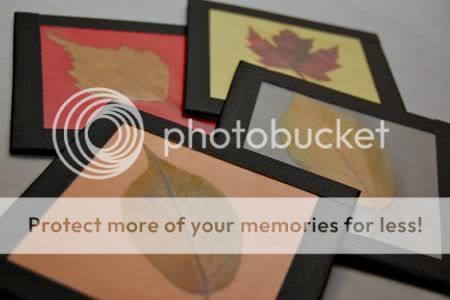
400th Post -- Fall Leaf Coasters

We made these beautiful Fall leaf coasters this afternoon, but first I wanted to tell you about this cute jumper I finished for Emily this morning.

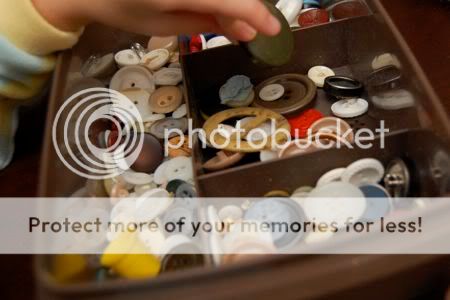
I started this dress late last night, and was almost finished with it, but my machine started to act up, (or maybe I was just getting too tired, but I like to blame it on the machine) so I called it a night. This morning I asked Emily to pick out the button for the back closure from the collection of vintage buttons I had inherited from my grandmother. I love that she treasures these buttons almost as much as I do!


I think she made an excellent choice, don't you?


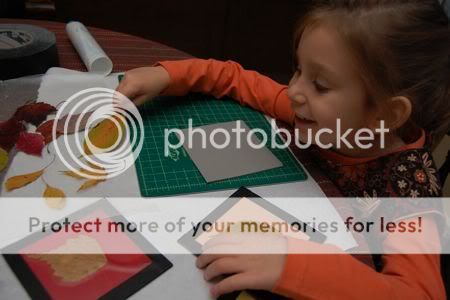
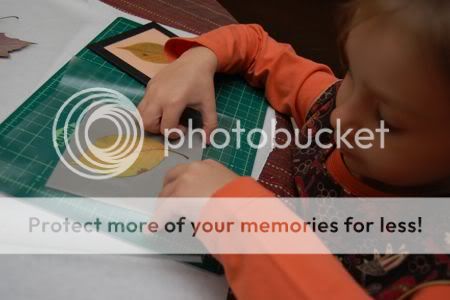
Now, about the coasters, they are made from foam sheets, colored duct tape, pressed leaves, and some clear contact paper. First, I cut the foam sheets into 4 1/2 " squares. Then, I invited Emily to arrange the pressed leaves how she would like them to appear on the coaster. We had collected so many pretty leaves to chose from!


Next, she covered the leaves and foam sheet with clear contact paper, and pressed out any air bubbles.


She trimmed any excess contact paper.


I helped line up the colored duct tape....


...and she wrapped it around the back.


We gave them a test run...

... perfect! These look so festive on our kitchen table, and I think they would make great hostess gifts too.

Also, the winners of our fun fabric crayon wallet giveaway are Ivy from Into the Wind and Mom2Triplets04 from Creative Triplet Mom! Congratulations and thanks to everyone who entered. There's still time to get your entry in for the Arm & Hammer Stain Fighting Kit courtesy of www.GreatCleaners.com!

Friday, September 11, 2009

Frugal and Useful -- Post-it Bookmarks

Here's a useful gift that even the smallest crafters can make -- Post-it® Bookmarks! I am so guilty of folding multiple corners on just about every book I read and writing in the margins, so I really needed one of these. When Emily saw what I was up to, she wanted to help.

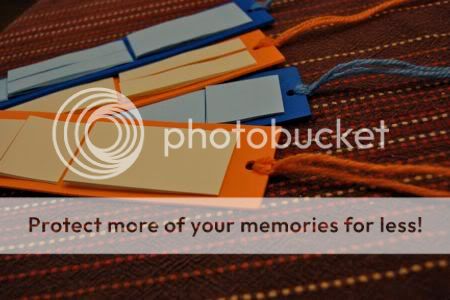
To make your own Post-it bookmark, you will need a piece of craft foam (2" x 7"), some yarn, and some Post-it Notes. One package of Post-it Notes will make several bookmarks.

First, separate a few sheets from the note pad (about 7-10 sheets or so).

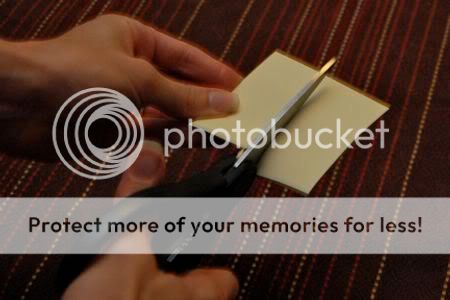
Use a pair of kitchen scissors to cut the Post-its into shapes that fit onto your bookmark.


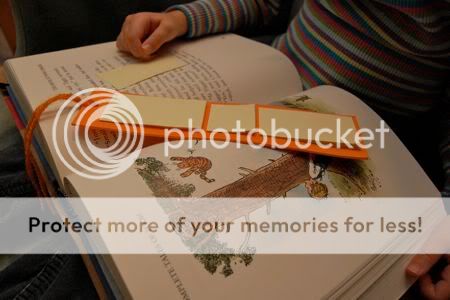
Arrange the mini-pads on the bookmark and glue into place. Attach some yarn to the top of the bookmark for a decorative touch.


No more corner-folding or notes written in the margin of the book!


Have fun!

We have had lots of fun with Post-it Notes (see here, here, and here). Hmmm... 3-M, are you reading this??

Tuesday, August 4, 2009

Mint-TEA Fresh

If you've been reading this blog for awhile, you probably know about my profound love for tea. (I've mentioned it here, here, and oh yes, here...)

Today, Emily and I made our own organic mint tea! It was so easy and lots of fun to make!

First, we gathered lots and lots of mint from the side yard of our house.

Next, we separated the leaves from the stems. Only the best leaves were chosen by my discriminating tea maker.

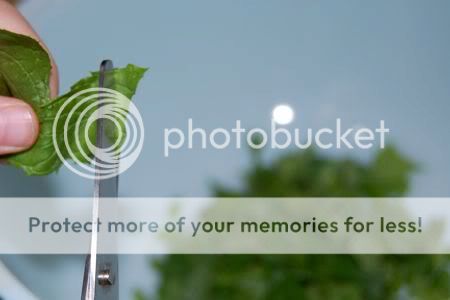
I chopped most of the mint using a cutting board and a knife, but Emily wanted to help too. She cut some mint using scissors!

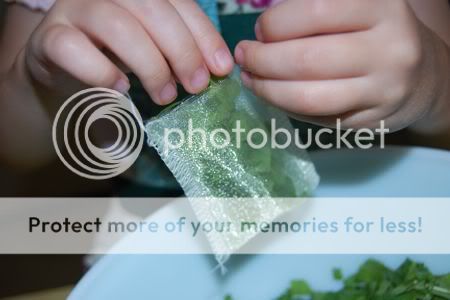
I made some tea bags using very sheer fabric and the serger. Just a long rectangle 2" x 6" folded in half with one seam on each side to form a pocket. Emily helped stuff the tea bags. We made sure they were really stuffed full!!

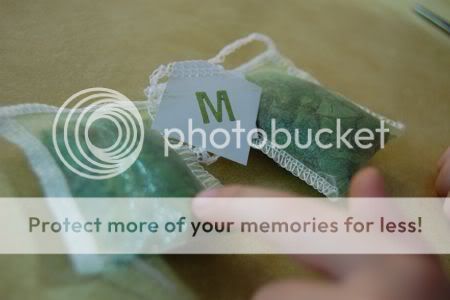
I used the serger to make the last seam across the top of the bag, and left a little space with just thread, and then attached a small tag. "M" is for "Mint", of course!

The taste test had great results!!
Mmmmm.... so tasty and minty fresh! A set of these would be a perfect gift for any tea-drinker!

Monday, December 8, 2008

Give Green Holiday Gifts -- For Free!


This holiday season, promote a better environment with these green gifts that help reduce waste.  The best part -- they are FREE!
  1. Stop Junk Mail --  Junk mail uses a tremendous amount of resources.  Use CatalogChoice.org to create an account for the recipient to pick which catalogs are of genuine interest, and CatalogChoice will work with companies to remove the recipient's address from their mailing list for free.  GreenDimes.com has a similar free service for all junk mail.
  2. Offset Carbon Emissions for a Day --  Go to OneDay.BrighterPlanet.com to find out how you can give the gift of being carbon free for a day - for free.
  3. A Green Email Account -- Create a free green email account  for the recipient at CommunityMail.net.  This is a free email service that is provided by a wind and solar powered web hosting company.
  4. Green a PC -- Call 1-800-PC Support and a technician from support.com will help your recipient green their PC for free.  
  5. E-Cards --  Each year greeting cards generate tons of waste.  This year, consider sending free e-cards instead.  Check out evite.com, hallmark.com, and 123greetings.com to get started.
Related Posts with Thumbnails