Showing posts with label St. Patrick's Day. Show all posts

Wednesday, March 17, 2010

Catching Leprechauns

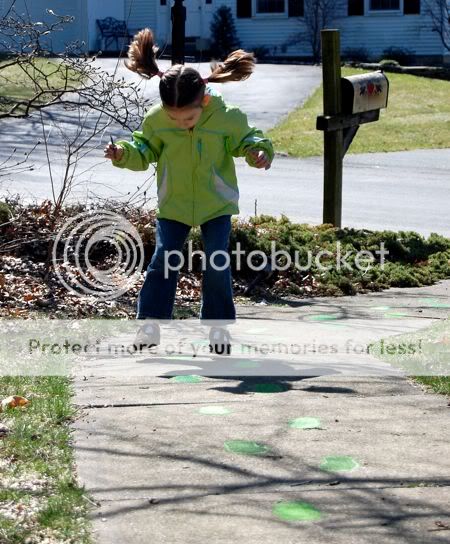
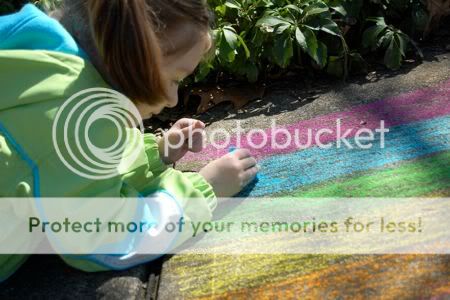
In honor of St. Patrick's Day, we thought it would be fun to lure some leprechauns into our house for good luck. Armed with a pair of Clara's old baby shoes and some colorful chalk, we made green footprints on the sidewalk leading into the house!


Emily told me not to forget about the rainbow. We all know how a real leprechaun can never resist the lure of a good rainbow!!


Exxxxx cellent..... all according to plan [insert hand-wringing here].


Leprechaun footprints are a lot of fun to jump on!


Wishing you a very happy (and lucky) St. Patrick's Day!!

Tuesday, March 9, 2010

Quick Craft - Pot of Gold Suncatchers

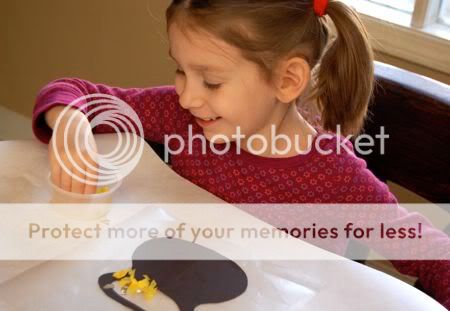
For a super quick St. Patrick's Day craft, cut out a pot from black construction paper, and place it on a sheet of clear contact paper with the sticking side up.

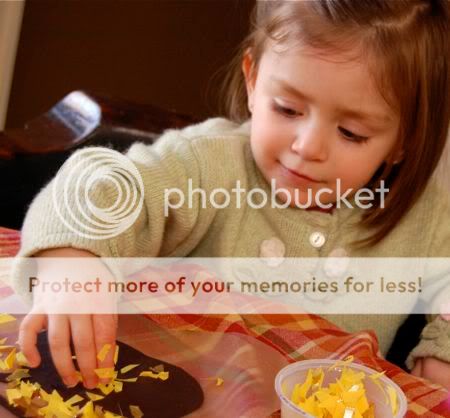
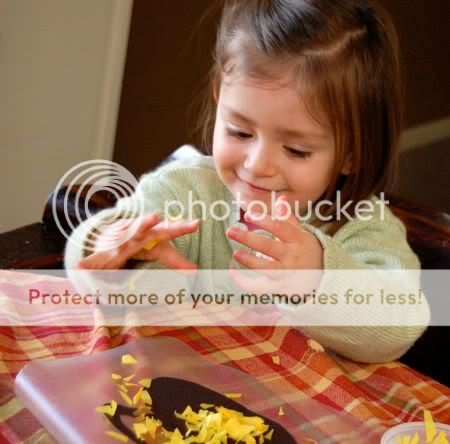
Invite your little ones over to sprinkle tissue paper and gold foil confetti into the pot! We reused gold foil candy wrappers mixed with bright yellow tissue paper.


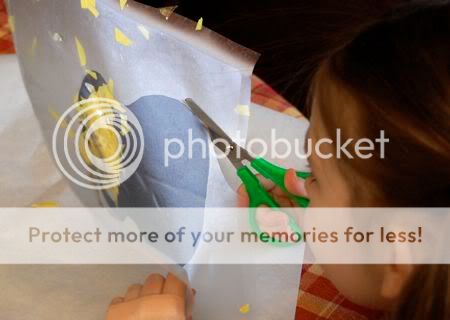
Place another sheet of clear contact paper on top (sticky sides together), and trim the excess edges with scissors.


Hang in a window, and invite more money to come into your household!


We're feeling luckier already!

Friday, March 5, 2010

Easy Four Leaf Clovers

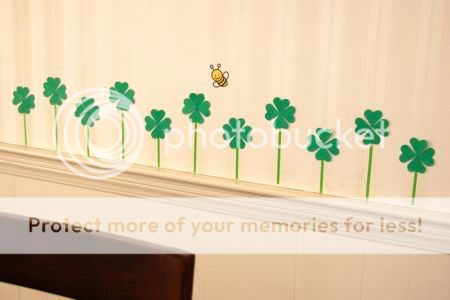
These easy four leaf clovers are sure to bring a little extra good luck! To make your own, you will need, paper for the background, green paper, scissors, and green masking tape.

Use the green masking tape to place the stems of your four leaf clovers on the background paper.


Cut heart shapes from the sheet of green paper. [Tip - You know those heart-shaped cookie cutters you have leftover from Valentine's Day? Trace them, and they make perfect patterns for these.] These will form the leaves of the clover. I placed dots of glue on the paper and Emily formed the clovers herself!


She had a lot of fun doing this, and cracked herself up while thinking of all the crazy things that could happen with all this good luck.


Perfect for St. Patrick's Day!


I couldn't resist adding a few of these to the wall in the sewing room. Don't they look so cheerful?


Mark, pick up some lottery tickets on your way home, will you? I'm feeling lucky!

Tuesday, March 17, 2009

Happy St. Patrick's Day!

Wishing everyone a Happy St. Patrick's Day! Our day was filled with lots of green, and some of the first signs of Spring. We wore plenty of green...


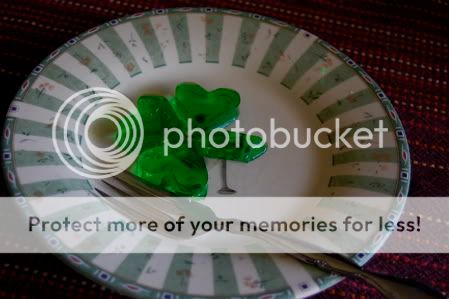
...and even ate green Jell-O.


Awww... sisterly love!


Spring is almost here!


We enjoyed some frugal fun at the playground. This was Clara's first real trip there!


Do you think she liked it?


Hope you are all enjoying your day. Everyone is Irish on St. Patrick's Day!

Monday, March 16, 2009

Simple Shamrock Card

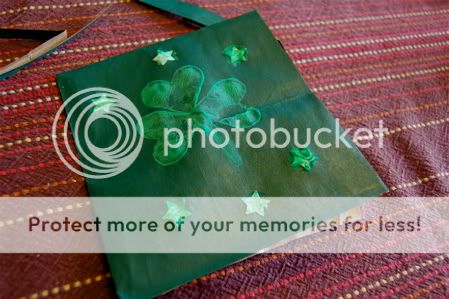
Earlier today we made simple shamrock cards using a potato stamper, and a paper bag. Emily really enjoyed this past activity so much, that we decided to try a slightly different version with shamrocks instead!


Cool, huh? Who knew you could have so much fun with potatoes and paper bags?


To make your own shamrock card, you will need a potato, a mini heart-shaped cookie cutter, a paper bag (we used an old LL Bean bag because it was green), green paint, a paintbrush, scissors.


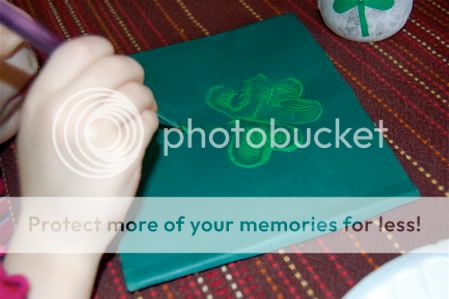
Use the heart-shaped cookie cutter to make the heart stamp with the potato. Show your child how to make shamrocks made up of hearts.


Paint the stem.


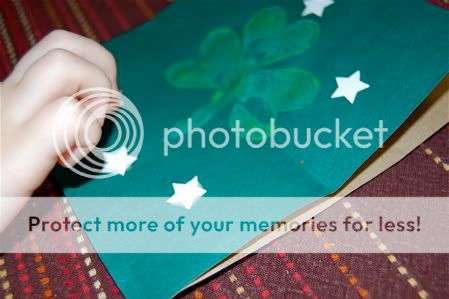
If desired, decorate further. Emily used a star-shaped hole puncher to make these stars and glued them on. Then, she painted the stars.


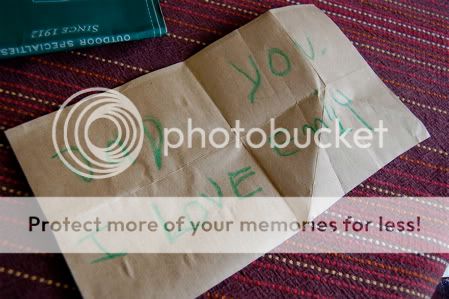
Write your special message inside, and you are done!

Sunday, March 15, 2009

St. Patrick's Day is almost here...

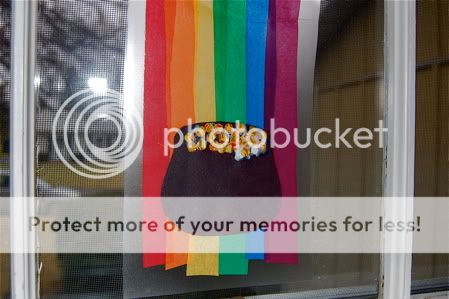
It is starting to look like St. Patrick's Day at our household, thanks to this cute rainbow suncatcher Emily and I put together! To make your own, you will need tissue paper in rainbow colors, clear contact paper, a hole puncher, black construction paper, gold foil (we used candy wrappers) and some yarn.

Lay a sheet of contact paper sticky side up and help your child stick strips of tissue paper on it. With a hole puncher, make gold coins out of candy foil wrappers and glue to a pot cut from black construction paper. Add another sheet of contact paper on top, trim the edges and use the hole punch to make holes to attach yarn for hanging.

Here is a peek at what we have been working on....


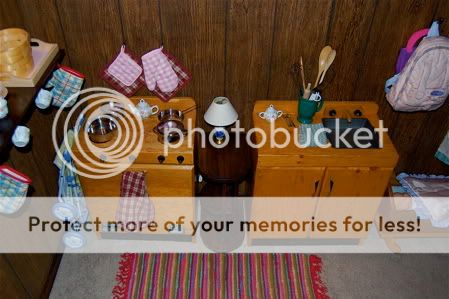
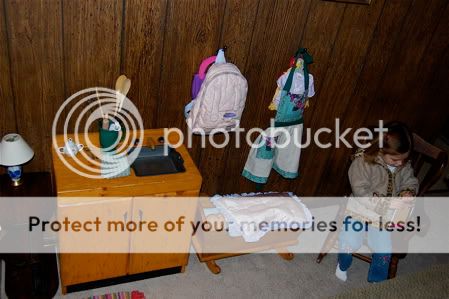
....Emily's new (sort of) kitchen set! I feel like this is her "grown up" play kitchen set. It is the same one I used to play with at my old church when I was a little girl. I'm guessing it pre-dates me by about 15 years..? It's an antique! I managed to get it at a church sale when they were upgrading all of their playroom toys. And Emily simply adores it, although I don't think she can truly appreciate the history here. The table in between the sink and stove was built by my great-grandfather, and the baby doll cradle was built by Mark's grandfather.


... and that little rocking chair? That was mine too! It is so much fun to see her play with all these things that have been passed down. She's been baking, cooking, stirring, and cleaning all weekend!

Wednesday, March 4, 2009

Shamrock Lanterns

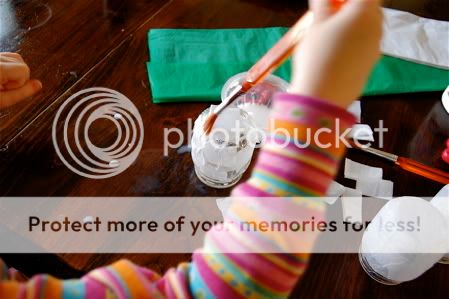
Last night Emily helped make some Shamrock lanterns from empty baby food jars, tissue paper, glue (mixed with water), and some thin gauged wire. The white tissue paper almost looks like frosted glass.


To make your own lanterns, cut pieces of tissue paper into squares. Mix the glue with water for a 50/50 mixture.  Invite your child to use a paint brush to spread the glue mixture onto the baby food jar and overlap the pieces of tissue paper. Cover the entire jar and then apply another thin layer of glue. Once dry, cut out heart shapes of green tissue paper and arrange in a shamrock pattern.  Use thin gauge wire to make a handle, and add a tea light candle.

Related Posts with Thumbnails