Showing posts with label toddlers. Show all posts

Tuesday, July 20, 2010

Quick Craft -- Colorful Window Display

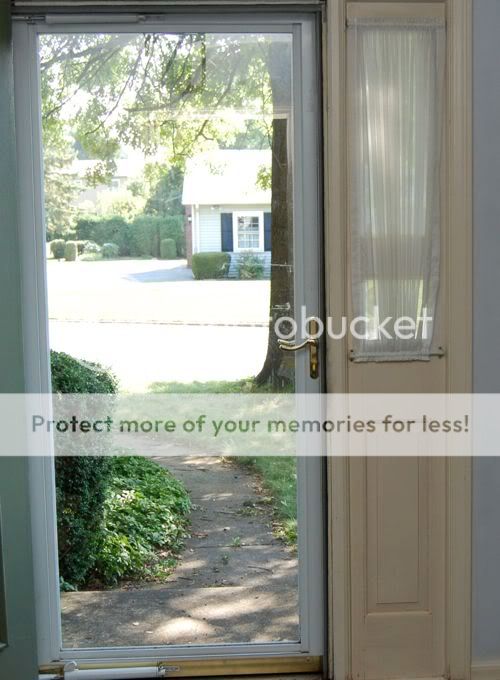
I thought our front door needed a bit more..... color.


So we broke out the paints and markers.....

Thursday, July 15, 2010

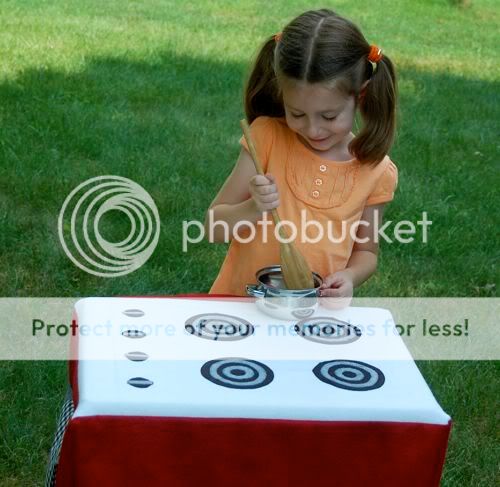
DIY: Travel Play Kitchen Set

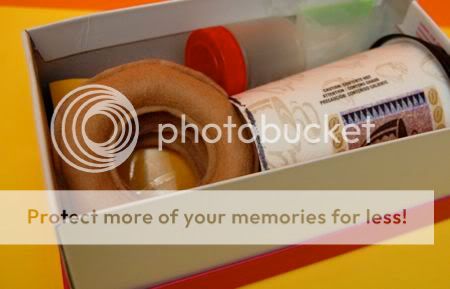
This travel play kitchen set was super-frugal to make, and is perfect for small living spaces since the entire set folds up!


I'm thinking we'll take it with us for trips to the garden plot, visits with grandparents, or just playing outside in the backyard like we did this afternoon.

Wednesday, July 14, 2010

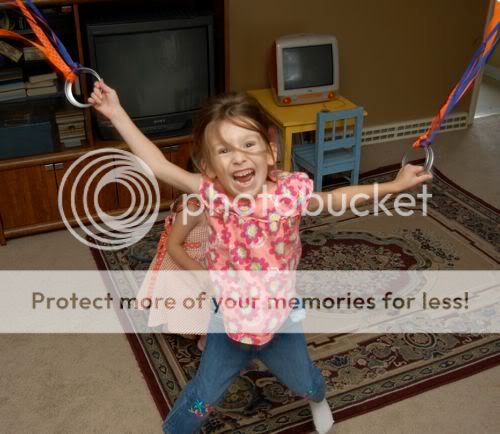
Fun with Music -- Ribbon Dancing!

We had rain all day, and the girls needed to burn off some energy. So we tied some ribbon onto some canning lids, cranked up some Latin music, and had a DANCING fiesta in our living room!!


Woo hoo!! Both of the girls had so much fun!!!

Saturday, July 10, 2010

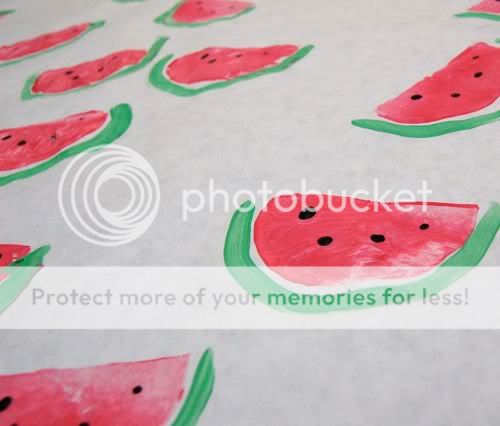
Watermelon Wrapping Paper

We have some special packages to mail out to friends, and I thought it would be fun to dress them up a bit. Emily had so much fun making this watermelon wrapping paper!! With just a bit of grown-up help, toddlers can have a go at this one too!


We used a potato to make the prints on long sheets of freezer paper using pink washable paint. I think it's kind of weird that we used a potato to make a watermelon print, but whatever! It worked well!

Monday, July 5, 2010

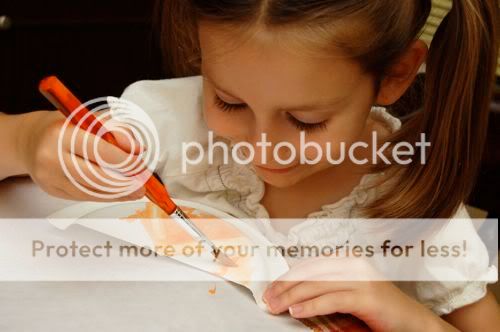
Painted Orange Slices

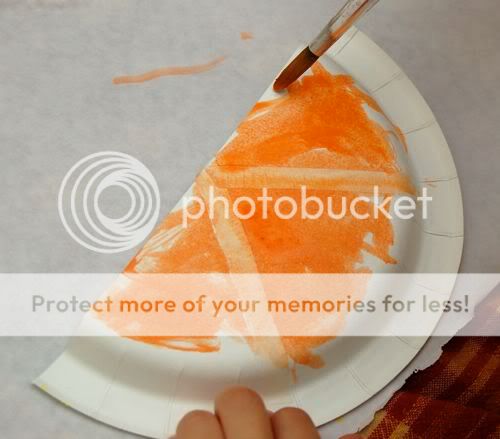
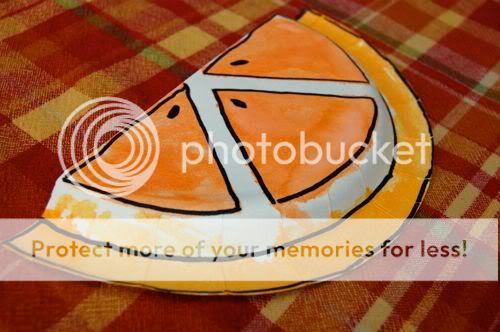
The girls loved painting these cute orange slices, and they were so simple to make! Just cut a paper plate in half, and use some masking tape to mark off the segments of the orange. Invite the kiddos over to paint!!

Emily will take any excuse to paint, plus her favorite color is orange, so this craft was an instant hit!


It didn't take long for Clara to get in on the painting action too!


Orange slices always make me think of Summer!


Allow the paint to dry completely, then peel off the masking tape and outline with black marker. Beautiful and super-frugal!!


Have fun!!

Saturday, July 3, 2010

Quick Craft -- Tie Dyed Sunshine Ornaments

You won't believe how quick, easy and frugal this project is!!


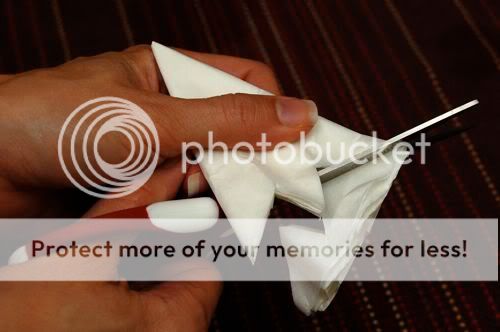
For a crafty fun time, fold a coffee filter in half 3 times, and cut the outer edge as shown.


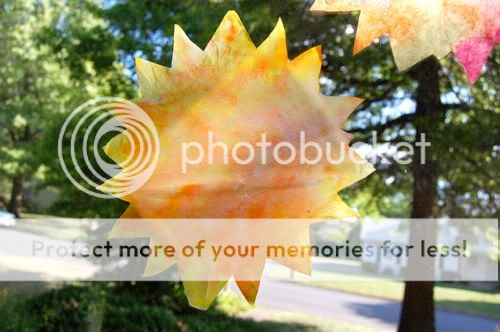
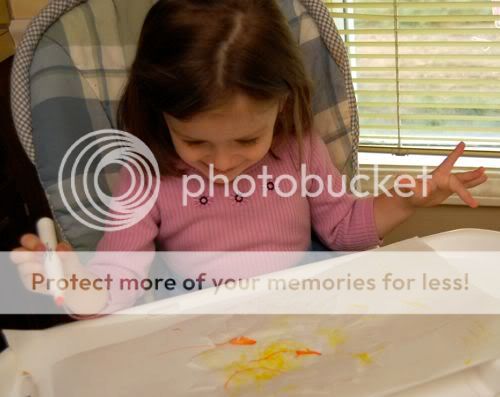
Open up the coffee filter to make a sun, and invite the kiddos over to paint with yellow, orange, and pink/red water colors on it!!


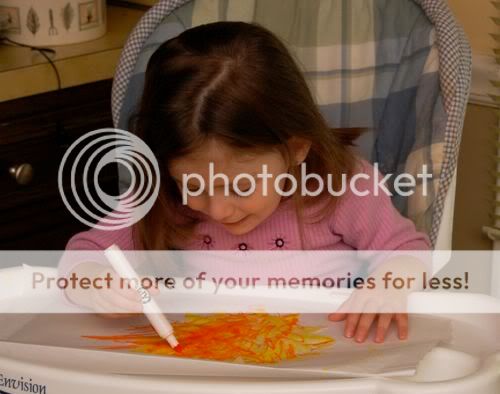
Since Clara is so young, I gave her markers to use instead (which kept the mess to a minimum), and then she painted with water over top.


She loved all the bright yellow and orange!


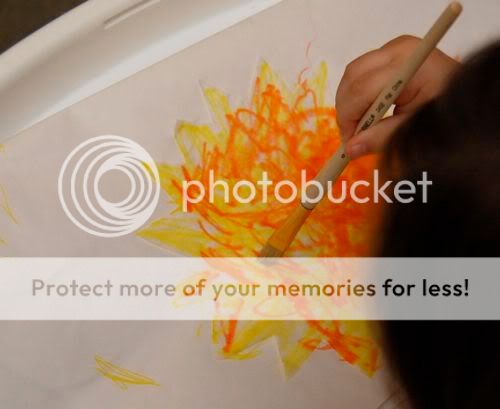
...and she especially loved using the paintbrush with some water to blend the colors together!


Emily thought the colors blended so well that it looked a bit like tie-dye!


Groovy, man!


Allow the coffee filters to dry, and display proudly in a sunny window!


They make me smile every time I see them!! Have fun!!!

Emily and I will be on NBC's The 10! Show this Tuesday to demo quick (and frugal) Summer crafts for kids -- if you would like free tickets to the show, click here! We would LOVE to meet you!!

Wednesday, June 23, 2010

Painting.... with Ice Cubes!

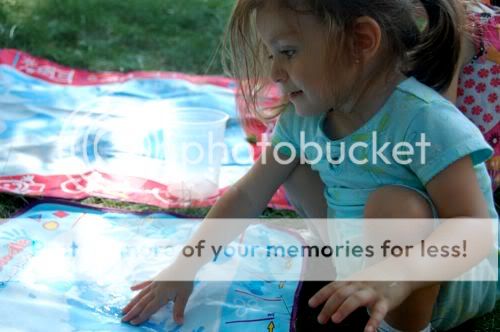
Today was a real scorcher, but the girls still wanted some outside play time (and of course some sort of art is aways a necessary part of our day). I had some very inexpensive "paint with water" books, but we thought it would be more fun to paint with ice cubes instead!!


If you're afraid of messy paint, this is the project for you! 


Since the ice cube melts relatively slowly, Clara was able to paint her picture nicely without dumping so much water on it that the pages tear. 


Next, we brought out the Aqua Doodle mats, but again painted with ice cubes on them. These mats are a wonderful mess-free way to enjoy painting and drawing!


Once the mat is covered in doodles, wait for it to dry, and then start drawing all over again!


Clara thought this was a great way to cool off!


They had so much fun, that I had to bribe them with homemade chewy granola bars to get them to go back in the house.


Stay cool, and have fun!!

Tuesday, June 22, 2010

Lemon Rubbings from Yogurt Lids

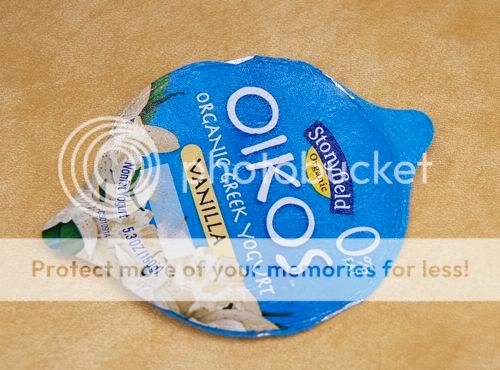
Do you follow FFFB on Twitter? If not, you should! The Stonyfield Blogger Barnstorming Tour is starting this weekend, and I'll be tweeting and posting virtual postcards from the road. Thank you, thank you, thank you for voting for me! I wish I could give each of you a great big hug!! If it weren't for your votes, I wouldn't be able to go, and this trip means so much to me. In honor of all the upcoming Stonyfield fun, we made super-cute lemon rubbings recycling two foil lids from Stonyfield yogurt!!

First, layer the two lids as shown...


By the way, have you tried the Oikos yogurt with caramel?????? OH. MY. Goodness. Heaven! Now, where was I? Oh, yes....The two lids should form a lemon shape, as shown below.


Place the lids under a piece of white paper, and invite your child to make crayon rubbings with a yellow crayon. I used masking tape to help Clara keep the paper in place.


Ta-Da!!


Persuade your big sister to join you -- this shouldn't be too hard if your big sister is like Emily.


Both of the girls were so happy these drawings looked so much like real lemons!


For a more finished look, outline your lemon with a black crayon.


I love the face Emily added to her lemon! She glued her picture to a piece of yellow construction paper, and made a neat card to mail off to Grandma!


Have fun!!

Have any questions for the farmers while I'm on the tour? Leave a comment on this post, and I'll ask them for you!
Monday, June 21, 2010

Easy Garden Welcome Banner

After having done countless craft projects that involved tissue paper, I had been saving a rather large collection of tissue paper confetti. Since I'm never one to throw stuff away, I saved these bits of colorful goodness to recycle for other projects like this one! Our vegetables are starting to arrive in our garden, and what better way to welcome them than with this garden welcome banner. It's quick, easy, and even the littlest crafters can make it with great results!!


I cut out letter-frames of construction paper to spell out the word "welcome" and placed them right-side down on a sheet of clear contact paper. Then I invited the girls over to decorate the letters with all that fun confetti!


For Clara, this was a great exercise in letter-recognition and fine motor skills. She was so proud of her letters!


Emily thought the bright colors would make the plants feel as though our garden was one big fiesta!!


I added another sheet of clear contact paper sticky side down to sandwich the letters in-between. She used binder clips to attach the letters in the right order to a length of laundry line -- great spelling practice and the binder clips helped challenge her pincher grasp too.


...and now our garden is starting to look a whole lot more colorful!

Thursday, June 17, 2010

Father's Day Gifts Kids Can Make -- Circuit Board Pencil Holder

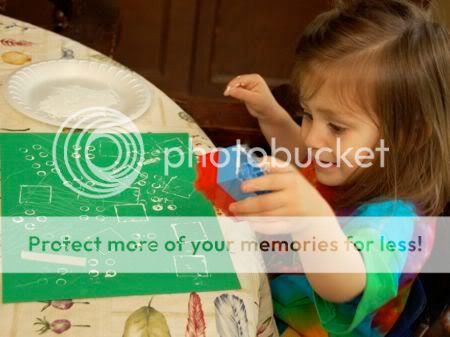
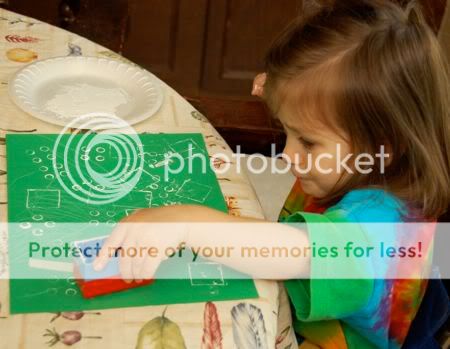
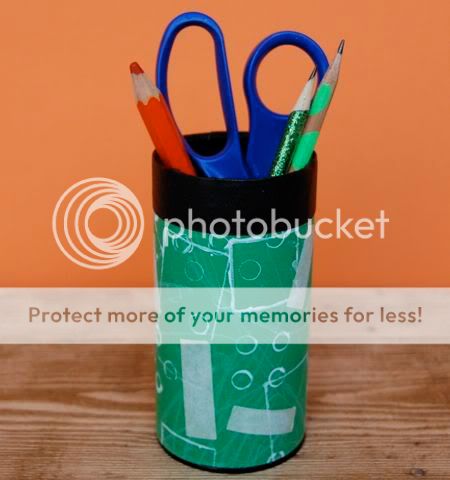
This was a fun stamping project Clara enjoyed, and we made a Father's Day gift from it as well! We used some Mega blocks as stampers with white paint on green paper (to mimic the look of a circuit board). She had so much fun!!


Stamp, stamp, stamp!! I cut up some pieces of masking tape for her to add to the design. 


We used all sides of the block to make different designs. She added some scribbles with a white crayon too.


When she was all done painting, I let the paint dry, and then wrapped it around a tea tin to make a fun pencil holder for Mark's desk. I think it will look nice next to his brag book made from computer disks.


Clara was quite proud of herself! Have fun!!

Wednesday, June 9, 2010

Pretend Play on a Dime -- Donut Shop

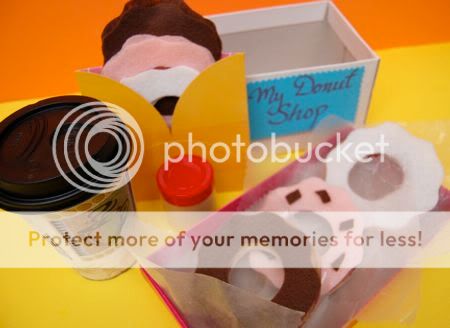
It rained all day today, so while Clara was napping, Emily and I had a nice pocket of time for some crafting. She worked on some adorable paper dolls, and I put this together -- A Mini Pretend Donut Shop!


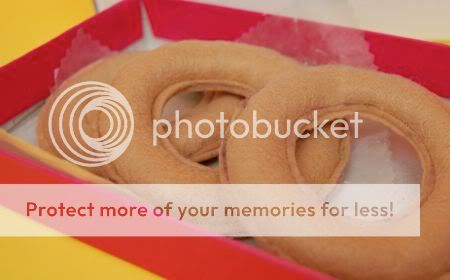
I used tan felt to sew the donuts (and batting to stuff them), then cut out pieces of felt for the icing and even some sprinkles. I love how the shoebox lid doubles as a serving tray! 


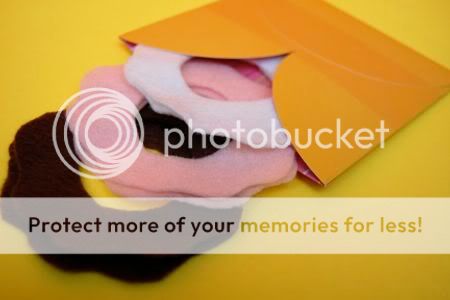
I found an envelope to store all the icing pieces....


.... and the plain donuts also double as bagels! The girls thought the pieces of waxed paper were a nice touch.


Since all of the pieces fit so nicely into a small shoebox, I thought it would be perfect to take along on vacation just in case we have a day of rain.


Clara woke up just as I had finished putting the set together, and we played Donut Shop for hours!!! Emily and I got very specific with our orders so Clara could practice her counting, "I would like one donut with vanilla icing and 4 chocolate sprinkles, please. No more, no less!"

Oh, and she loved pretending to put sugar in my coffee. Did I mention she makes a mean mochachino?

Have fun!!

I linked this post to -- Show Us Your Best!

Sunday, June 6, 2010

Sunday Snapshot -- Monkey Toes

How Clara earned the nickname "Monkey Toes".....


Wishing you a wonderful weekend!!

Sunday, May 30, 2010

Sunday Snapshot -- Flying Fun

Weeeeeeeeeeeeeeeeeeeeeeeeeeee!!!!!


Related Posts with Thumbnails