Showing posts with label recycling. Show all posts

Thursday, July 22, 2010

Configure Your Own Cardboard Castle

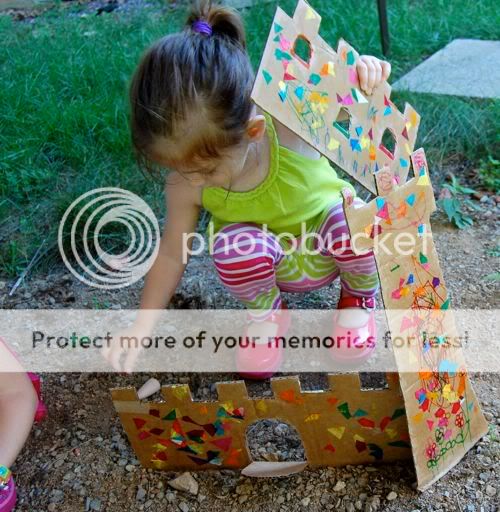
We made this cardboard castle set, and it kept the girls happy and busy for a large part of this afternoon. For something as frugal as cardboard, it was a big hit!


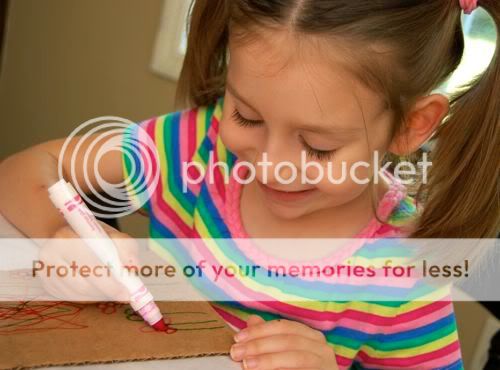
Not only did they spend a lot of time immersed in pretend play, but they also really enjoyed getting to decorate the castle exactly the way they wanted. We did a sort of assembly-line style production. I cut the cardboard, Clara did some scribbling.....
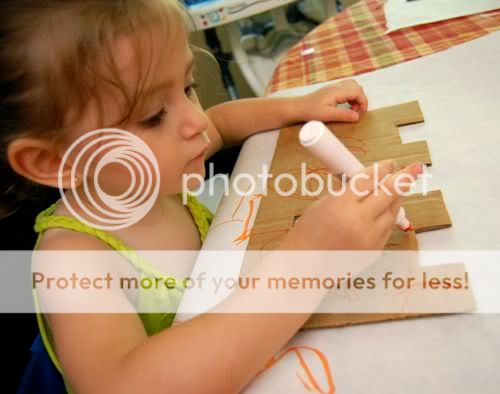

.... then Emily took over to put on the finishing touches of flower drawings and glue on bits of colorful tissue paper!

With the help of a bit of wire, I was able to make a working drawbridge! The girls LOVED that!!
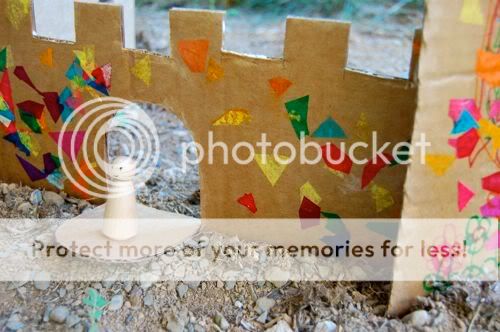

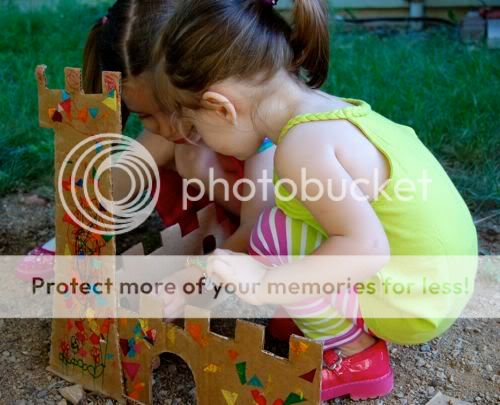
I enjoyed watching them come up with all sorts of different configurations for their castle.

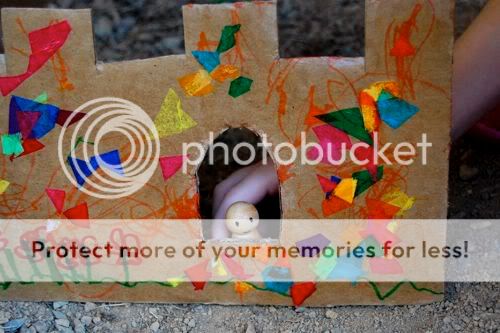
The peg dolls seemed right at home here.... Hello, peg doll!

It was starting to get dark outside, and they were still having so much fun!
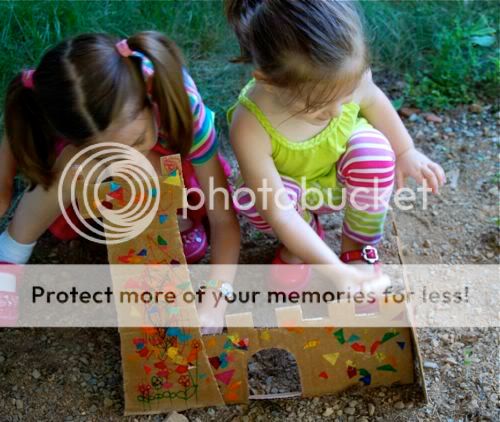

Finally, it was time to get dinner started, but I have a feeling we'll be enjoying a lot more play time with this castle for the next couple of days.... (or weeks)! 

I have some exciting things planned for our little bloggy-blog: Mark and I have been hard at work on a new layout that will make finding activities by theme, age, holiday, etc. SO much easier! There's even a section for "quick and easy" activities, and you can upload photos of your versions of our projects to share!!

Wednesday, July 7, 2010

Solar-Powered Lunch!

We had a scorcher of an afternoon today -- prime conditions to make our own solar oven! We recycled a pizza box and a clear plastic lid from a disposable cake pan. Add a little aluminum foil, and voilá... a super eco-friendly and frugal solar oven!!

We even made our own sun tea, just to harness the power of the sun a bit more. I love that it's made from a tea called "Children's Tea". Mark and I often joke that it is "made from only the most well-behaved real children".


It's actually a caffeine free berry/honey tea, and it's quite delicious! 

Emily LOVED helping out with the solar oven! We made our own pizzas using spinach tortillas, mozzarella cheese, tomato sauce, and oregano... yum!


Adjust the reflector to get as much sun as possible directed into the solar oven. You can use a stick or wooden dowel to prop it up, but we found a little more foil worked well too.


After a few minutes, the pizza was done and baked to perfection!!


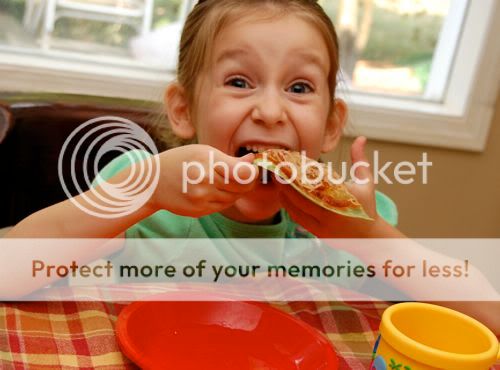
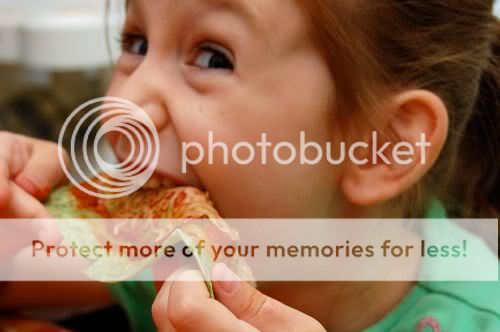
Now it's time to stuff yo' face!!!


Nom, nom, nom!!


I love that we were able to bake while keeping the house cool, and without using any electricity! We had so much fun, that we may even try baking some cookies for dessert!!!

Tuesday, June 22, 2010

Lemon Rubbings from Yogurt Lids

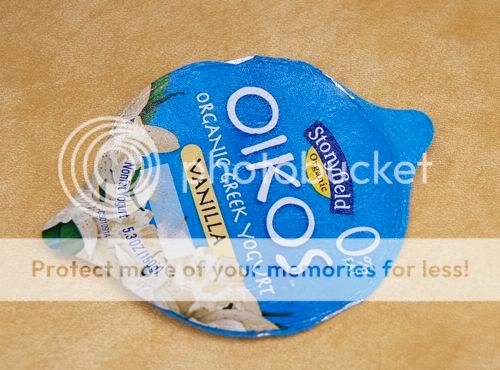
Do you follow FFFB on Twitter? If not, you should! The Stonyfield Blogger Barnstorming Tour is starting this weekend, and I'll be tweeting and posting virtual postcards from the road. Thank you, thank you, thank you for voting for me! I wish I could give each of you a great big hug!! If it weren't for your votes, I wouldn't be able to go, and this trip means so much to me. In honor of all the upcoming Stonyfield fun, we made super-cute lemon rubbings recycling two foil lids from Stonyfield yogurt!!

First, layer the two lids as shown...


By the way, have you tried the Oikos yogurt with caramel?????? OH. MY. Goodness. Heaven! Now, where was I? Oh, yes....The two lids should form a lemon shape, as shown below.


Place the lids under a piece of white paper, and invite your child to make crayon rubbings with a yellow crayon. I used masking tape to help Clara keep the paper in place.


Ta-Da!!


Persuade your big sister to join you -- this shouldn't be too hard if your big sister is like Emily.


Both of the girls were so happy these drawings looked so much like real lemons!


For a more finished look, outline your lemon with a black crayon.


I love the face Emily added to her lemon! She glued her picture to a piece of yellow construction paper, and made a neat card to mail off to Grandma!


Have fun!!

Have any questions for the farmers while I'm on the tour? Leave a comment on this post, and I'll ask them for you!

Monday, June 21, 2010

Easy Garden Welcome Banner

After having done countless craft projects that involved tissue paper, I had been saving a rather large collection of tissue paper confetti. Since I'm never one to throw stuff away, I saved these bits of colorful goodness to recycle for other projects like this one! Our vegetables are starting to arrive in our garden, and what better way to welcome them than with this garden welcome banner. It's quick, easy, and even the littlest crafters can make it with great results!!


I cut out letter-frames of construction paper to spell out the word "welcome" and placed them right-side down on a sheet of clear contact paper. Then I invited the girls over to decorate the letters with all that fun confetti!


For Clara, this was a great exercise in letter-recognition and fine motor skills. She was so proud of her letters!


Emily thought the bright colors would make the plants feel as though our garden was one big fiesta!!


I added another sheet of clear contact paper sticky side down to sandwich the letters in-between. She used binder clips to attach the letters in the right order to a length of laundry line -- great spelling practice and the binder clips helped challenge her pincher grasp too.


...and now our garden is starting to look a whole lot more colorful!

Wednesday, May 19, 2010

Sunset Silhouette

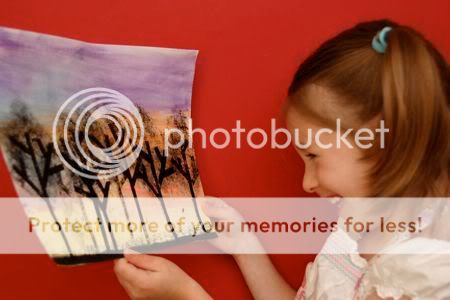
I have been playing around with the idea of a tree silhouette at sunset painting for some time now, but I was struggling to find an easy way for Emily to do this and get good results. Then I had a "eureka" moment this afternoon while playing with some rubber bands. Let me explain...


First, break out the water color paints....

Tuesday, April 27, 2010

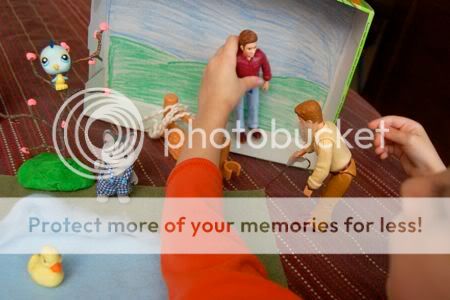
Repurposing Toys -- Peter and the Wolf Play Set

Last weekend, our family went to see Prokofiev's "Peter and the Wolf" (Thank you, Aunt Julia!) We all really enjoyed the ballet and music! So much so that Emily wanted a play set so she could re-enact the story. I thought that was a fabulous idea, so I sent her on a scavenger hunt to find toys she already had around the house to use for her play set! This kept her busy for a long time, but she was able to find everything she needed.

Without having to buy anything, she found two men dolls (one for Peter, and we added a white beard and cane to the other one to make him into the Grandfather), a small duck, a cat, a gate, a wolf, and even some hunters!

Thursday, April 22, 2010

Crafting with Recyclables - Design a Robot Kit

In honor of Earth Day, I thought we would do another fun craft with recyclables -- a kit to design your own robot! Of course, we craft with recyclables year round, since it's better for the environment, plus I consider them to be free art supplies. Emily has been on a robot kick lately, as seen here, so this craft was a big hit at our house!

To make the robot, I used an empty potato chip bag, washed it thoroughly and allowed it to dry completely. Then, I turned the bag inside out, and cut several shapes for the front and back of the head, body, arms, and legs. I ran each piece through my sewing machine with a zig-zag stitch around the outline, and trimmed them with pinking shears.

Tuesday, April 20, 2010

Mother's Day Gifts Kids Can Make -- Recipe Journal

While Clara was napping, Emily and I made this very special recipe journal for Grandma. Emily thought this would be a particularly useful gift, and I had to agree! Added bonus -- We recycled some beautiful paper that was FREE!!

Not many people seem to know about this, but if you're looking for some gorgeous good-quality paper a great source is your local paint store. I went to our local Sherwin-Williams and asked if they had any wallpaper sample books that were discontinued. Many times they are more than happy to pass them along to someone who could use them instead of having them sent to a landfill. I got three HUGE books!!

Tuesday, April 6, 2010

Easy Kid-Made Stamp Wheels

Emily was so happy to make her own stamp wheel so she could create this fun rainy day picture! The stamp wheels were easy to make and made good use of recyclables.


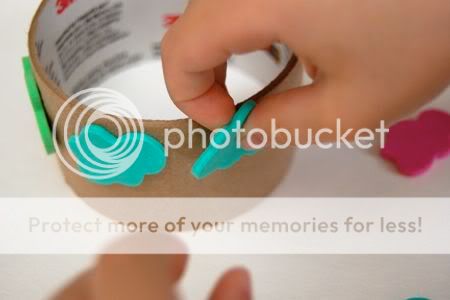
We used some foam stickers we had on-hand, in this case, clouds and raindrops. Emily started by sticking the cloud stickers around an empty packaging tape tube. We try to find ways to recycle just about anything in our household!


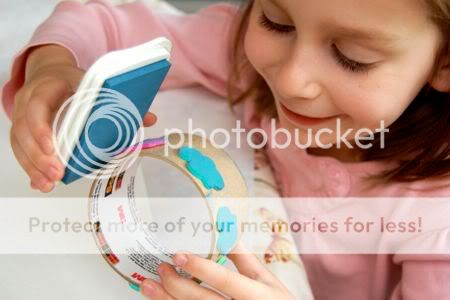
Next, she used an ink pad on the stickers.


Then it was time to rock 'n ROLL -- all along the top edge of the paper! FUN!!


Repeat the process with the raindrop stickers to make another stamp wheel, and roll the raindrop stamps all over the paper. This rolling stamp thing -- it just never gets old!


Don't forget to sign your beautiful artwork!


Have fun!!

I listed this post at:

Monday, April 5, 2010

Blossoming Cherry Tree

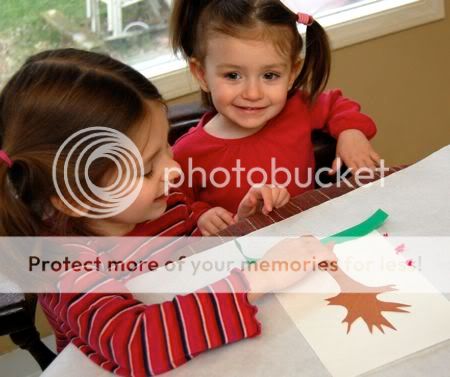
With just a bit of help from her big sister Emily, Clara was able to enjoy some crafting fun with this blossoming cherry tree craft! To make your own, you will need brown, white, and green paper (we recycled some leftover scrap paper), pink tissue paper (again, recycled from a gift bag), and some glue.

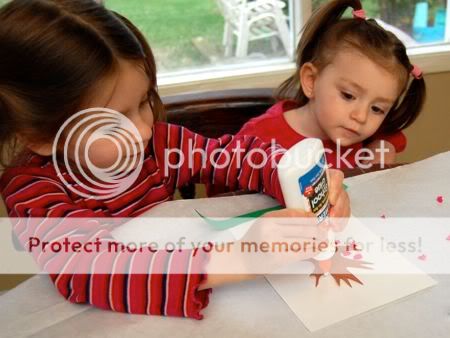
I cut a tree trunk shape from the brown paper, and helped Emily tear a strip of green paper for the grass. Then, Emily began by gluing the grass and tree trunk to the white background paper. Clara was very excited to see the glue!


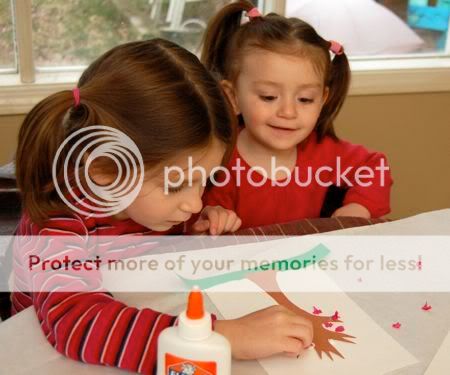
Next, Emily took her job as "big sister" quite seriously, and put little dots of glue where the blossoms will go.


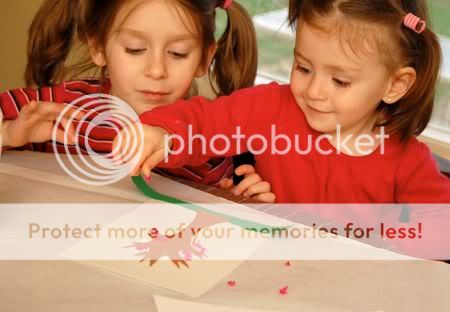
She showed Clara how to attach the blossoms (scrunched up bits of pink tissue paper). Clara said, "Oh! Wow!!".... and then.....


... Clara added LOTS of blossoms to the cherry tree! It was a cherry blossom explosion!


Allow the glue to dry completely and admire your beautiful cherry tree!


Added bonus -- This is one cherry tree that won't make me sneeze!

Tuesday, March 23, 2010

Flower Prints from Soda Bottles

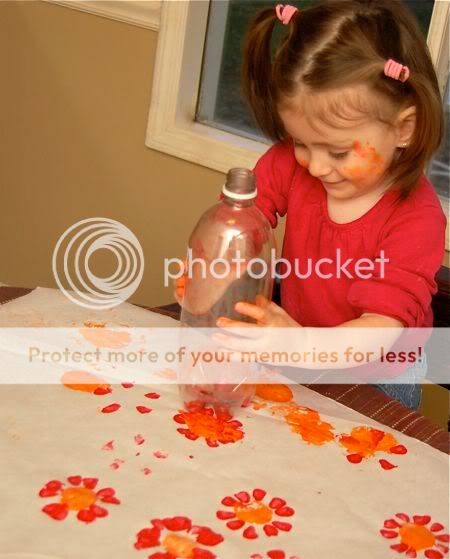
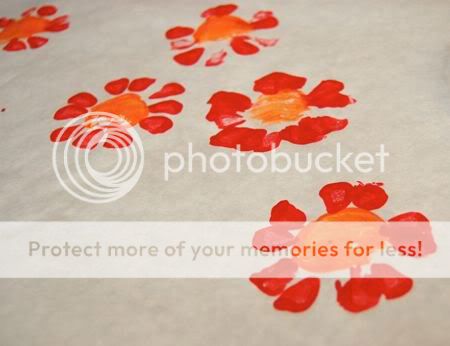
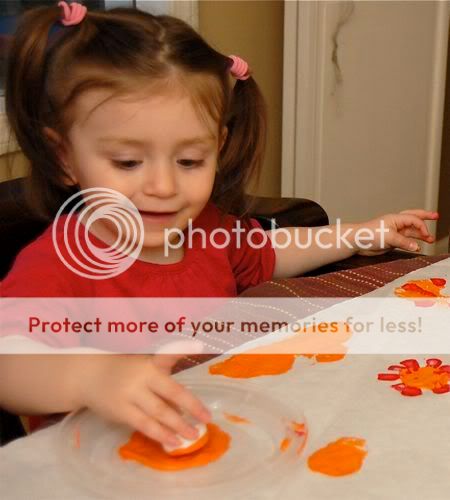
Another rainy day here, and the girls were starting to go through a bit of "messy art withdrawl". We made flower prints using empty soda bottles! In our case, they were empty seltzer water bottles, but you get the idea.

Clara really got into the painting today! She could hardly contain her excitement!


In mind, were similar prints I had seen on various blogs, but had forgotten about until I spotted a few empty bottles in our Invention Kit.

To make your own flower prints, roll out some freezer paper. Dip the bottom of an empty soda bottle into some paint, then stamp on the paper. Rotate the bottle around to make even more petals!


Dip the bottle cap into some paint and it makes a great stamp for the centers of the flowers! The girls took turns stamping with the cap and the bottle. So much fun!


They look so bright and cheerful!


Bonus points for drinking imaginary water from your empty bottle!


EXTRA bonus points if your face is smeared in paint!


I added this post to:
Related Posts with Thumbnails