Showing posts with label tissue paper. Show all posts

Monday, June 21, 2010

Easy Garden Welcome Banner

After having done countless craft projects that involved tissue paper, I had been saving a rather large collection of tissue paper confetti. Since I'm never one to throw stuff away, I saved these bits of colorful goodness to recycle for other projects like this one! Our vegetables are starting to arrive in our garden, and what better way to welcome them than with this garden welcome banner. It's quick, easy, and even the littlest crafters can make it with great results!!


I cut out letter-frames of construction paper to spell out the word "welcome" and placed them right-side down on a sheet of clear contact paper. Then I invited the girls over to decorate the letters with all that fun confetti!


For Clara, this was a great exercise in letter-recognition and fine motor skills. She was so proud of her letters!


Emily thought the bright colors would make the plants feel as though our garden was one big fiesta!!


I added another sheet of clear contact paper sticky side down to sandwich the letters in-between. She used binder clips to attach the letters in the right order to a length of laundry line -- great spelling practice and the binder clips helped challenge her pincher grasp too.


...and now our garden is starting to look a whole lot more colorful!
Tuesday, March 9, 2010

Quick Craft - Pot of Gold Suncatchers

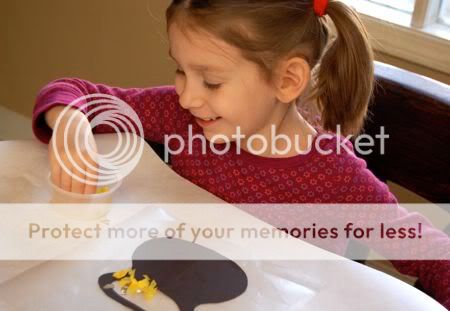
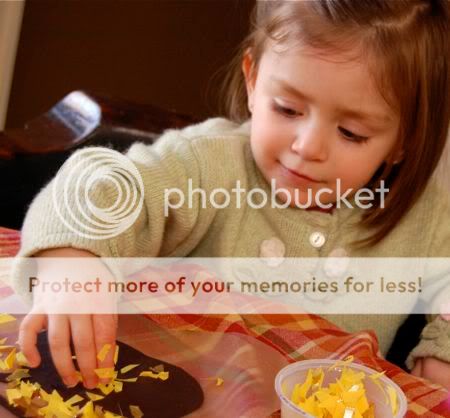
For a super quick St. Patrick's Day craft, cut out a pot from black construction paper, and place it on a sheet of clear contact paper with the sticking side up.

Invite your little ones over to sprinkle tissue paper and gold foil confetti into the pot! We reused gold foil candy wrappers mixed with bright yellow tissue paper.


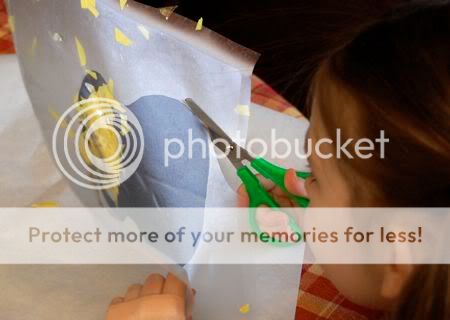
Place another sheet of clear contact paper on top (sticky sides together), and trim the excess edges with scissors.


Hang in a window, and invite more money to come into your household!


We're feeling luckier already!

Tuesday, March 2, 2010

Welcoming Spring


We found butterflies flying all over Emily's room this afternoon! Good thing she has a handy butterfly net!

Tissue Paper + Pipe Cleaners + Fan = Happy Kiddo

Monday, March 1, 2010

Crafting with Recyclables - Giant Sunflower

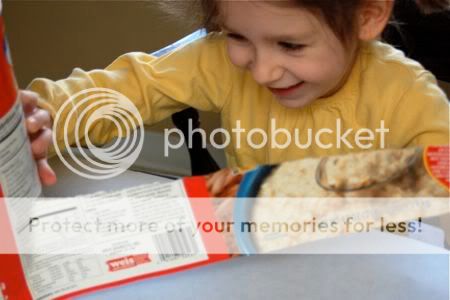
It was the sheer size of this giant sunflower that made us smile, and what a fun way to reuse those empty oatmeal canisters! We used a technique similar to the one here, but on a grand scale. We love crafting with recyclables because they are FREE art materials!

To make your own giant flower, you will need an empty oatmeal canister, some paint, a sheet of tissue paper, and a broomstick. Begin by removing the lid, and label of the canister.


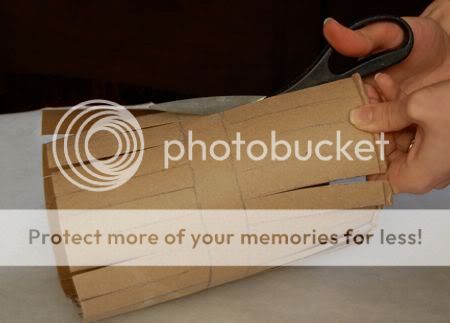
Make some pencil marks, as shown below, and cut the strips using the marks as your guide.


Fold back the petals. Emily thought this looked like a chic bracelet! (I'm beginning to question her unique fashion-sense.)


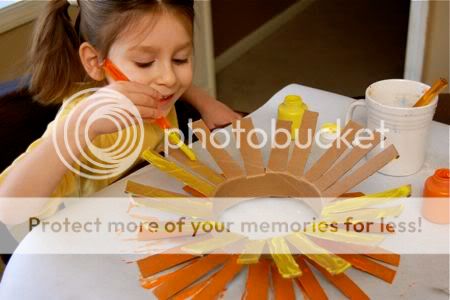
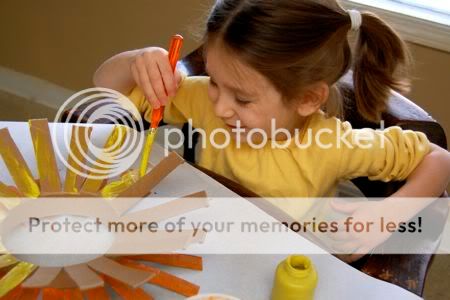
Now the fun part -- paint!!


Allow to dry, and poke a broom handle through for a stem. Fill the center with tissue paper.


Admire your fabulous recycled artwork!

This post has been linked to:

Sunday, January 31, 2010

Spring is Here! (Sort of...)

Winter can be dark, dreary, and COLD here in Pennsylvania. This year, we thought it would be fun to trick that stupid groundhog into predicting an early Spring.


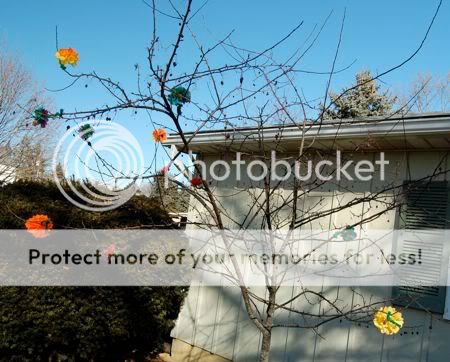
We went outside armed with tons of tissue paper flowers....


....and planted them all over the place!


Soon, it was very colorful! Some flowers bloomed from bushes....


...others in the ground....


...and some even bloomed in the trees!


While we were doing this, a little old lady drove by, did a double-take, and got a huge grin on her face!


Take that, Punxsutawney Phil!

To make your own tissue paper flowers, click here. Have fun!

Friday, January 8, 2010

Easy Snowflake Suncatchers


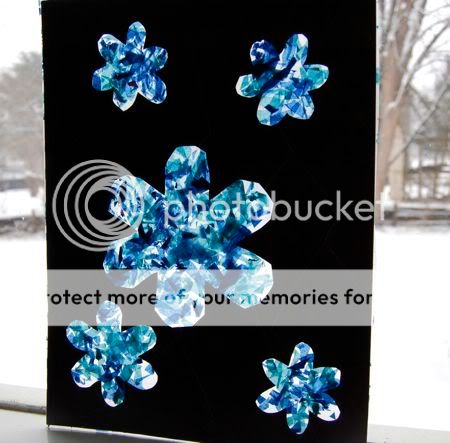
Both of the girls are so proud of how their beautiful stained glass snowflakes turned out, and they were so easy (and frugal) to make! Clara was delighted to have a go at this craft, and gave a huge smile when she saw her finished work on display in the window.

Using a snowflake-shaped cookie cutter as a pattern, trace the outline onto black construction paper. Older kids can do this themselves, or even for a younger sibling too. You didn't think I did all that tracing myself, did you?


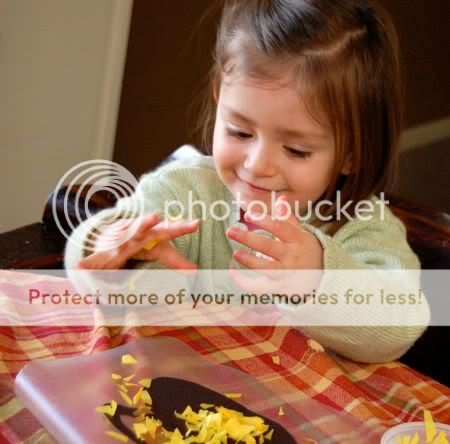
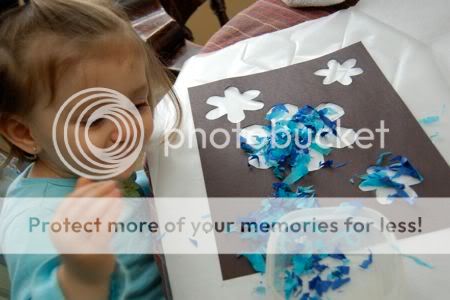
Cut out the snowflakes, and place on top of a sheet of clear contact paper with the sticky side up. Invite your child over to sprinkle the snowflakes with tiny pieces of tissue paper. Clara was so happy to do this!


Encourage your child to cover all the snowflakes with the tissue paper confetti.


Cover with another sheet of clear contact paper over top, and trim the edges. Hang in a bright window!


Beautiful! Have fun!!

Friday, October 16, 2009

Brighten Your Day with a Flower Crown

We were missing the flowers from Spring, but that didn't keep us from making our own flower crowns!


Just seeing all these beautiful colors was enough to brighten our otherwise rainy day.

For instructions on how to make tissue paper flowers, click here!

Friday, September 25, 2009

How to Make Tissue Paper Flowers

We make tissue paper flowers on a regular basis in our household, and I've blogged about them before here and here. We have even been known to make spontaneous deliveries of these to our local assisted living center! During the Fall and Winter months, they can be a nice reminder of warmer weather, and they always look so bright and cheerful! I thought I would share our tissue paper flower technique with you. It's very easy!

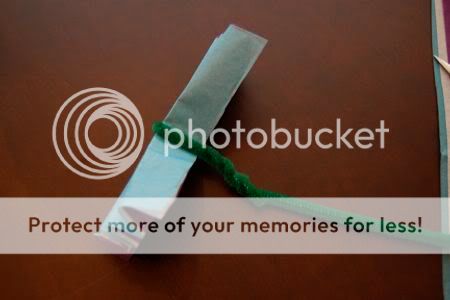
First, cut 3 sheets of tissue paper about 5 x 7 " or so (you can just eyeball it). Begin folding the shorter end accordion style with folds about every 1/2 inch.


Gather the center of the flower by wrapping a pipe cleaner around it as shown.


Now, snip the ends of the tissue paper to make points. This will give the petals a nice shape.


Carefully separate the layers of tissue paper....


And enjoy your beautiful flower! We've sprayed ours with a little perfume to make them smell nice too.

So bright and cheerful, and very frugal!

Tuesday, September 15, 2009

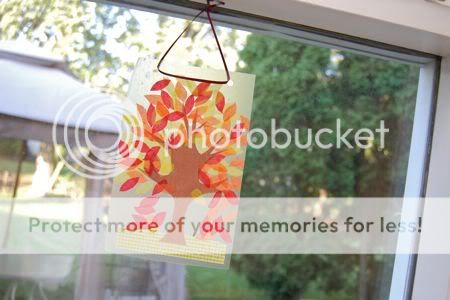
Easy Autumn Tree Suncatcher

This cute Autumn tree suncatcher is an easy craft that even the little ones can do, and it doesn't involve any messy glue. To make your own Autumn tree suncatcher, you will need: clear contact paper, tissue paper, construction paper, and scissors.

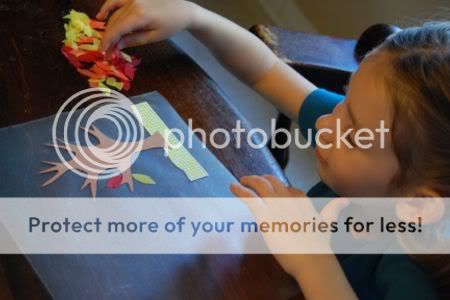
Pre-cut some leaf shapes out of tissue paper. I folded the tissue paper many times before making any cuts, and this made the cutting much faster. Also, cut some brown construction paper to form a tree trunk, and some green construction paper to make some grass. Older kids can do the cutting themselves.

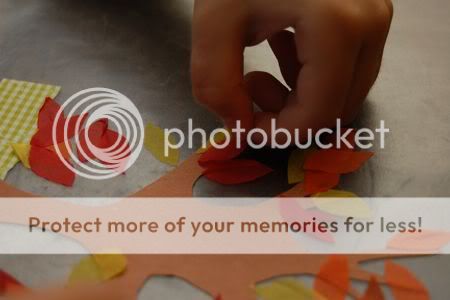
Next, lay a sheet of contact paper sticky side up, and attach the trunk and grass to one side. Invite your child to arrange the leaves on and around the tree.


Fold the contact paper over to form a seal. Trim the edges, and hang with a ribbon.


Admire your beautiful suncatcher!

Have fun!

Thursday, April 9, 2009

Spring Storage Boxes

Looking for some great frugal storage solutions? You may be able to find just what you need by looking in your recycling bin! Emily needed some storage for her books on CD and other music CD's. This little baby food box was sturdy and just the right size and shape. It was easy to spruce up with just a little tissue paper, glue, and some flower photos cut out from a seed catalog. 

Add a little water to the glue to thin it out a bit, and layer tissue paper on the box as though you are making a collage. Cut out flower photos from a seed catalog and glue those on too. Add another layer of glue over the entire box and allow to dry.

Emily worked on this while Clara was napping this afternoon, and it kept Emily quiet and busy for a long time! As an added bonus, she had the opportunity to practice using scissors. Finally a nice place to keep all those CD's organized!
Related Posts with Thumbnails