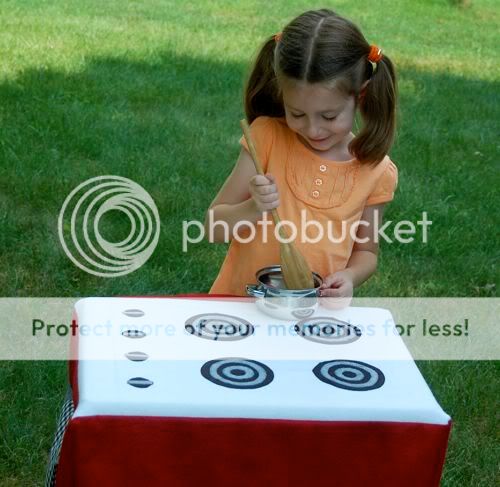
I'm thinking we'll take it with us for trips to the garden plot, visits with grandparents, or just playing outside in the backyard like we did this afternoon.
Showing posts with label indoor. Show all posts
Thursday, July 15, 2010
DIY: Travel Play Kitchen Set
This travel play kitchen set was super-frugal to make, and is perfect for small living spaces since the entire set folds up!
Wednesday, July 14, 2010
Fun with Music -- Ribbon Dancing!
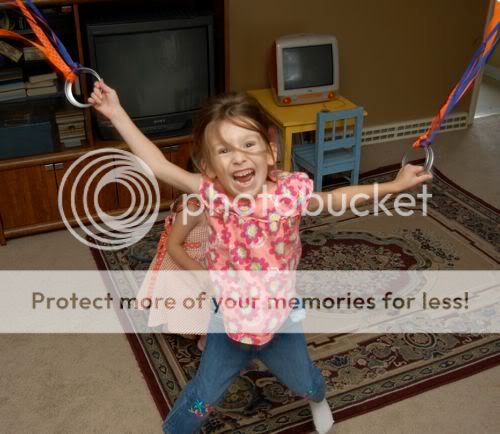
We had rain all day, and the girls needed to burn off some energy. So we tied some ribbon onto some canning lids, cranked up some Latin music, and had a DANCING fiesta in our living room!!
Woo hoo!! Both of the girls had so much fun!!!
Wednesday, June 9, 2010
Pretend Play on a Dime -- Donut Shop
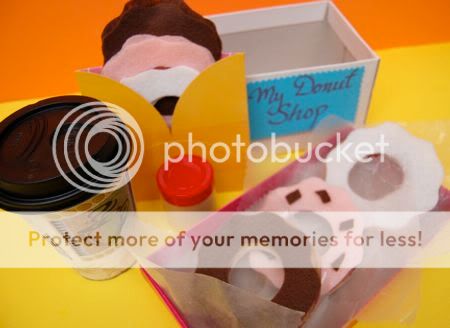
It rained all day today, so while Clara was napping, Emily and I had a nice pocket of time for some crafting. She worked on some adorable paper dolls, and I put this together -- A Mini Pretend Donut Shop!
Clara woke up just as I had finished putting the set together, and we played Donut Shop for hours!!! Emily and I got very specific with our orders so Clara could practice her counting, "I would like one donut with vanilla icing and 4 chocolate sprinkles, please. No more, no less!"
Oh, and she loved pretending to put sugar in my coffee. Did I mention she makes a mean mochachino?
Have fun!!
I linked this post to -- Show Us Your Best!
I used tan felt to sew the donuts (and batting to stuff them), then cut out pieces of felt for the icing and even some sprinkles. I love how the shoebox lid doubles as a serving tray!
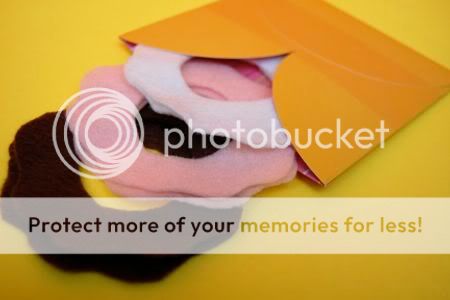
I found an envelope to store all the icing pieces....
.... and the plain donuts also double as bagels! The girls thought the pieces of waxed paper were a nice touch.
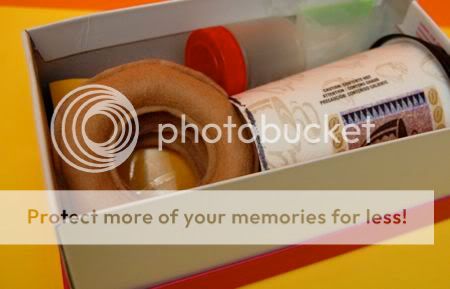
Since all of the pieces fit so nicely into a small shoebox, I thought it would be perfect to take along on vacation just in case we have a day of rain.
Clara woke up just as I had finished putting the set together, and we played Donut Shop for hours!!! Emily and I got very specific with our orders so Clara could practice her counting, "I would like one donut with vanilla icing and 4 chocolate sprinkles, please. No more, no less!"
Oh, and she loved pretending to put sugar in my coffee. Did I mention she makes a mean mochachino?
Have fun!!
I linked this post to -- Show Us Your Best!
Monday, May 24, 2010
Rainbow Slides
On the drive back from the Pancreatic Cancer Symposium last weekend, we were so lucky to spot a fantastic rainbow!! (A sign I took as a good omen!) Emily remarked that she wished she could slide down the rainbow, and I thought that was a great idea!
First, take some photos of the kids pretending to go down a super-fun rainbow slide! Ya-hoo!!!
Have fun!!
Please help send me to Vermont for the Stonyfield Barnstorming Tour by voting for me here! As an added bonus, if I make the top 3, Stonyfield will make a $5000 donation to the Pancreatic Cancer Action Network. ((fingers crossed!))
You are allowed one vote per day per valid email address, and voting ends TOMORROW @ noon EST.
Thank you, thank you, thank you to everyone who is voting for me!! I truly appreciate it!
First, take some photos of the kids pretending to go down a super-fun rainbow slide! Ya-hoo!!!
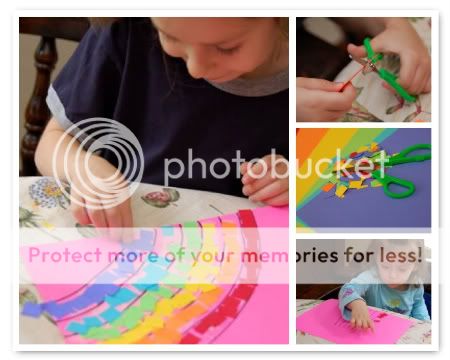
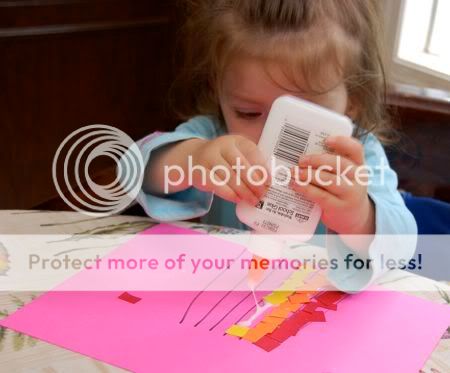
Cut up some small pieces of colored paper to make your rainbow mosaic picture. We focused on one color at a time. This was great cutting practice for Emily! And it's a good exercise for fine-motor skills too!
Clara was soooo happy to see the glue!!
Glue on the cut-out photo, and admire your FUN artwork!! Emily thinks Clara's picture is soooo funny!
Weeeeeeeee!!!
We also found that leftover confetti makes for some fun pixie dust!
Have fun!!
Please help send me to Vermont for the Stonyfield Barnstorming Tour by voting for me here! As an added bonus, if I make the top 3, Stonyfield will make a $5000 donation to the Pancreatic Cancer Action Network. ((fingers crossed!))
You are allowed one vote per day per valid email address, and voting ends TOMORROW @ noon EST.
Thank you, thank you, thank you to everyone who is voting for me!! I truly appreciate it!
Wednesday, May 12, 2010
Ladybug Cuteness
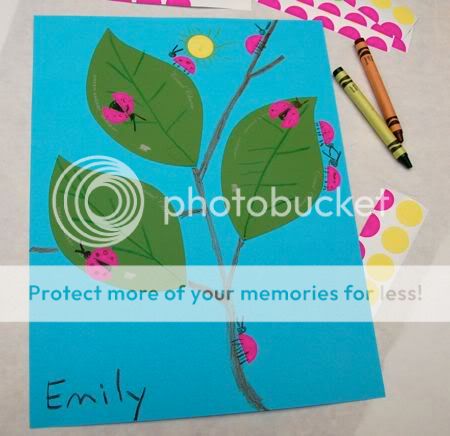
This fun ladybug picture was inspired by a recent ladybug sighting at the playground a few days ago. In our household, we are all about celebrating the little things in life! The best part -- this project is very low cost!!
Did you know that Home Depot has paint chips in the shape of leaves? Fantastic! If you don't already have some, you can pick some up for free! Invite your child to glue the leaves on a sheet of construction paper. Emily loves to use glue!
Monday, May 10, 2010
Easy City Scape Mural
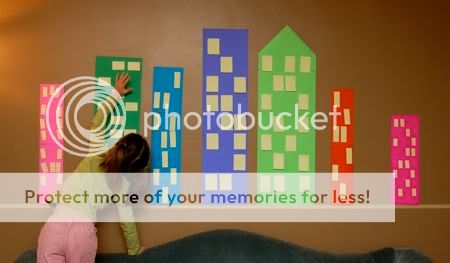
During taping for a segment on today's 10! Show, I had the pleasure of meeting Eren Cannata, a very talented singer/songwriter who was today's musical guest. Eren performed his title track from his latest CD "Blame it on the City" -- a fantastic song, and it was the inspiration for our lovely city scape mural!
Emily and I put the mural together using inexpensive masking tape, construction paper for buildings, and Post-It Notes of various sizes for the windows. I love how bright and colorful it looks in our living room!
Added bonus -- it makes a super-fun backdrop for spontaneous jumping on the couch sessions!!
Tuesday, May 4, 2010
Quick Craft -- Piñata Suncatchers
It's almost time for Cinco de Mayo -- one of my favorite holidays! I love the food, the music, and all the bright beautiful colors! We made fun pinata suncatchers today to make our kitchen look a little more festive. I drew an outline of a donkey onto some construction paper, and Emily cut out the shape leaving the outlined frame.
Lay down a sheet of clear contact paper, sticky side up, and place the outline on top. Then let the kiddos go to town placing bits of tissue paper confetti on top!!
Wednesday, April 14, 2010
LIVE and in HD... It's FFFB!
I was interviewed for two segments LIVE this morning on 69 News at Sunrise to share some of my ideas for family fun on rainy days!
In case you missed today's show, here are the clips:
Special thanks to Eve and the crew over at 69 News WFMZ for such a FUN morning!!
Next, Eve Tannery and I had LOTS of fun gettin' crafty!
Labels:
activities,
blog,
family,
frugal,
fun,
indoor,
inexpensive,
press
Monday, March 29, 2010
Easy Spring Mural
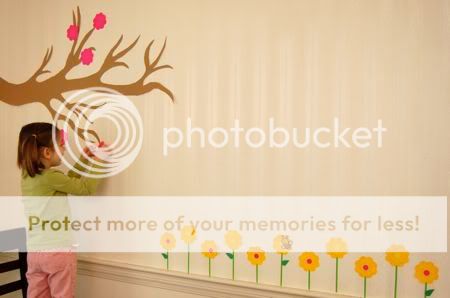
A few days ago, I bought a package of flower-shaped Post-Its. We couldn't resist making an inexpensive no-mess Spring mural with them! While Clara was napping this afternoon, Emily helped me take down the four leaf clovers in the sewing room and replace them with colorful flowers! One pack of Post-Its comes with three different colored flowers. We used color coding labels for the centers of the flowers.
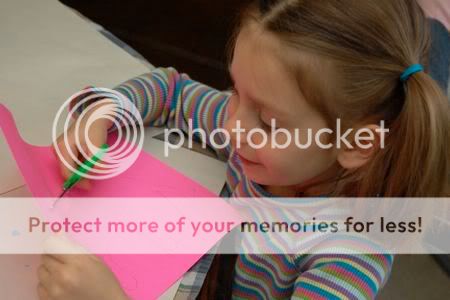
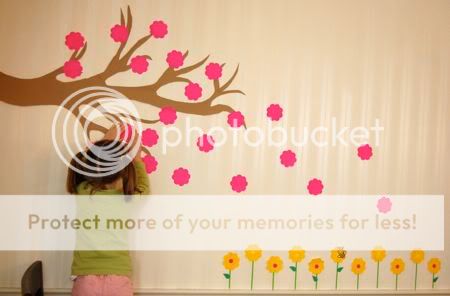
Using a cheap roll of craft paper, I cut out the shape of a tree branch, and used masking tape to hold it to the wall. Emily had a go at it with the pink flower-shaped Post-It notes. She kept adding more and more flowers....
I think it turned out quite nicely...
...and it helped brighten up an otherwise rainy afternoon!
I added this post to:
Monday, March 22, 2010
Crazy Weather Pictures
We've had a lot of crazy weather here lately. One day it's warm and sunny, and the next (like today) is cold and rainy. So we made some crazy weather pictures!
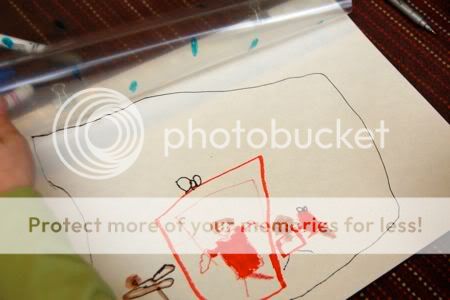
To make your own, you will need a clear sheet protector (very inexpensive), some wipe off markers, two binder clips, and some markers or crayons. Invite your child over to draw with the markers or crayons on a sheet of white paper. Emily has had birthdays on the brain lately, so she drew a picture of Grandpop's birthday and everyone giving him big presents!
Next, layer a clear sheet protector over the top of your child's drawing. Use binder clips to keep the sheet protector in place. With the wipe-off markers, have your child draw rain drops, snow flakes, hail, sunny rainbows, or whatever crazy weather you want, on the sheet protector.
Now you see it....
...now you don't! Erase the wipe-off markers, and repeat again with a different weather pattern!
Take that, crazy weather!
Thursday, March 11, 2010
Birds on a Wire
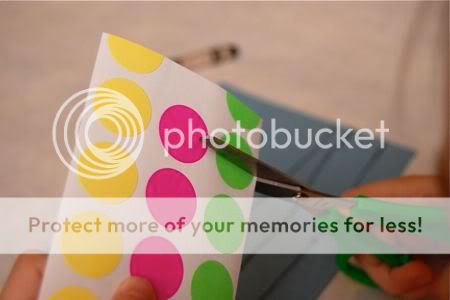
These colorful birds are so happy and cheerful! The best part -- they were made using leftover color coding labels from the dollar store. Very inexpensive, since we had an entire pack of 225 of them for $1!
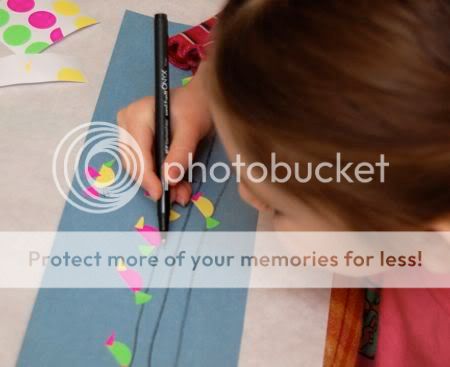
First, we cut a piece of blue construction paper in half to form two long rectangles. Then, Emily drew some "wires" with a black crayon.
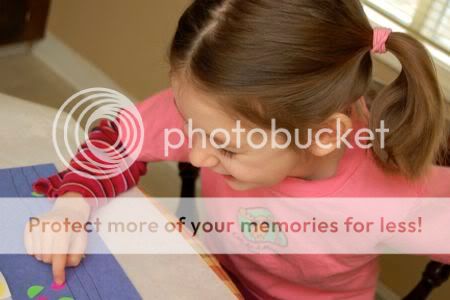
Next, she started to cut up the labels. Half of a circle makes a body for each bird.
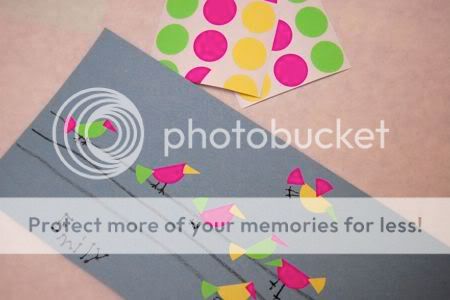
Place the bird bodies along the wire, or flying up in the air, as desired.
A sixth of each circle sticker makes a tail or wing for each bird, and one eighth forms the beak. Emily had no trouble cutting the stickers in half, and I helped cut the smaller pieces for her ahead of time. I love how she wanted to use different colors to make up each bird!
With a fine-tipped black marker, draw in the feet.
Welcome in the birds with your colorful and fun artwork!
We just love Spring, don't you?
Wednesday, March 3, 2010
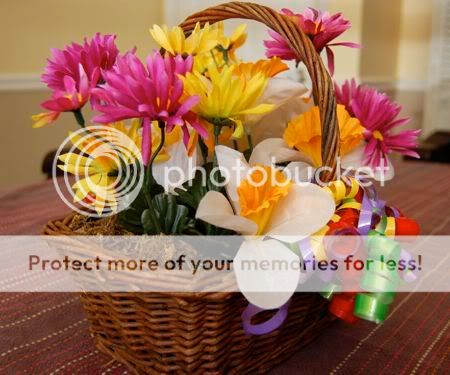
Flower Arranging 101 -- Dollar Store Style
With more snow forecasted for today, this sweet flower arrangement was a nice reminder that Spring will be coming soon!

Isn't it so bright and cheerful? Emily put it together all by herself, and the best part is that all of the materials for this craft either came from the thrift store or the dollar store. Very inexpensive!
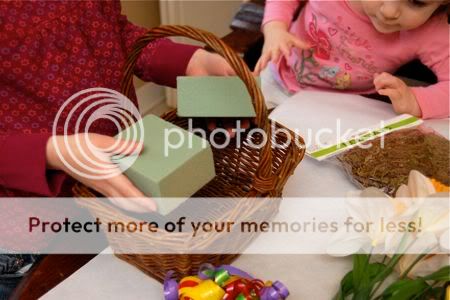
First, we filled this thrifted basket ($0.20) with some floral foam ($0.50). Emily couldn't help but express her love for the dollar store during this step.
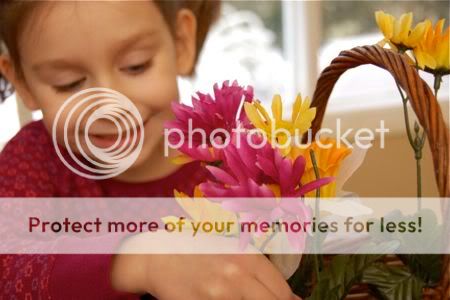
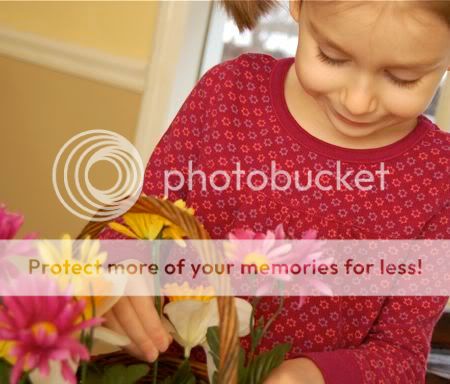
Next, I cut some of the flower stems off groups of fake flowers ($2.00) with wire cutters for Emily to arrange in the basket.
This kept her occupied (and quiet) for a long time!
.....still arranging........ okay, now she's ready.
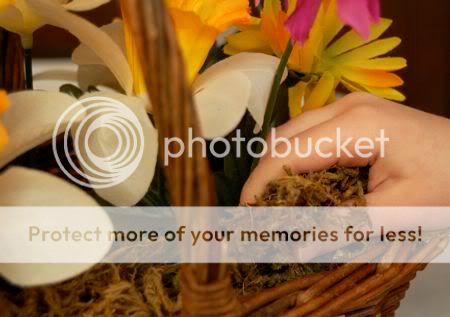
She added a bit of floral moss ($1.00) in-between the flower stems, and tied some colorful curling ribbon ($1.00) on to the basket's handle.
She is so proud of her beautiful centerpiece!
When we were all done, she asked if we could make flower arrangements everyday. I think this activity was a winner!
Labels:
activities,
cheap,
frugal,
fun,
indoor,
inexpensive,
kids,
spring,
thrift store
Monday, March 1, 2010
Crafting with Recyclables - Giant Sunflower
To make your own giant flower, you will need an empty oatmeal canister, some paint, a sheet of tissue paper, and a broomstick. Begin by removing the lid, and label of the canister.
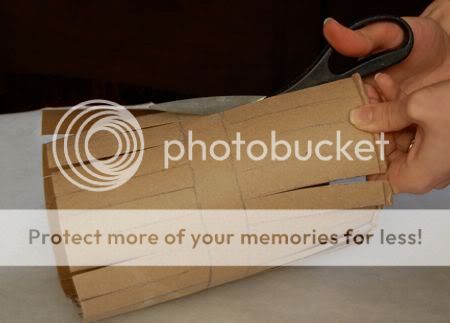
Make some pencil marks, as shown below, and cut the strips using the marks as your guide.
Fold back the petals. Emily thought this looked like a chic bracelet! (I'm beginning to question her unique fashion-sense.)
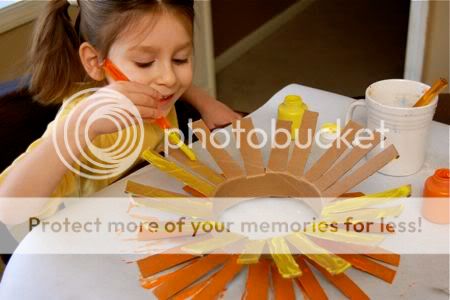
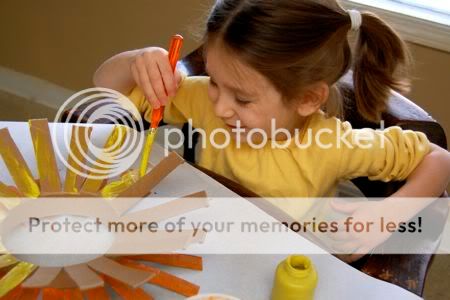
Now the fun part -- paint!!
Allow to dry, and poke a broom handle through for a stem. Fill the center with tissue paper.
Admire your fabulous recycled artwork!
Labels:
crafts,
frugal,
fun,
indoor,
inexpensive,
kids,
recycling,
tissue paper
Friday, February 26, 2010
$5 Friday -- Dollar Store Smiles Edition
When will the snow ever end??? I don't know about you guys, but all this whiteness and being cooped up in the house for far too long was enough to drive us all a little coo-coo. So this afternoon I took Emily with me to the dollar store for another $5 Friday adventure! This time we focused on only buying items that made us smile.
We learned many things along the way! For example, did you know that curling ribbon makes for excellent pig tail holders?
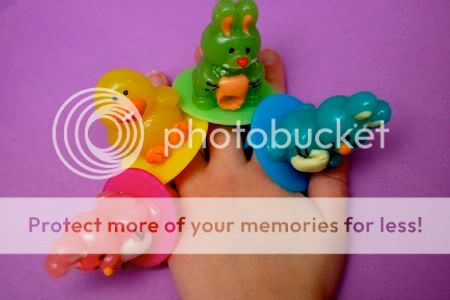
Or that a five year old can fit one candy lollipop ring on each finger?
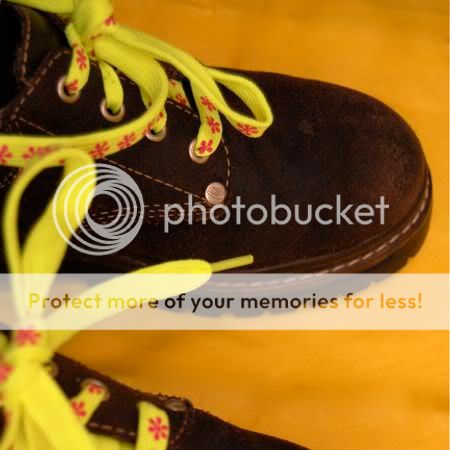
I think these shoelaces are AWESOME! But it wasn't until much later that Mark pointed out to me that they glow in the dark! Now I think they are even MORE AWESOME!
Of course, we love flowers of all kinds! These bunches of fake flowers even had fake butterflies on them.
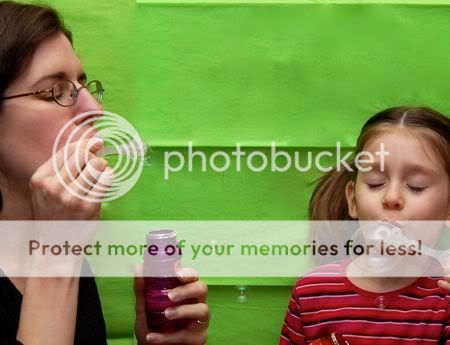
Blowing bubbles is always fun, but we managed to find fruit-scented ones that were even more fun! (Although I don't think they would taste very good at all.)
Here's the breakdown for how we spent our $5 today:
Curling Ribbon (3 pack) = $1.00
Shoelaces = $1.00
Lollipop Rings (6 pack) = $1.00
Fake Flowers = $1.00
Scented Bubbles (3 pack) = $1.00
Total Spent = $5.00!!
Having a fun "snow" day with my girls = Priceless!!
Labels:
activities,
cheap,
family,
five dollar fridays,
frugal,
fun,
indoor,
inexpensive,
kids,
winter
Subscribe to:
Posts (Atom)