

Showing posts with label winter. Show all posts
Showing posts with label winter. Show all posts
Sunday, February 28, 2010
Friday, February 26, 2010
$5 Friday -- Dollar Store Smiles Edition
When will the snow ever end??? I don't know about you guys, but all this whiteness and being cooped up in the house for far too long was enough to drive us all a little coo-coo. So this afternoon I took Emily with me to the dollar store for another $5 Friday adventure! This time we focused on only buying items that made us smile.
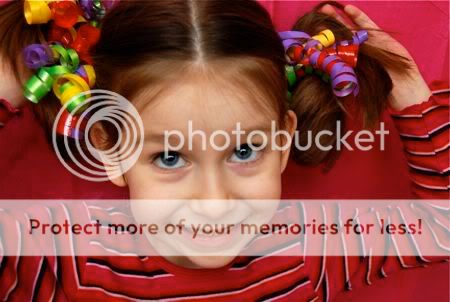
We learned many things along the way! For example, did you know that curling ribbon makes for excellent pig tail holders?


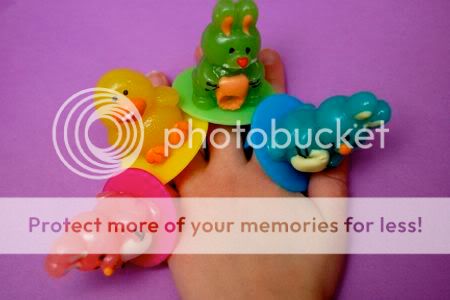
Or that a five year old can fit one candy lollipop ring on each finger?
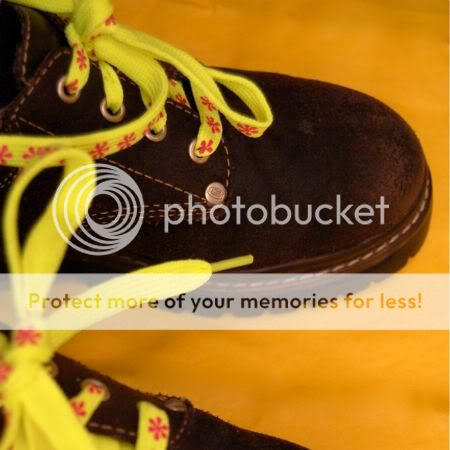
I think these shoelaces are AWESOME! But it wasn't until much later that Mark pointed out to me that they glow in the dark! Now I think they are even MORE AWESOME!
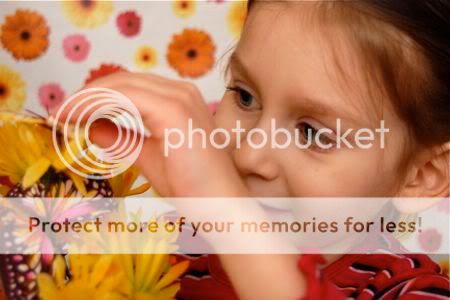
Of course, we love flowers of all kinds! These bunches of fake flowers even had fake butterflies on them.
Blowing bubbles is always fun, but we managed to find fruit-scented ones that were even more fun! (Although I don't think they would taste very good at all.)
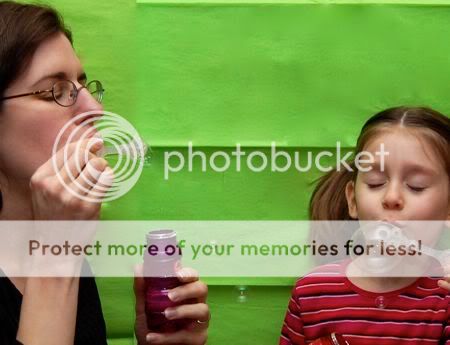
Here's the breakdown for how we spent our $5 today:
Curling Ribbon (3 pack) = $1.00
Shoelaces = $1.00
Lollipop Rings (6 pack) = $1.00
Fake Flowers = $1.00
Scented Bubbles (3 pack) = $1.00
Total Spent = $5.00!!
Having a fun "snow" day with my girls = Priceless!!
Thursday, February 25, 2010
Psychedelic Snowman Sculpture
Who says you can only build a snowman outdoors? And while we're at it... why can't he be a bit more colorful?


After gathering some snow from outside, we made our sculptures with it....

...and we brightened up our designs using some sheets of bleeding art tissue paper! [Note: This is different from regular tissue paper.]

Our snowman was treated to a psychedelic makeover!


Groovy, man.... Groovy!
To add some color to the snow outdoors, mix some food coloring with water in a squirt bottle like we did here. Have fun!!
Tuesday, February 23, 2010
Sunny Day
We made our own sunshine today! There was lots of sunbathing....


...jumping around in our bathing suits, dancing to music by The Beach Boys...

...reading trashy novels (or library books)....

...and what beach day would be complete without ice pops?

Now, if you'll excuse me.... I think I hear my piña colada calling.
Sunday, January 31, 2010
Spring is Here! (Sort of...)
Winter can be dark, dreary, and COLD here in Pennsylvania. This year, we thought it would be fun to trick that stupid groundhog into predicting an early Spring.


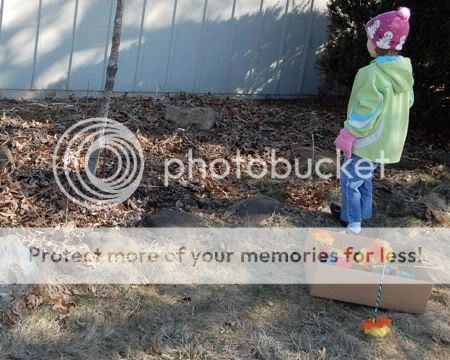
We went outside armed with tons of tissue paper flowers....

....and planted them all over the place!

Soon, it was very colorful! Some flowers bloomed from bushes....

...others in the ground....
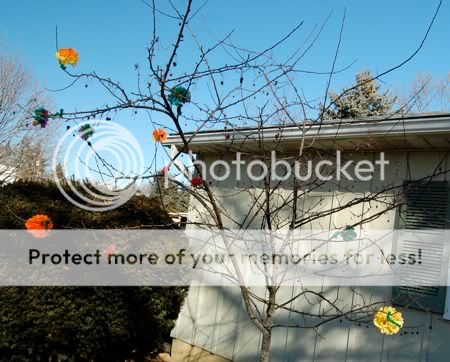
...and some even bloomed in the trees!

While we were doing this, a little old lady drove by, did a double-take, and got a huge grin on her face!
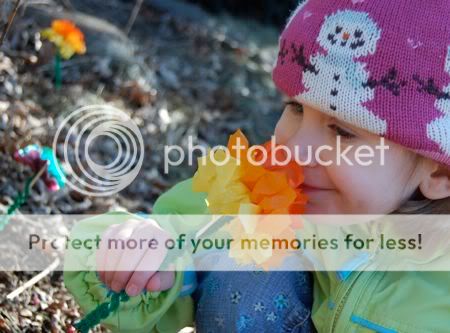
Take that, Punxsutawney Phil!
To make your own tissue paper flowers, click here. Have fun!
Sunday, January 24, 2010
Weekend Rewind -- Indoor Sandbox
Hope everyone is enjoying the weekend! Here's a fun post from our archives, and one that I talked about on our debut for The 10! Show. The girls had so much fun with this indoor sandbox, and it's a great activity even the littlest ones can enjoy!
 One of the things Emily misses the most about Spring and Summer is playing outside in her sandbox. I created an indoor version that was a big hit for both of my girls. You might already have an inflatable pool (most likely it is hanging out in the garage for the winter). We brought ours inside and Mark used the air compressor to blow it up quickly....
 Instead of sand, we used oatmeal. Lots and LOTS of oatmeal! I love using the oatmeal instead of sand because I did not have to worry about Clara eating it, and it is much easier to clean up. You can find large containers of oatmeal at the dollar store or places like Big Lots. This pool used about $14 worth of oatmeal to fill it up.
 The girls played in here for several hours, and we will use the empty containers for future projects. When they were finished we dumped all the play oatmeal into a large plastic bin (to use for more projects) and deflated the pool.
 It was great to see them enjoying this so much! Just a few shovels, funnels, and cups kept them very entertained.
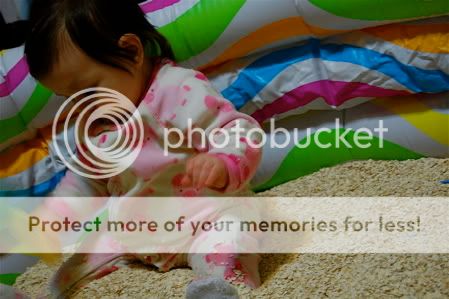 One of the things Emily misses the most about Spring and Summer is playing outside in her sandbox. I created an indoor version that was a big hit for both of my girls. You might already have an inflatable pool (most likely it is hanging out in the garage for the winter). We brought ours inside and Mark used the air compressor to blow it up quickly....
 Instead of sand, we used oatmeal. Lots and LOTS of oatmeal! I love using the oatmeal instead of sand because I did not have to worry about Clara eating it, and it is much easier to clean up. You can find large containers of oatmeal at the dollar store or places like Big Lots. This pool used about $14 worth of oatmeal to fill it up.
 The girls played in here for several hours, and we will use the empty containers for future projects. When they were finished we dumped all the play oatmeal into a large plastic bin (to use for more projects) and deflated the pool.
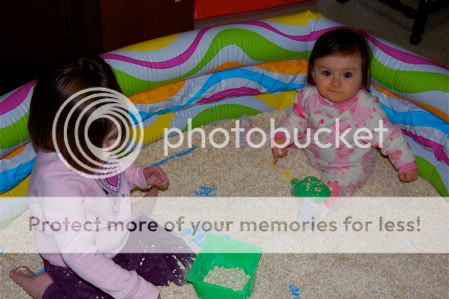 It was great to see them enjoying this so much! Just a few shovels, funnels, and cups kept them very entertained.
Thursday, January 21, 2010
Easy Super-Cute Penguin Prints
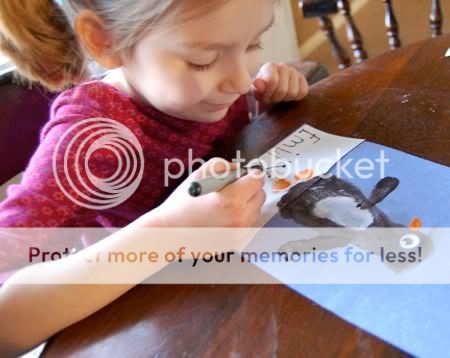
Emily thought these penguin prints were so much fun to make! She wants to make a girly penguin so this handsome guy can have some company.
To make your own penguin prints, you will need some paint, construction paper, glue, and some googly eyes. You may want to have some baby wipes on-hand.
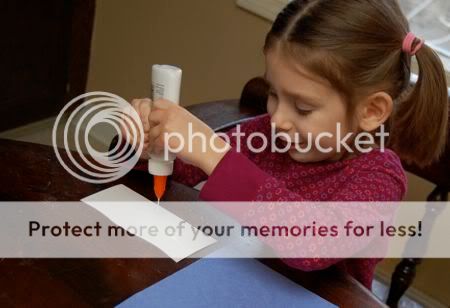
Begin by gluing your snowy landscape onto the background construction paper.

We went foot-loose and fancy-free for this craft! Take off your child's socks and paint the bottom of the foot as shown.
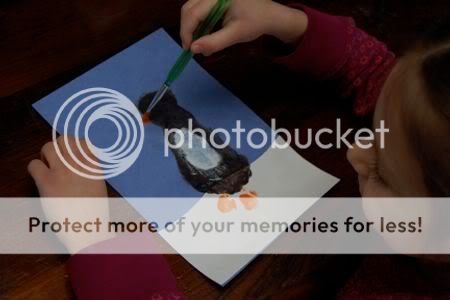
Make the foot print on the paper, (use those baby wipes to wipe down the foot), and use a paintbrush to add a beak to your penguin.

Emily dipped her finger in some black paint to add the penguin's wings.
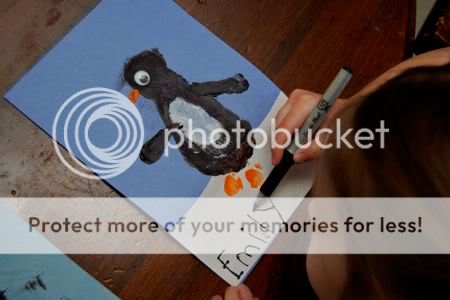
Add a googly eye, and have your child sign this beautiful artwork to hang proudly in your home!
Wednesday, January 20, 2010
Low-Mess Mittens Painting

Clara and Emily loved painting these mitten pictures, and there was very little mess involved! The secret is to use bleeding art tissue, which is available at any art supply store and is very inexpensive.
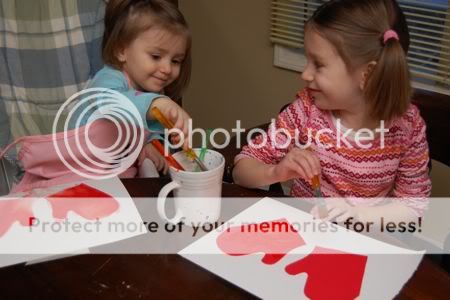
I cut out some mitten shapes from the bleeding art tissue paper and arranged them on top of some very thick water color paper. Since the tissue paper is so thin, I cut out all four mittens at the same time by layering the paper. Very quick and easy!

Then the girls used water to paint on top of the art bleeding tissue paper.

We were having so much fun with this!

Peel off the tissue paper and you'll have a great reveal! I was surprised how vibrant the colors turned out.
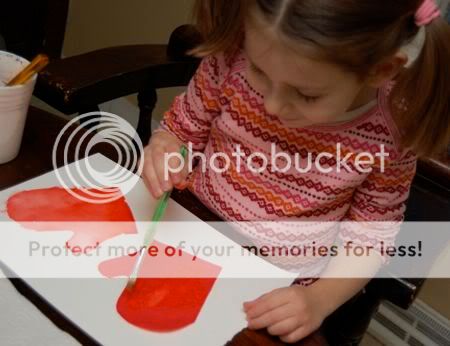
Repeat the process with the second mitten. Emily thought this was so cool!
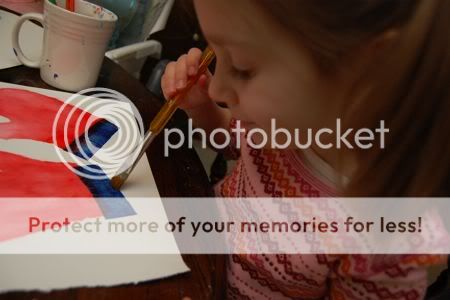
We added a little trim to our mittens. You know, since we were having so much fun, and all!
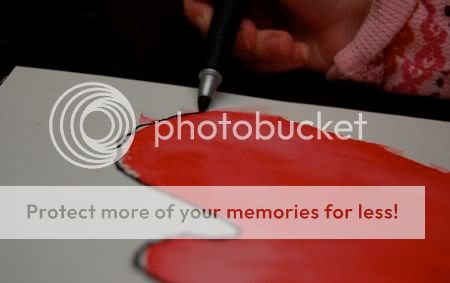
Outline your paintings with black marker for a nice finishing touch.
Beautiful, frugal, and without all the mess of paint!
Tuesday, January 19, 2010
Indoor Snow Picnic
The girls wanted to have a picnic snack this afternoon, so we made an indoor snow picnic -- it was so much fun! Clara, still in her pajamas, was delighted to see this set up in our living room.


Emily helped me hang some leftover wrapping paper up on the wall, and we used white blankets and pillows for "snow" on the floor. I covered some sofa cushions with a white blanket for a table. It was perfect!


Then, we snacked on white food (white bread, cheese, and some marshmallows - yum!).


Time for some hot cocoa!
Monday, January 18, 2010
Peace Dove Handprints
In honor of Martin Luther King, Jr. Day, we made peace doves using hand prints! This was a quick and fun craft, and it introduced the dove as a symbol of peace.


 ...and an eye!

To make your own peace dove handprint, you will need: white paint, orange and blue construction paper, glue, and a paint brush. Oh yes, and a hand!
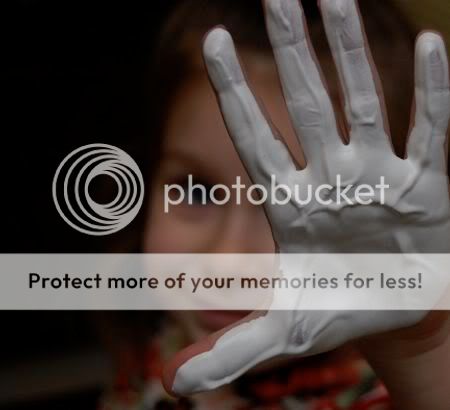
First, dip your child's hand into some white paint.

Press onto blue construction paper with fingers closed and thumb extended.

Add a beak....

....and some wings.....
 ...and an eye!
Happy Martin Luther King, Jr. Day!!
Subscribe to:
Posts (Atom)
