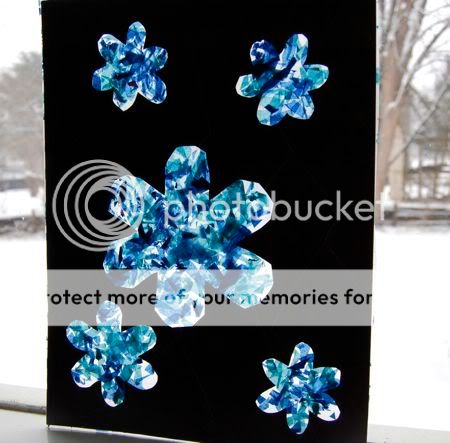
I thought our front door needed a bit more..... color.
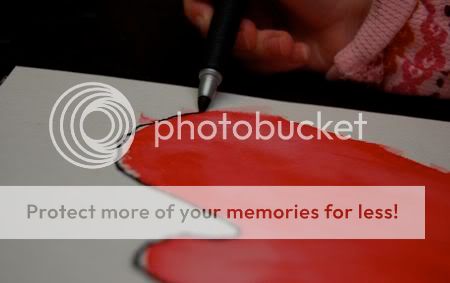
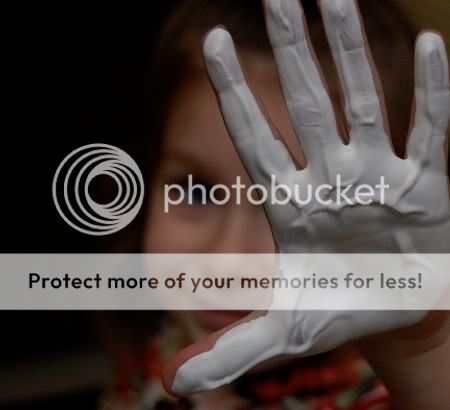
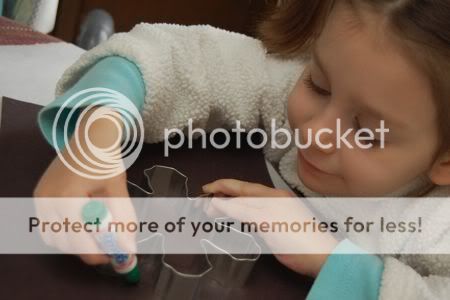
So we broke out the paints and markers.....
Showing posts with label quick. Show all posts
Tuesday, July 20, 2010
Monday, July 5, 2010
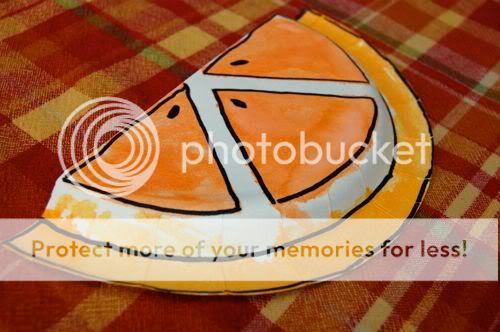
Painted Orange Slices
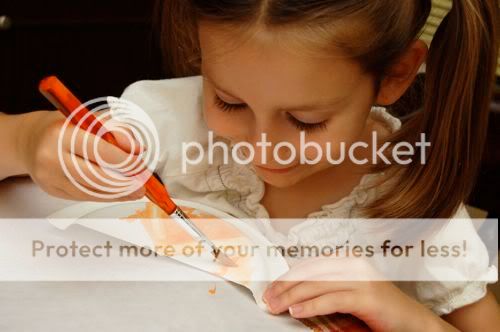
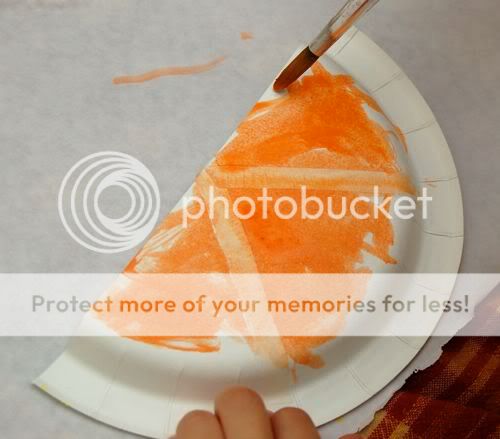
The girls loved painting these cute orange slices, and they were so simple to make! Just cut a paper plate in half, and use some masking tape to mark off the segments of the orange. Invite the kiddos over to paint!!
Emily will take any excuse to paint, plus her favorite color is orange, so this craft was an instant hit!
Have fun!!
Emily will take any excuse to paint, plus her favorite color is orange, so this craft was an instant hit!
It didn't take long for Clara to get in on the painting action too!
Orange slices always make me think of Summer!
Allow the paint to dry completely, then peel off the masking tape and outline with black marker. Beautiful and super-frugal!!
Have fun!!
Saturday, July 3, 2010
Quick Craft -- Tie Dyed Sunshine Ornaments
You won't believe how quick, easy and frugal this project is!!
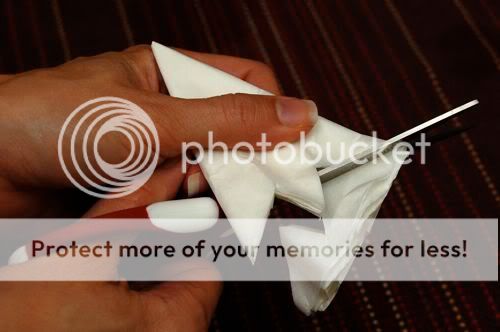
For a crafty fun time, fold a coffee filter in half 3 times, and cut the outer edge as shown.
They make me smile every time I see them!! Have fun!!!
Emily and I will be on NBC's The 10! Show this Tuesday to demo quick (and frugal) Summer crafts for kids -- if you would like free tickets to the show, click here! We would LOVE to meet you!!
For a crafty fun time, fold a coffee filter in half 3 times, and cut the outer edge as shown.
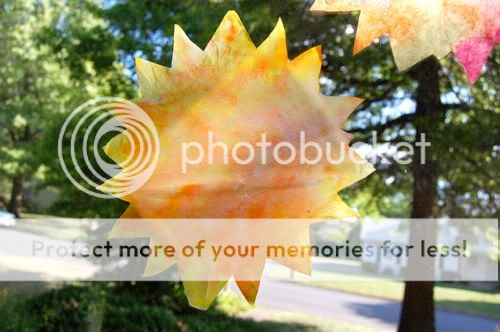
Open up the coffee filter to make a sun, and invite the kiddos over to paint with yellow, orange, and pink/red water colors on it!!
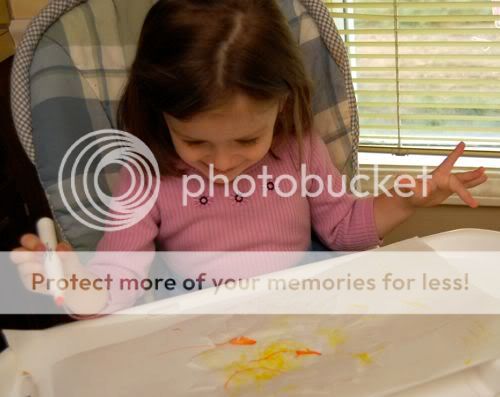
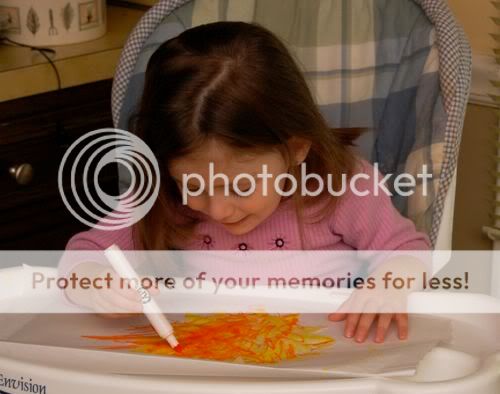
Since Clara is so young, I gave her markers to use instead (which kept the mess to a minimum), and then she painted with water over top.
She loved all the bright yellow and orange!
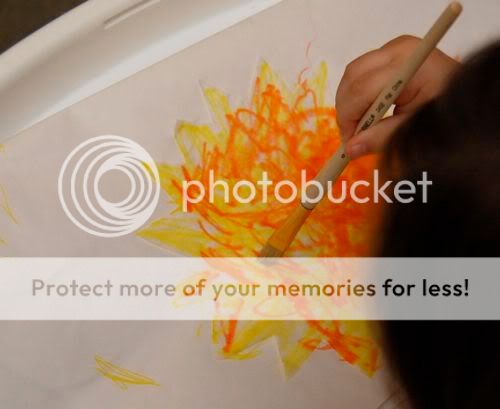
...and she especially loved using the paintbrush with some water to blend the colors together!
Emily thought the colors blended so well that it looked a bit like tie-dye!
Groovy, man!
Allow the coffee filters to dry, and display proudly in a sunny window!
They make me smile every time I see them!! Have fun!!!
Emily and I will be on NBC's The 10! Show this Tuesday to demo quick (and frugal) Summer crafts for kids -- if you would like free tickets to the show, click here! We would LOVE to meet you!!
Wednesday, May 12, 2010
Ladybug Cuteness
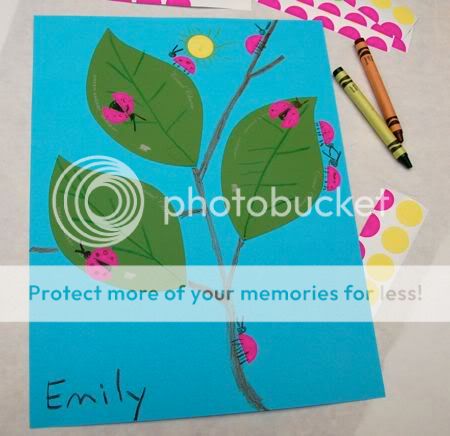
This fun ladybug picture was inspired by a recent ladybug sighting at the playground a few days ago. In our household, we are all about celebrating the little things in life! The best part -- this project is very low cost!!
Did you know that Home Depot has paint chips in the shape of leaves? Fantastic! If you don't already have some, you can pick some up for free! Invite your child to glue the leaves on a sheet of construction paper. Emily loves to use glue!
Tuesday, May 4, 2010
Quick Craft -- Piñata Suncatchers
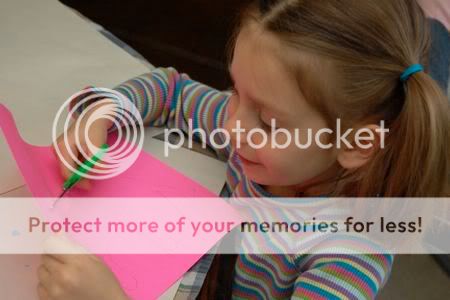
It's almost time for Cinco de Mayo -- one of my favorite holidays! I love the food, the music, and all the bright beautiful colors! We made fun pinata suncatchers today to make our kitchen look a little more festive. I drew an outline of a donkey onto some construction paper, and Emily cut out the shape leaving the outlined frame.
Lay down a sheet of clear contact paper, sticky side up, and place the outline on top. Then let the kiddos go to town placing bits of tissue paper confetti on top!!
Tuesday, April 13, 2010
Easy Hyacinth Paintings
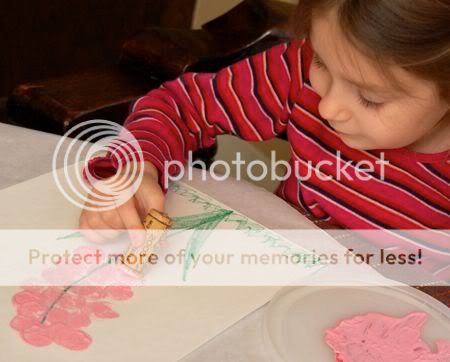
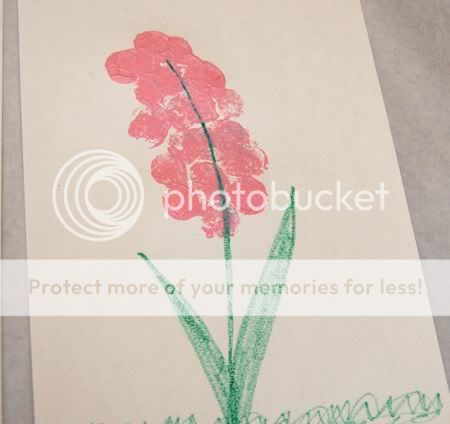
The hyacinths are in full bloom at our house, and to celebrate, the girls made these fun paintings using a cork as a stamp!
I drew the stem and leaves, and the girls dipped the cork in some pink paint and stamped away!
This project combined two of their favorite activities -- painting and stamping!
Here's how Emily's turned out.
I can appreciate the "artistic license" Clara used to stamp hers.
Lots of fun!!
Thursday, March 18, 2010
Quick Craft -- Spring Tree Sculpture
It happened right before my very eyes -- Emily turned 6 years old!!! We had a fun time at the zoo, and went out for lunch to celebrate. When we got home, Clara crashed for a nap, so Emily and I snuck in this super-quick Spring craft project.
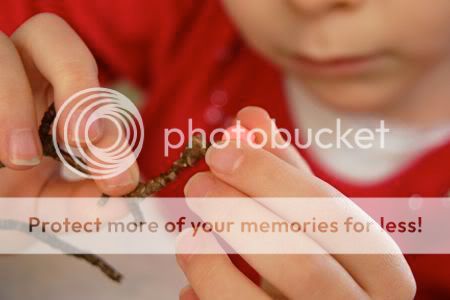
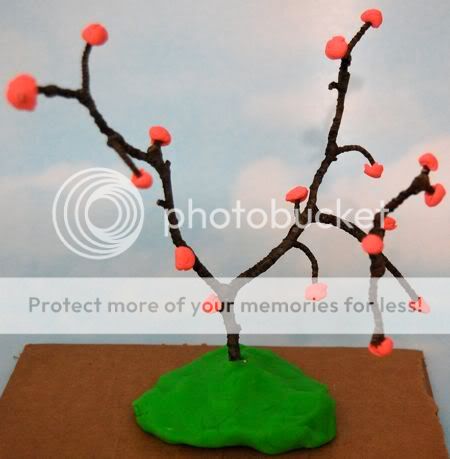
For this Spring tree sculpture, make a base of green play dough to insert a twig for your tree as shown.
Make some small balls of pink play dough and attach them to the ends of the branches to form blossoms.
Continue adding blossoms until the tree is full of them.
If Spring isn't coming soon enough for you, sometimes you have to take matters into your own hands!
Have fun!!
Thursday, January 21, 2010
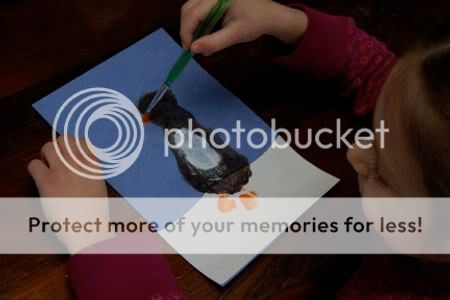
Easy Super-Cute Penguin Prints
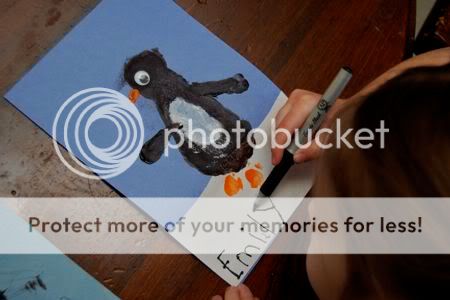
Emily thought these penguin prints were so much fun to make! She wants to make a girly penguin so this handsome guy can have some company.
To make your own penguin prints, you will need some paint, construction paper, glue, and some googly eyes. You may want to have some baby wipes on-hand.
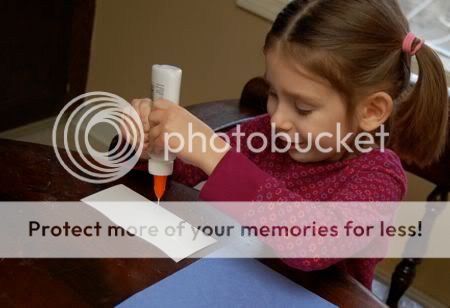
Begin by gluing your snowy landscape onto the background construction paper.
We went foot-loose and fancy-free for this craft! Take off your child's socks and paint the bottom of the foot as shown.
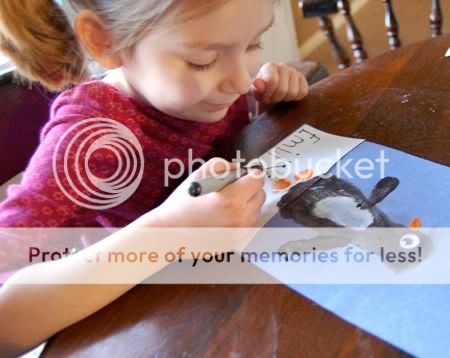
Make the foot print on the paper, (use those baby wipes to wipe down the foot), and use a paintbrush to add a beak to your penguin.
Emily dipped her finger in some black paint to add the penguin's wings.
Add a googly eye, and have your child sign this beautiful artwork to hang proudly in your home!
Wednesday, January 20, 2010
Low-Mess Mittens Painting
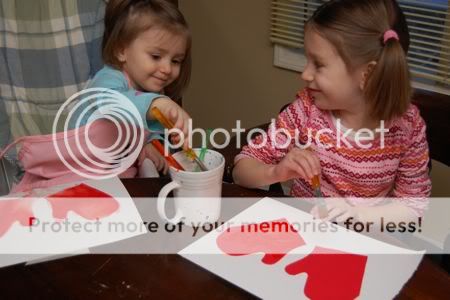
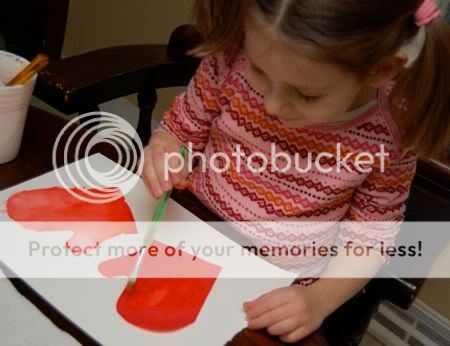
Clara and Emily loved painting these mitten pictures, and there was very little mess involved! The secret is to use bleeding art tissue, which is available at any art supply store and is very inexpensive.
I cut out some mitten shapes from the bleeding art tissue paper and arranged them on top of some very thick water color paper. Since the tissue paper is so thin, I cut out all four mittens at the same time by layering the paper. Very quick and easy!
Then the girls used water to paint on top of the art bleeding tissue paper.
We were having so much fun with this!
Peel off the tissue paper and you'll have a great reveal! I was surprised how vibrant the colors turned out.
Repeat the process with the second mitten. Emily thought this was so cool!
We added a little trim to our mittens. You know, since we were having so much fun, and all!
Outline your paintings with black marker for a nice finishing touch.
Beautiful, frugal, and without all the mess of paint!
Monday, January 18, 2010
Peace Dove Handprints
In honor of Martin Luther King, Jr. Day, we made peace doves using hand prints! This was a quick and fun craft, and it introduced the dove as a symbol of peace.
To make your own peace dove handprint, you will need: white paint, orange and blue construction paper, glue, and a paint brush. Oh yes, and a hand!
First, dip your child's hand into some white paint.
Press onto blue construction paper with fingers closed and thumb extended.
Add a beak....
....and some wings.....
Happy Martin Luther King, Jr. Day!!
Friday, January 8, 2010
Easy Snowflake Suncatchers
Both of the girls are so proud of how their beautiful stained glass snowflakes turned out, and they were so easy (and frugal) to make! Clara was delighted to have a go at this craft, and gave a huge smile when she saw her finished work on display in the window.
Using a snowflake-shaped cookie cutter as a pattern, trace the outline onto black construction paper. Older kids can do this themselves, or even for a younger sibling too. You didn't think I did all that tracing myself, did you?
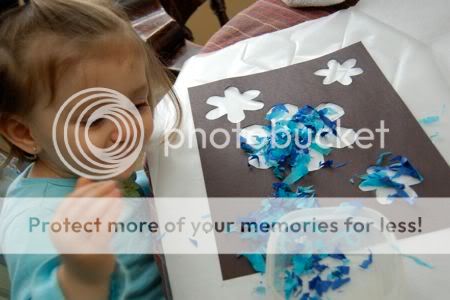
Cut out the snowflakes, and place on top of a sheet of clear contact paper with the sticky side up. Invite your child over to sprinkle the snowflakes with tiny pieces of tissue paper. Clara was so happy to do this!
Encourage your child to cover all the snowflakes with the tissue paper confetti.
Cover with another sheet of clear contact paper over top, and trim the edges. Hang in a bright window!
Beautiful! Have fun!!
Subscribe to:
Posts (Atom)