Showing posts with label spring. Show all posts

Wednesday, May 12, 2010

Ladybug Cuteness

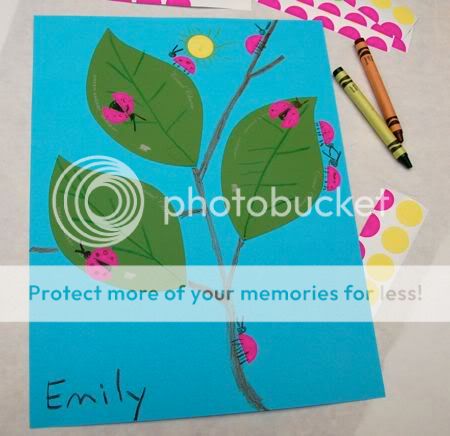
This fun ladybug picture was inspired by a recent ladybug sighting at the playground a few days ago. In our household, we are all about celebrating the little things in life! The best part -- this project is very low cost!!


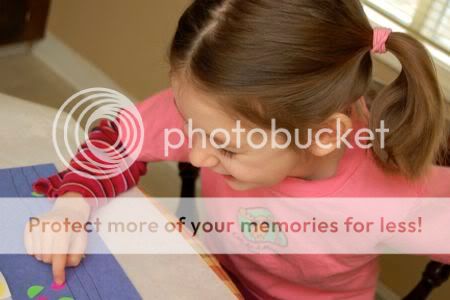
Did you know that Home Depot has paint chips in the shape of leaves? Fantastic! If you don't already have some, you can pick some up for free! Invite your child to glue the leaves on a sheet of construction paper. Emily loves to use glue!

Tuesday, April 13, 2010

Easy Hyacinth Paintings

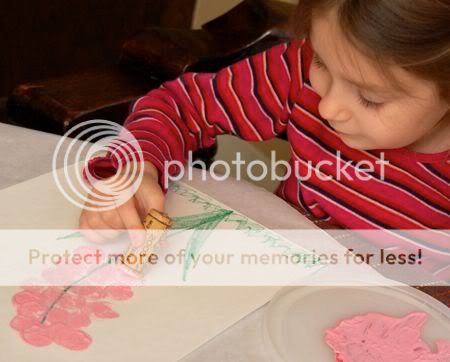
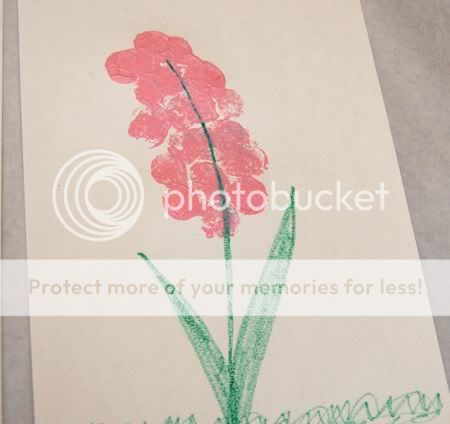
The hyacinths are in full bloom at our house, and to celebrate, the girls made these fun paintings using a cork as a stamp!


I drew the stem and leaves, and the girls dipped the cork in some pink paint and stamped away!


This project combined two of their favorite activities -- painting and stamping!


Here's how Emily's turned out.


I can appreciate the "artistic license" Clara used to stamp hers.


Lots of fun!!

Tuesday, April 6, 2010

Easy Kid-Made Stamp Wheels

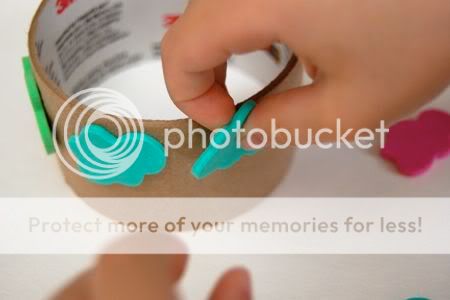
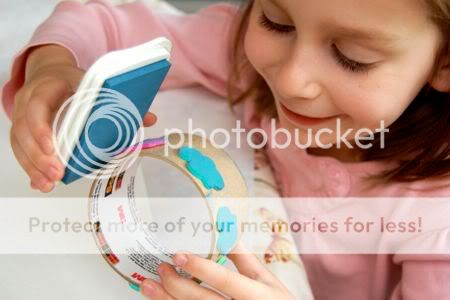
Emily was so happy to make her own stamp wheel so she could create this fun rainy day picture! The stamp wheels were easy to make and made good use of recyclables.


We used some foam stickers we had on-hand, in this case, clouds and raindrops. Emily started by sticking the cloud stickers around an empty packaging tape tube. We try to find ways to recycle just about anything in our household!


Next, she used an ink pad on the stickers.


Then it was time to rock 'n ROLL -- all along the top edge of the paper! FUN!!


Repeat the process with the raindrop stickers to make another stamp wheel, and roll the raindrop stamps all over the paper. This rolling stamp thing -- it just never gets old!


Don't forget to sign your beautiful artwork!


Have fun!!

I listed this post at:

Monday, April 5, 2010

Blossoming Cherry Tree

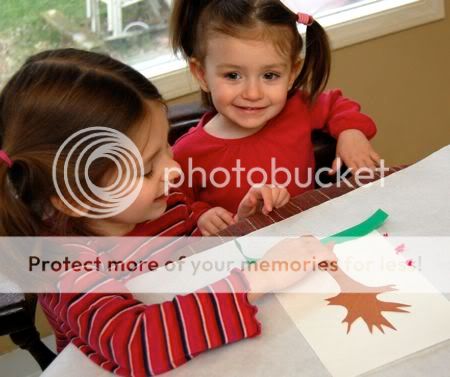
With just a bit of help from her big sister Emily, Clara was able to enjoy some crafting fun with this blossoming cherry tree craft! To make your own, you will need brown, white, and green paper (we recycled some leftover scrap paper), pink tissue paper (again, recycled from a gift bag), and some glue.

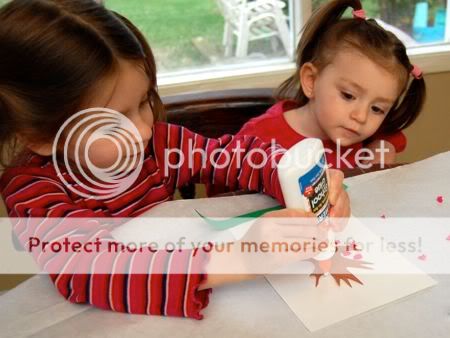
I cut a tree trunk shape from the brown paper, and helped Emily tear a strip of green paper for the grass. Then, Emily began by gluing the grass and tree trunk to the white background paper. Clara was very excited to see the glue!


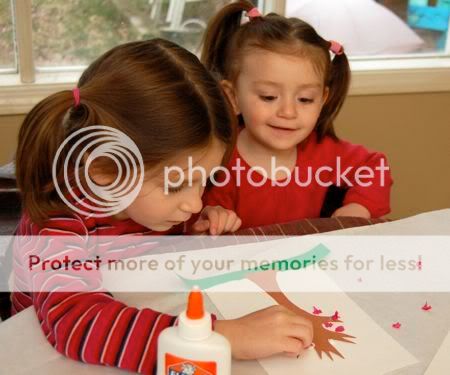
Next, Emily took her job as "big sister" quite seriously, and put little dots of glue where the blossoms will go.


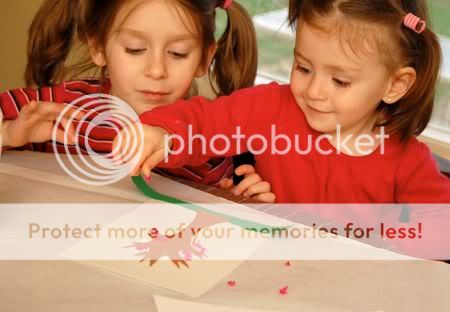
She showed Clara how to attach the blossoms (scrunched up bits of pink tissue paper). Clara said, "Oh! Wow!!".... and then.....


... Clara added LOTS of blossoms to the cherry tree! It was a cherry blossom explosion!


Allow the glue to dry completely and admire your beautiful cherry tree!


Added bonus -- This is one cherry tree that won't make me sneeze!

Saturday, April 3, 2010

Weekend Rewind -- Make Kites, Not Friends

It's time for another fun post from the archives. Here's an activity we plan to do again this weekend! The kites were A LOT of fun! The snooty moms at the playground, not so much, but it made for an interesting story. Wishing you and your family a wonderful Easter weekend!

Today's post was going to be all about making kites, and how we followed this great tutorial from maya made showing how to make your own kite. Not just any kite, mind you, but the best damn kite ever!

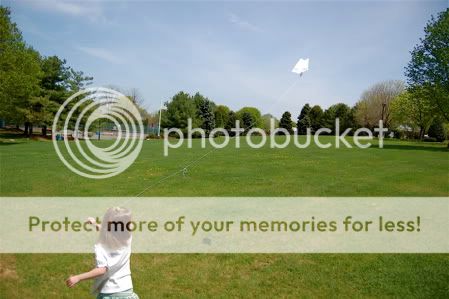
I'm planning a similar activity for my MOMS Club, so I thought I would take the girls over to the playground for a "test run". The girls and I were having a fabulous time, and the kites flew really well.

Then something weird happened. Two moms and their kids walked over to the playground from the apartment complex near my house. I thought it would be nice to see if they would like to join us. After all, it is a beautiful day, perfect for flying kites, and I had plenty of materials for all of us. So I walk over to them, smile and say hello, and asked if they would like to build some kites with us. No response, and get this -- they both completely looked the other way!!! What is up with that????

Now that I'm officially a victim of complete playground rejection, I just don't understand it. I mean, what is the point? I always felt that being a stay-at-home mom meant that we were all in this together, and should try to support one another as best we can. I know a lot of us complain that it is difficult to meet other moms, or have a social life, in general. But when someone takes the time to be friendly and approach you, do you react this way? No!

I hoping maybe, just maybe, this was all some stupid misunderstanding. Like maybe when I asked if they would like to build kites, they heard, "Would you like a steaming hot bowl of herpes?". Or perhaps, as my friend Jenny Henny suggested, they don't speak English. I like to give people the benefit of the doubt, but I have to say, this was a bit of a blow.

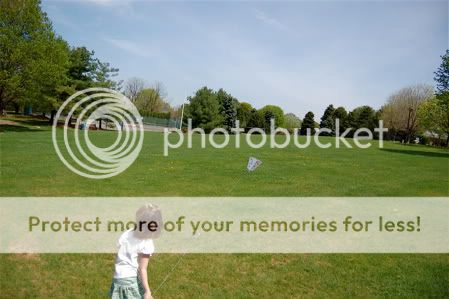
Now, about the kites. Let me tell you, they are super-easy to make, and they fly very well -- even with just a slight breeze! Emily liked running back and forth with hers in the field.

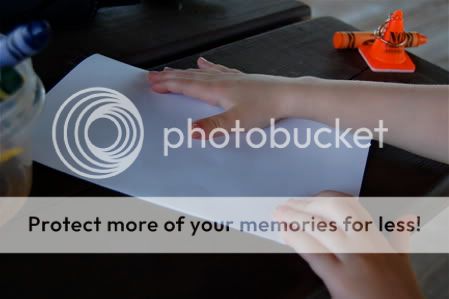
Here's how to make your own kite: First, fold your paper in half, like this.....


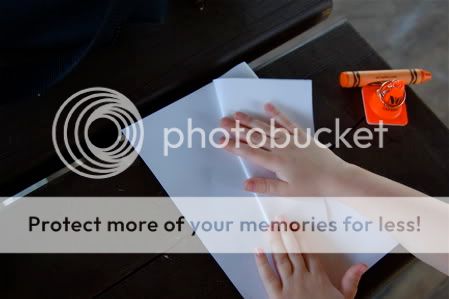
Next, fold the flaps over on an angle, like this.....


Then, add a bamboo skewer to the back like this. Attach with tape.


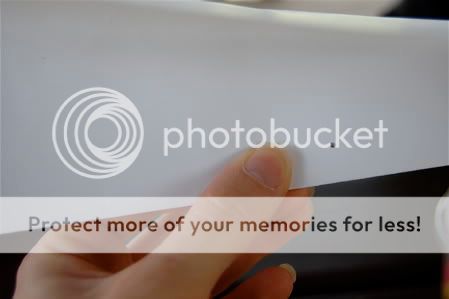
Punch a hole in the kite, along the fold, to attach the string.


Fly, and enjoy!
I can guarantee the kite will fly. However, no guarantees that it will make you any new friends.... sorry!

Thursday, March 25, 2010

Flowers as Canvas

Our Star Magnolia tree is just starting to bloom with beautiful white blossoms.


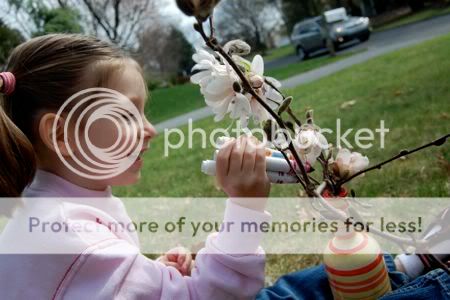
We trimmed some of the branches, and placed them in a vase. The girls LOVED coloring on the white petals with bright markers! Art and nature ....combined!


Clara took this coloring job very seriously. It's hard work, being a crafty toddler, and all!


She did a lovely job, don't you think?


I love Emily's multi-marker approach -- the blossoms looked like they had been splatter-painted!

I was surprised how well the blossoms held up to all that coloring. So much fun!!

Wednesday, March 24, 2010

We're Featured for Work of Art Wednesday!


Today we were featured at Mommy Moment, where we shared this fun Spring craft project for "Work of Art Wednesdays"! You can see how we made it here!
Thanks for featuring us, Jody!

Tuesday, March 23, 2010

Flower Prints from Soda Bottles

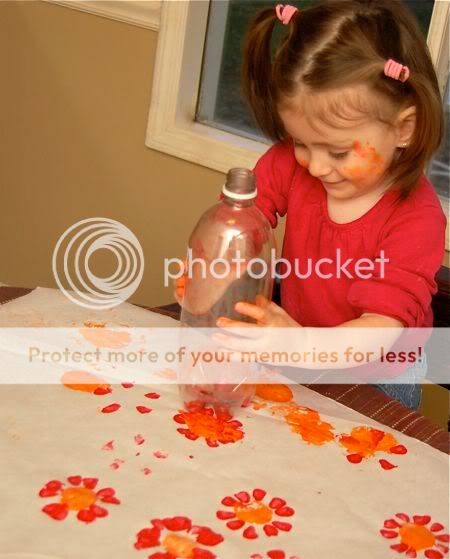
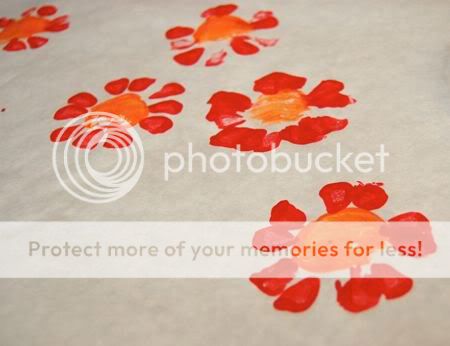
Another rainy day here, and the girls were starting to go through a bit of "messy art withdrawl". We made flower prints using empty soda bottles! In our case, they were empty seltzer water bottles, but you get the idea.

Clara really got into the painting today! She could hardly contain her excitement!


In mind, were similar prints I had seen on various blogs, but had forgotten about until I spotted a few empty bottles in our Invention Kit.

To make your own flower prints, roll out some freezer paper. Dip the bottom of an empty soda bottle into some paint, then stamp on the paper. Rotate the bottle around to make even more petals!


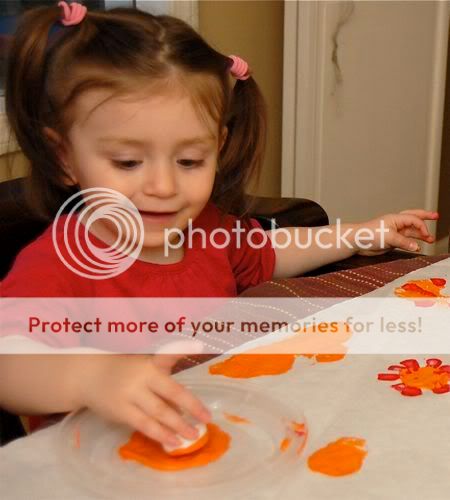
Dip the bottle cap into some paint and it makes a great stamp for the centers of the flowers! The girls took turns stamping with the cap and the bottle. So much fun!


They look so bright and cheerful!


Bonus points for drinking imaginary water from your empty bottle!


EXTRA bonus points if your face is smeared in paint!


I added this post to:

Thursday, March 18, 2010

Quick Craft -- Spring Tree Sculpture

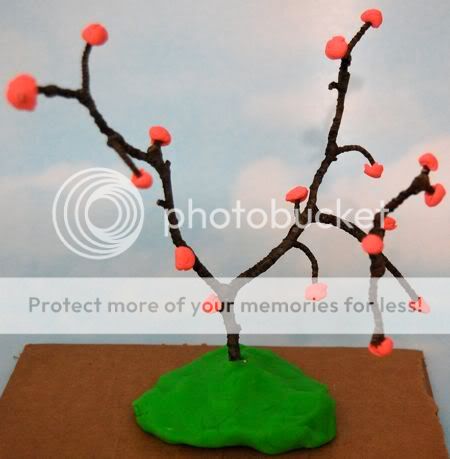
It happened right before my very eyes -- Emily turned 6 years old!!! We had a fun time at the zoo, and went out for lunch to celebrate. When we got home, Clara crashed for a nap, so Emily and I snuck in this super-quick Spring craft project.

For this Spring tree sculpture, make a base of green play dough to insert a twig for your tree as shown.


Make some small balls of pink play dough and attach them to the ends of the branches to form blossoms.


Continue adding blossoms until the tree is full of them.


Give your Spring tree sculpture some love.


If Spring isn't coming soon enough for you, sometimes you have to take matters into your own hands!


Have fun!!

Monday, March 15, 2010

Easy Crafts for Rainy Days

Emily and I had LOTS of fun on The 10! Show in Philadelphia this morning! We brought some easy crafts the kids can enjoy on a rainy day. You can view the clip of our segment below!

View more news videos at: http://www.nbcphiladelphia.com/video.

Thursday, March 11, 2010

Birds on a Wire

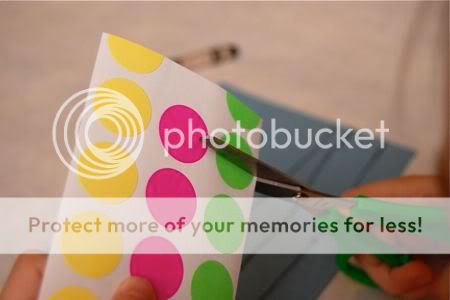
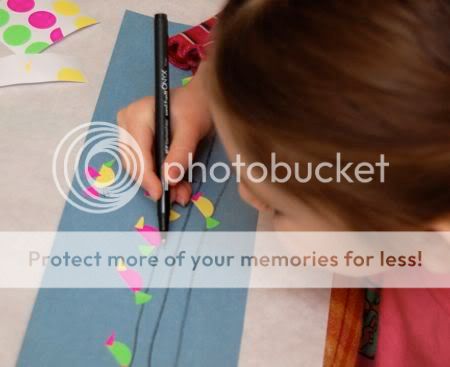
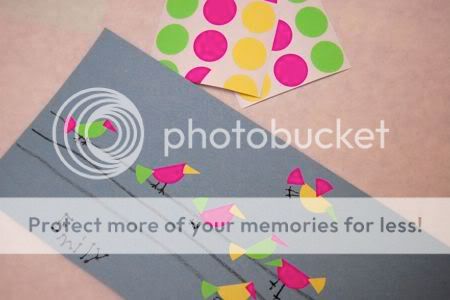
These colorful birds are so happy and cheerful! The best part -- they were made using leftover color coding labels from the dollar store. Very inexpensive, since we had an entire pack of 225 of them for $1!


First, we cut a piece of blue construction paper in half to form two long rectangles. Then, Emily drew some "wires" with a black crayon.

Next, she started to cut up the labels. Half of a circle makes a body for each bird.


Place the bird bodies along the wire, or flying up in the air, as desired.


A sixth of each circle sticker makes a tail or wing for each bird, and one eighth forms the beak. Emily had no trouble cutting the stickers in half, and I helped cut the smaller pieces for her ahead of time. I love how she wanted to use different colors to make up each bird!

With a fine-tipped black marker, draw in the feet.


Welcome in the birds with your colorful and fun artwork!


We just love Spring, don't you?

Monday, March 8, 2010

Easy Robin's Nest Picture

This Robin's nest picture was a simple, easy, and tactile craft that even the little crafters can do with great success! What a fun way to welcome in Spring!

To make your own, you will need: some egg shapes cut from blue construction paper, background paper, brown yarn (we used some leftovers from my stash), and some glue.

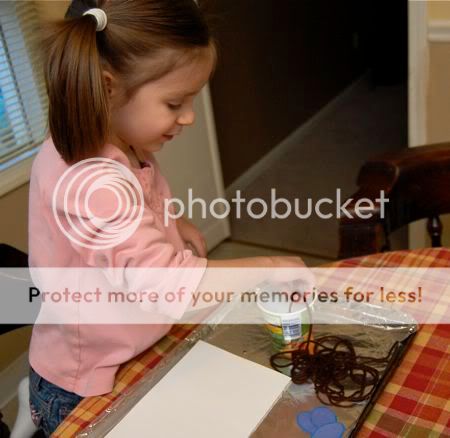
First, soak some strands of brown yarn in a mixture of glue and water.


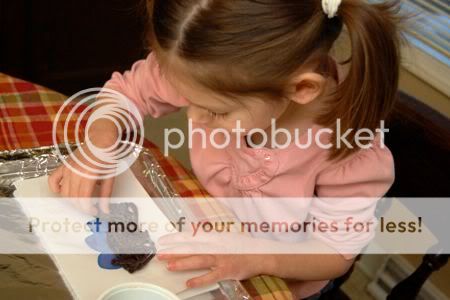
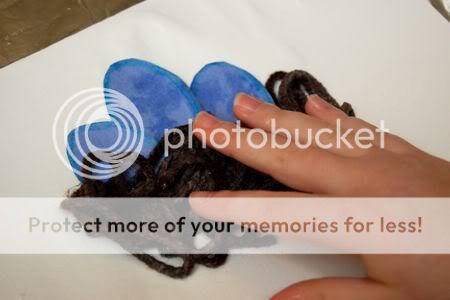
Pull each strand out, one at a time, and arrange into a nest on the background paper.


Arrange your yarn until you are happy with how your nest looks.


Tuck some eggs in behind the yarn! Emily loved this part!


Allow to dry completely....


..... and enjoy your beautiful Robin's nest!

Also, be sure to check back later this week -- we are hosting a wonderful giveaway courtesy of Lisa Leonard Designs custom jewelry. You won't want to miss it! Have you seen her vintage frames necklaces? Stunning!
Related Posts with Thumbnails