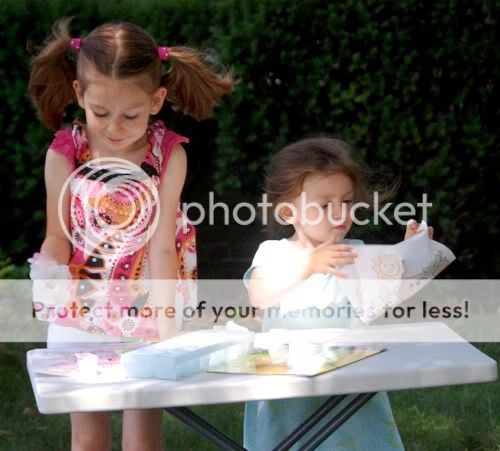
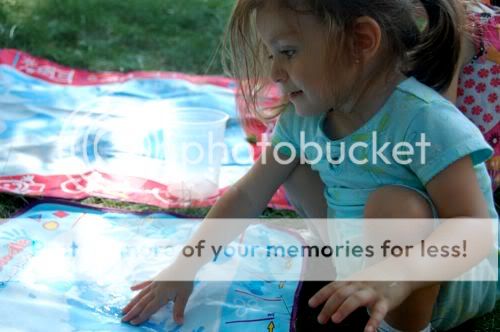
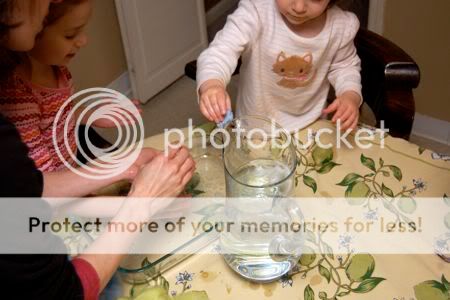
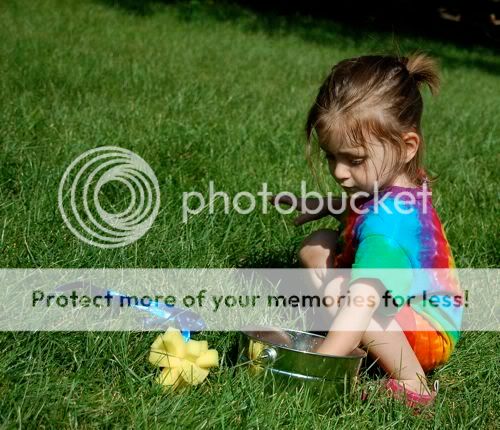
It started off innocently enough with Emily tossing a comet at Clara.....
Showing posts with label easy. Show all posts
Monday, July 19, 2010
Super-Easy Cool Comets
Faced with yet another hot afternoon, we made up some comets, dipped them in a bucket of water, and the girls had a blast hurling them at each other until they were soaked!
Monday, July 5, 2010
Painted Orange Slices
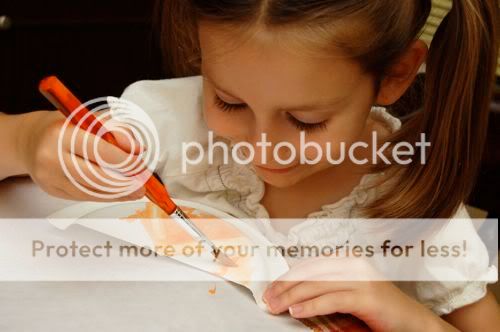
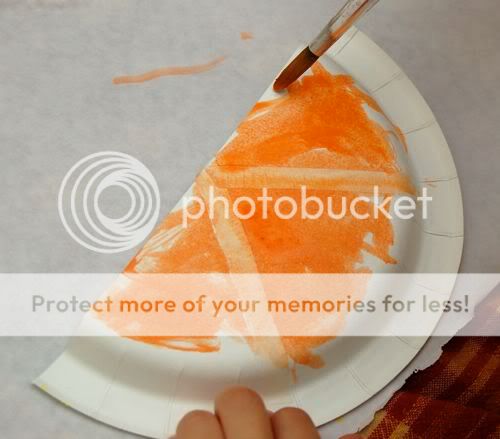
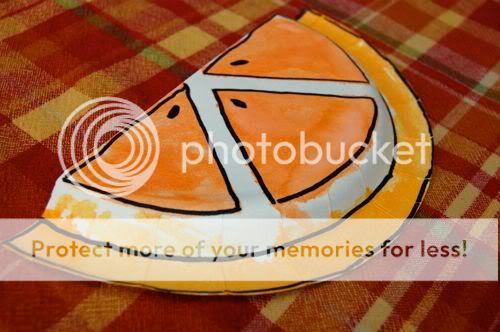
The girls loved painting these cute orange slices, and they were so simple to make! Just cut a paper plate in half, and use some masking tape to mark off the segments of the orange. Invite the kiddos over to paint!!
Emily will take any excuse to paint, plus her favorite color is orange, so this craft was an instant hit!
Have fun!!
Emily will take any excuse to paint, plus her favorite color is orange, so this craft was an instant hit!
It didn't take long for Clara to get in on the painting action too!
Orange slices always make me think of Summer!
Allow the paint to dry completely, then peel off the masking tape and outline with black marker. Beautiful and super-frugal!!
Have fun!!
Saturday, July 3, 2010
Quick Craft -- Tie Dyed Sunshine Ornaments
You won't believe how quick, easy and frugal this project is!!
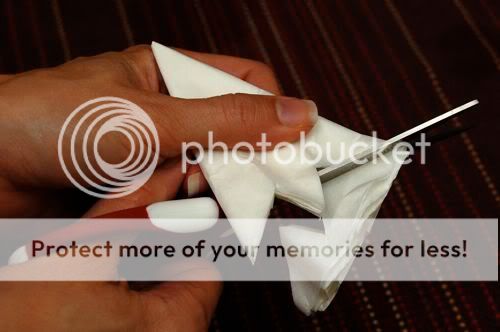
For a crafty fun time, fold a coffee filter in half 3 times, and cut the outer edge as shown.
They make me smile every time I see them!! Have fun!!!
Emily and I will be on NBC's The 10! Show this Tuesday to demo quick (and frugal) Summer crafts for kids -- if you would like free tickets to the show, click here! We would LOVE to meet you!!
For a crafty fun time, fold a coffee filter in half 3 times, and cut the outer edge as shown.
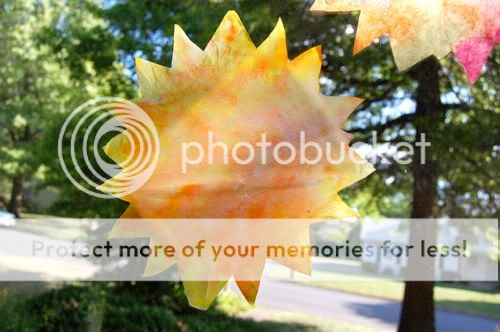
Open up the coffee filter to make a sun, and invite the kiddos over to paint with yellow, orange, and pink/red water colors on it!!
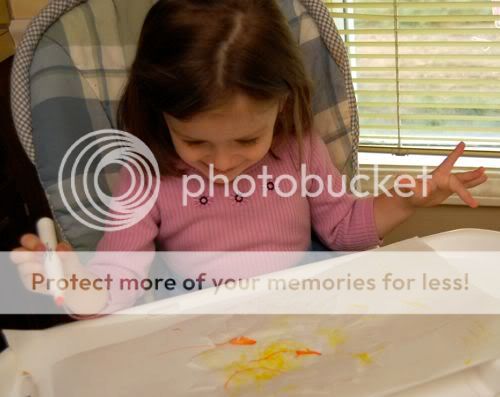
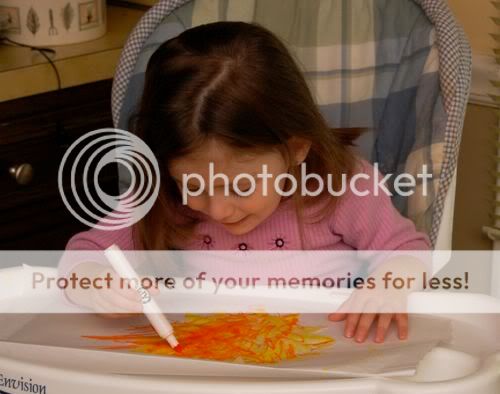
Since Clara is so young, I gave her markers to use instead (which kept the mess to a minimum), and then she painted with water over top.
She loved all the bright yellow and orange!
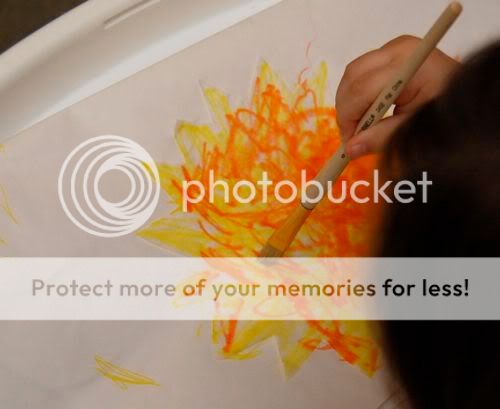
...and she especially loved using the paintbrush with some water to blend the colors together!
Emily thought the colors blended so well that it looked a bit like tie-dye!
Groovy, man!
Allow the coffee filters to dry, and display proudly in a sunny window!
They make me smile every time I see them!! Have fun!!!
Emily and I will be on NBC's The 10! Show this Tuesday to demo quick (and frugal) Summer crafts for kids -- if you would like free tickets to the show, click here! We would LOVE to meet you!!
Wednesday, June 23, 2010
Painting.... with Ice Cubes!
Today was a real scorcher, but the girls still wanted some outside play time (and of course some sort of art is aways a necessary part of our day). I had some very inexpensive "paint with water
" books, but we thought it would be more fun to paint with ice cubes instead!!
Stay cool, and have fun!!
If you're afraid of messy paint, this is the project for you!
Since the ice cube melts relatively slowly, Clara was able to paint her picture nicely without dumping so much water on it that the pages tear.
Next, we brought out the Aqua Doodle
mats, but again painted with ice cubes on them. These mats are a wonderful mess-free way to enjoy painting and drawing!
Once the mat is covered in doodles, wait for it to dry, and then start drawing all over again!
Clara thought this was a great way to cool off!
They had so much fun, that I had to bribe them with homemade chewy granola bars to get them to go back in the house.
Stay cool, and have fun!!
Wednesday, May 12, 2010
Ladybug Cuteness
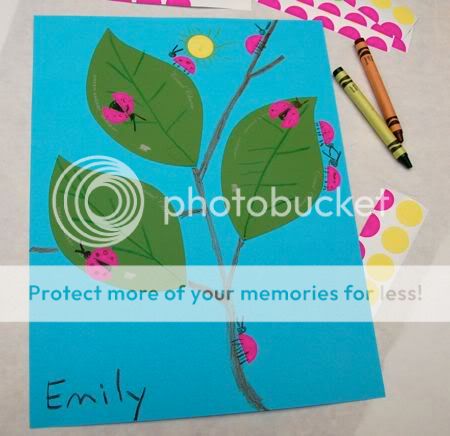
This fun ladybug picture was inspired by a recent ladybug sighting at the playground a few days ago. In our household, we are all about celebrating the little things in life! The best part -- this project is very low cost!!
Did you know that Home Depot has paint chips in the shape of leaves? Fantastic! If you don't already have some, you can pick some up for free! Invite your child to glue the leaves on a sheet of construction paper. Emily loves to use glue!
Tuesday, May 4, 2010
Quick Craft -- Piñata Suncatchers
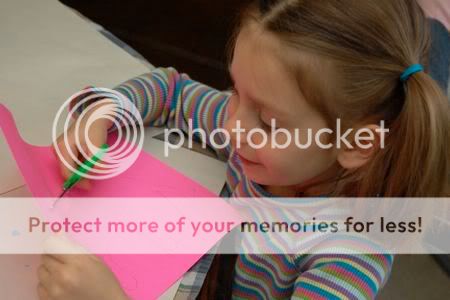
It's almost time for Cinco de Mayo -- one of my favorite holidays! I love the food, the music, and all the bright beautiful colors! We made fun pinata suncatchers today to make our kitchen look a little more festive. I drew an outline of a donkey onto some construction paper, and Emily cut out the shape leaving the outlined frame.
Lay down a sheet of clear contact paper, sticky side up, and place the outline on top. Then let the kiddos go to town placing bits of tissue paper confetti on top!!
Tuesday, April 13, 2010
Easy Hyacinth Paintings
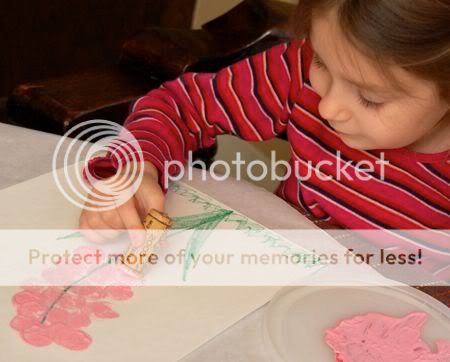
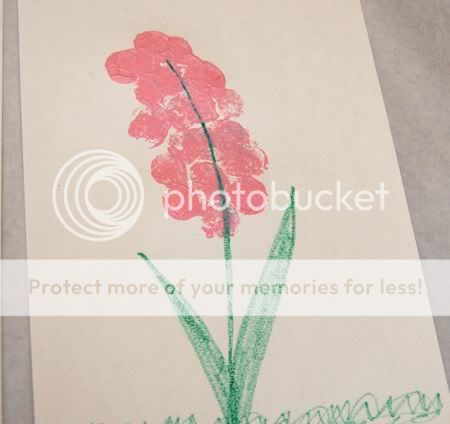
The hyacinths are in full bloom at our house, and to celebrate, the girls made these fun paintings using a cork as a stamp!
I drew the stem and leaves, and the girls dipped the cork in some pink paint and stamped away!
This project combined two of their favorite activities -- painting and stamping!
Here's how Emily's turned out.
I can appreciate the "artistic license" Clara used to stamp hers.
Lots of fun!!
Tuesday, April 6, 2010
Easy Kid-Made Stamp Wheels
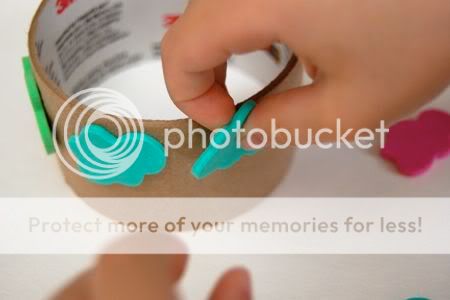
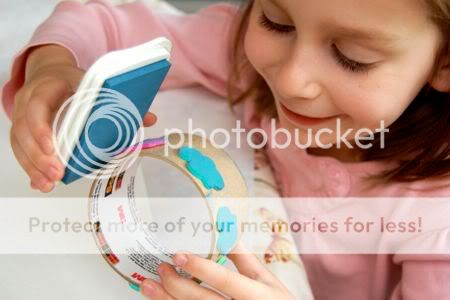
Emily was so happy to make her own stamp wheel so she could create this fun rainy day picture! The stamp wheels were easy to make and made good use of recyclables.

We used some foam stickers we had on-hand, in this case, clouds and raindrops. Emily started by sticking the cloud stickers around an empty packaging tape tube. We try to find ways to recycle just about anything in our household!
Next, she used an ink pad on the stickers.
Then it was time to rock 'n ROLL -- all along the top edge of the paper! FUN!!
Repeat the process with the raindrop stickers to make another stamp wheel, and roll the raindrop stamps all over the paper. This rolling stamp thing -- it just never gets old!
Don't forget to sign your beautiful artwork!
Have fun!!
Tuesday, March 30, 2010
Felted Easter Eggs
The girls and I had so much fun making these CUTE felted Easter eggs! To make your own, you will need some wool roving. If you have trouble finding wool roving, you can purchase it online here
.
Start by filling a pitcher with some very warm water, and add a few tablespoons of dish soap.
Stir up the water in the pitcher until the soap is well-combined.
With a small amount of wool roving, get it wet and start rolling it into a ball in the palm of your hand. Clara was eager to keep up with her big sister, and with just a tiny bit of help from Emily, she was able to make a few eggs of her own.
Add more wool roving, bit by bit, until the egg is the desired size. Add stripes or dots to your eggs, make them multi-colored! Go CRAZY with your wild egg designs!
Once your felted ball is the right size, gently shape it into an egg shape.
Wow!! This is so much fun!!!
I see some felted Easter egg hunts in our future!
So pretty! Added bonus -- kids with clean hands!
* This post contains affiliate links.
Monday, March 29, 2010
Easy Spring Mural
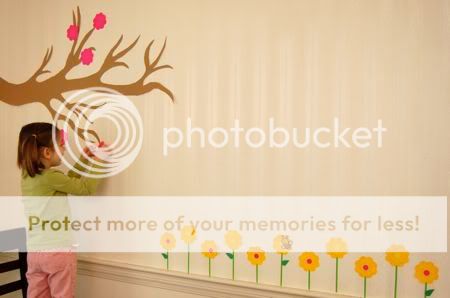
A few days ago, I bought a package of flower-shaped Post-Its. We couldn't resist making an inexpensive no-mess Spring mural with them! While Clara was napping this afternoon, Emily helped me take down the four leaf clovers in the sewing room and replace them with colorful flowers! One pack of Post-Its comes with three different colored flowers. We used color coding labels for the centers of the flowers.
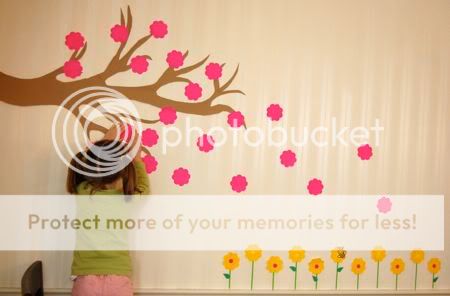
Using a cheap roll of craft paper, I cut out the shape of a tree branch, and used masking tape to hold it to the wall. Emily had a go at it with the pink flower-shaped Post-It notes. She kept adding more and more flowers....
I think it turned out quite nicely...
...and it helped brighten up an otherwise rainy afternoon!
I added this post to:
Subscribe to:
Posts (Atom)