Sunday, May 31, 2009

Top 5 Hobbies for Tightwads

Life on a budget doesn't have to mean giving up hobbies or special interests. Here are some of our favorite hobbies that will save you money!
  1. Gardening -- Growing your own organic produce is good for the environment, and saves lots of money. Kids love to help in the garden, so it is a good way to get the entire family involved as well.

  2. Sewing -- Make your own curtains, tablecloths, place mats, or clothes. 

  3. Knitting/Crochet -- Knit or crochet blankets, scarves, hats, gloves, socks, dish towels, or baby booties.

  4. Cooking -- Forget about eating out, and treat your family to a home-cooked meal.

  5. Car Repair -- Learning how to maintain your own car can save your family lots of money, and be a source of pride. 
What are some of your favorite money-saving hobbies? I would love to hear about them! Leave a comment and share your ideas with us!

Saturday, May 30, 2009

Slacker Saturday -- Know Your Library

Today's Slacker Saturday activity is simple -- visit your local library! For families on a budget, getting to know your local public library can be a tremendous resource. Make it a habit to visit your library on a regular basis, and pick up a calendar of events. Resources your library may offer include: free cultural passes for local museums, free DVDs, free audio CDs, free VHS tapes, free magazines, and most importantly lots of free books! You may also find story time, crafts, or even puppet shows for kids. Many local libraries offer Summer reading programs, so it is worth your time to find out exactly what your library has to offer.


Here are some of our family's favorite library tips:
  1. A Card of Their Own -- If the kids are old enough, encourage them to get their own library cards. This is a great way to teach kids about responsibility and the value of books. Plus, you can borrow books that interest you without having to check out kid books that cut into your borrowing limit. 
  2. Avoid Fines -- Be sure to keep all library materials in a central location within your home. Also, keep track of due dates to avoid paying any overdue fines. Google Calendar works well for this, and you can set it up to send email reminders.  
  3. Power of Example  -- If you want your kids to grow up to be avid readers, make sure they see you reading. 
I would love to hear about your favorite aspects of your local public library! Is it the convenience of renewing materials online? The selection of movies? The story time for the kiddos? Leave a comment and share your stories with us!

Friday, May 29, 2009

$5 Friday -- Crafty Dollar Store Edition (and Giveaway)

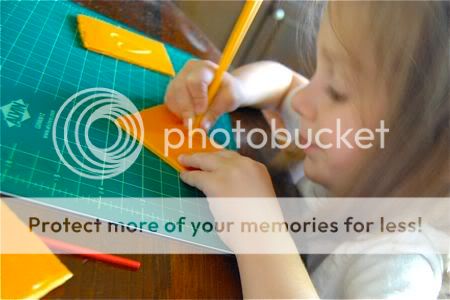
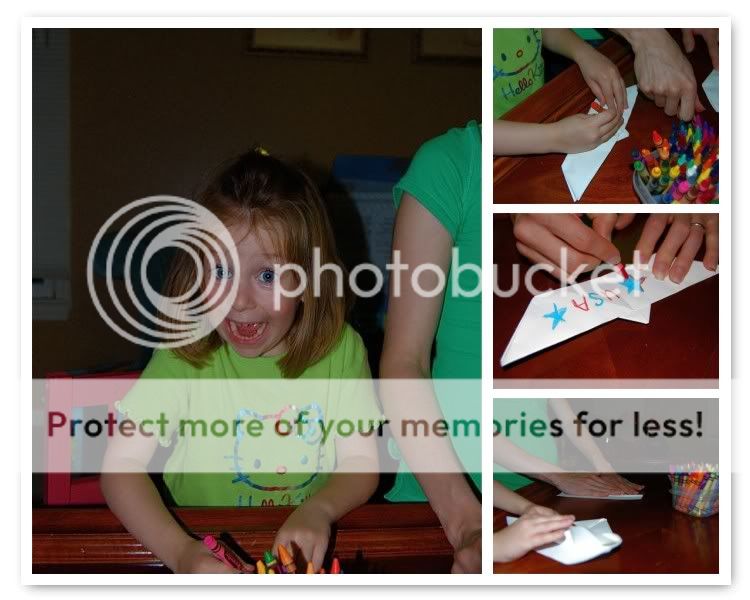
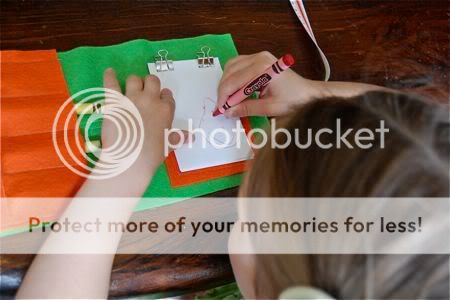
I've made felt crayon rolls for Emily before, but when I took the girls to my local moms club meeting, Emily pointed out that we didn't have any paper for her to color on. After the meeting, we had lunch and did a fun shopping trip to the dollar store! When we returned home, I started working on an improved crayon roll, a crayon wallet, if you will. This one has space for a memo pad!


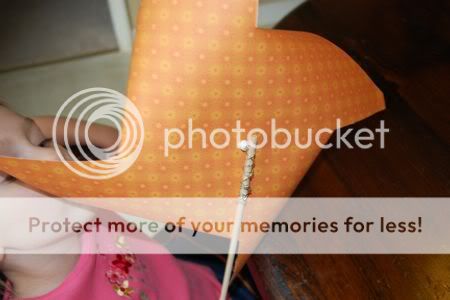
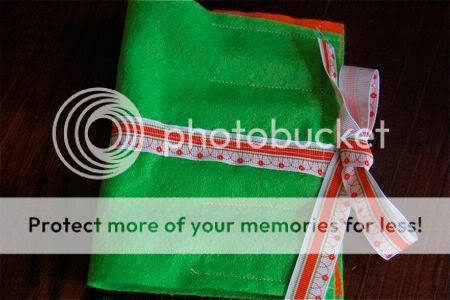
And I used felt in Emily's favorite colors ORANGE and green! 

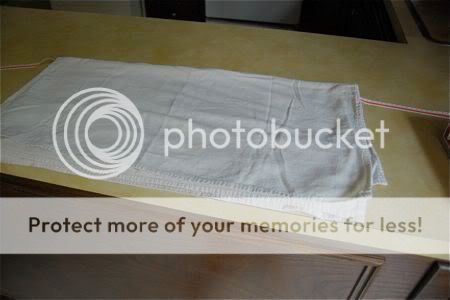
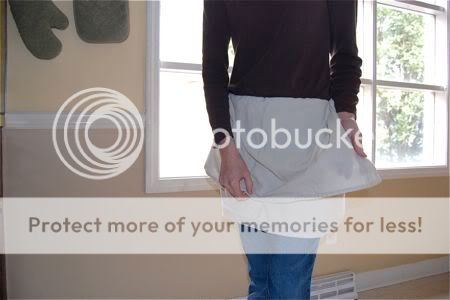
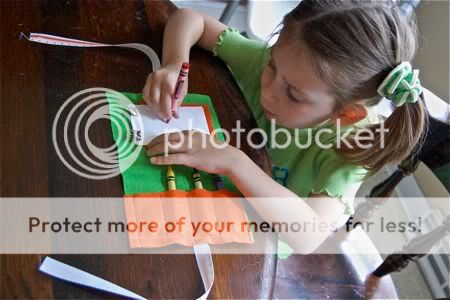
Look how nicely it folds up! I can't wait to take this with us to restaurants, meetings, doctor offices, etc. 

HERE'S THE FUN PART, one lucky reader will win one too!! Just leave a comment and be sure to mention your child's two favorite colors and you will be entered for a chance to win a custom made one just for you! Ahem.... I mean, for your child, of course.  ;-) Winner will be chosen by random.org and deadline for entries is Wednesday, June 3rd at 6:30pm EST.

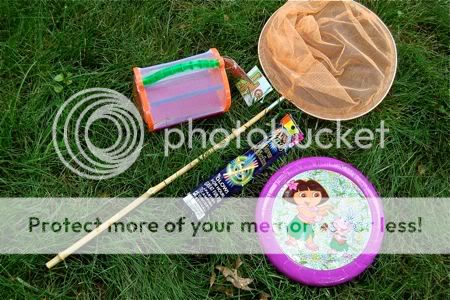
Felt and ribbon cost a little less than a dollar, so we made a fun trip to the dollar store to spend the rest of our $5 on some summer toys. 


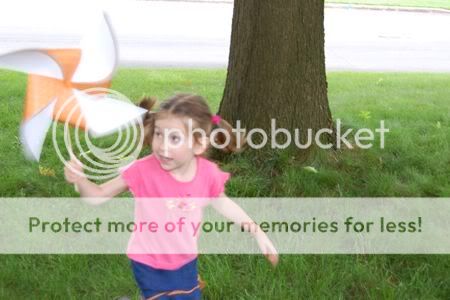
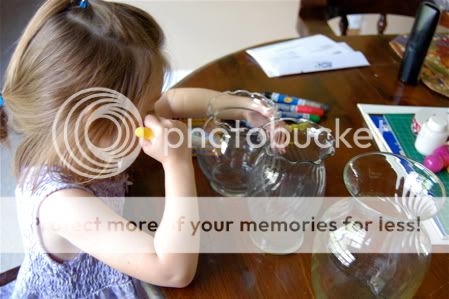
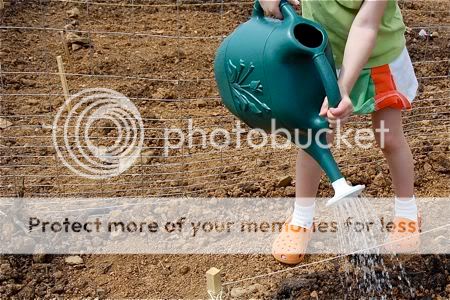
It's still too wet to use these, but that hasn't stopped Emily from having indoor bug hunts.

Here's a breakdown of how we spent our $5:

Felt for crayon wallet = $0.25 per sheet x 2 = $0.50
Ribbon for crayon wallet = on hand
Butterfly net = $1.00
Frisbee = $1.00
5 pack of glow sticks = $1.00
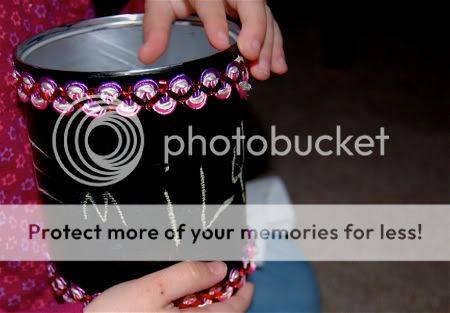
Bug house = $1.00

Total spent = $4.50!!

Get your entry in for this fun giveaway, and good luck!

Thursday, May 28, 2009

Tutorial -- Handmade Pinwheels

Another wet day here, but we had a tiny bit of time when we could go outside and run around with our newly made pinwheels. I have been meaning to make these for awhile to use in the garden as a way to keep the birds away. Emily needed a little help to make hers, but for the most part, she did well on her own. 

To make your own pinwheel, you will need: a sheet of paper (we used a 12 inch square sheet of paper, but about 8 1/2" square would have been ideal), a dowel rod, some thin gauge wire, two pony beads, a hole puncher, a pencil, and a pair of scissors.

If your paper is not already square, cut it so it is. Mark the middle point of the paper and draw diagonals as shown. This gave Emily some good practice using the ruler as a straight-edge.

Using scissors, cut the diagonals about half way up to the center.


Bend every other corner in towards the center. Punch a hole in the tip of each corner that is bent inwards. Poke a hole through the middle point of the pinwheel also. Cut a 12" length of thin gauge wire, and fold in half. Lace a pony bead on the thin-gauge wire as shown.


Thread the wire though the pinwheel as shown.


Add another pony bead to the back of the pinwheel and wrap the remaining wire around the dowel rod as shown.


Run around and enjoy your handmade pinwheel!

Wednesday, May 27, 2009

Dress Up Play

Another rainy day here, so I took the girls on an adventure to our local thrift shop where we spotted this beautiful dress for just $5.00! Emily wanted to use it as part of her growing collection of play dress up outfits. How could I resist?

Look! It even twirls!


Her favorite dress up outfits include a pirate, princess, fairy, and a butterfly. I think she likes the pirate costume the best. It's fun to hear her say phrases like, "Arrr, matey!" and pretending to look on a map for buried treasure. The thrift shop is a great place to buy costumes and pretend play clothes.


Also, the day after Halloween, I love finding costumes on clearance to add to her collection. Dress up is a lot of fun on rainy days!

Tuesday, May 26, 2009

Spin Art (Lazy Susan Style)

We had a rainy day this afternoon, so while Clara was napping, Emily and I had a pocket of time for a fun messy art project. I remember making lots of spin art as a kid, but I had a battery-powered kit which included paper and paint. The kit was fabulous, but once the batteries ran out, (or the paint, whichever came first), the fun would end. This method uses no batteries and just watered down washable paint. 

To make your own spin art, you will need: a lazy susan with raised sides, washable kids paint, an eye dropper, and some cardstock paper.


Water down the paint so it flows easily with the eyedropper. Emily and I took turns painting and spinning the lazy susan (because I just couldn't resist doing some spin art of my own, of course). Place the paper into the lazy susan so it fits snuggly (you may have to trim some edges to get it to fit well). Once your child has the dropper full and is ready to paint, give that sucker a good hard spin (while your child drops paint onto the paper)! Lay the paper flat to dry. This was a huge hit! The paint rinses easily off of the lazy susan, especially if you rinse it while the paint is still wet. 

If you are feeling particularly ambitious, you could use this project as a way to introduce the concept of centrifugal force. I also liked how using the eye dropper was a good way for Emily to practice using the pincher grasp. She loved experimenting with different colors, dropper positions, and speeds of the lazy susan. 

Monday, May 25, 2009

Patriotic Wreath Craft

Happy Memorial Day! Here's a simple craft Emily enjoyed in-between picnics, barbecues, and working in the garden. To make your own patriotic wreath, you will need a star-shaped hole puncher (I found this one at Big Lots for $1), some red, white, and blue construction paper, glue, a paper plate, and a pair of scissors.


Emily punched out all the stars, and I cut a hole into the middle of the paper plate. She glued all the stars around the outside ring of the plate.


Once the wreath is dry, attach a ribbon and hang as shown.


This would be a great craft idea for 4th of July too!

Sunday, May 24, 2009

Top 15 Cheap Picnic Foods


In our household, Summer is synonymous with picnics. Lots and lots of picnics from Memorial Day straight through Labor Day! Here is a list of some of our favorite cheap eats for picnic food. 
  1. German Potato Salad -- Potatoes are very inexpensive. Season boiled potatoes with white wine vinegar, olive oil, parsley, and bits of bacon. Chill overnight, and serve cold.

  2. Veggies and Dip -- Your best cheap options here include carrots and celery with homemade ranch dip.

  3. Pasta Salad -- There are all sorts of variations on this. Our favorite is the tri-colored pasta with Italian salad dressing, halved cherry tomatoes, and black olives.

  4. Hot Dogs -- Hot Dogs are also very inexpensive, and they are a picnic/BBQ classic.

  5. Deviled Eggs -- Eggs are a good, cheap source of protein, and deviled eggs are an easy picnic food to prepare. 

  6. Fresh Fruit -- Our favorites include watermelon, apples, grapes, and strawberries.

  7. Corn on the Cob -- Very inexpensive. We break the cobs in half so they stretch even further. Many times the kids don't eat an entire ear of corn.

  8. Baked Beans -- Beans are also a cheap food, and canned baked beans are frequently on sale during the summer months.

  9. Jell-O -- I have purchased Jell-O for as little as $0.25 a box. We love to make parfaits with alternating scoops of red and blue Jell-O topped with whipped cream and a cherry. 

  10. Iced Tea/Lemonade -- Skip the soda, and opt for ice water, iced sun tea or homemade lemonade instead.

  11. Rotisserie Chicken -- For around $5.00, a rotisserie chicken can be a real bargain. Serve cold for a picnic, and save leftovers to make chicken salad, or stock for soup.

  12. Cheese and Crackers -- A store like Big Lots has good deals on chips or crackers. Opt for hard cheeses that hold up better in the heat.

  13. Garden Salad -- Iceberg lettuce, a diced up tomato, shredded carrots, and a sliced cucumber make for a quick, easy, and cheap garden salad. Top with red wine vinegar and olive oil.

  14. BLT Sandwiches -- Pack sliced bread, cooked bacon, lettuce, and sliced tomato for people to build their own BLT sandwiches.

  15. Waldorf Salad -- This is one of our summer time favorites. You can find the recipe here.

Friday, May 22, 2009

$5 Friday -- Outdoor Picnic Snack for Five Bucks


This Memorial Day weekend, I'm sure there will be lots of picnics and barbecues. For $5 Friday, I took the girls with me for a special trip to the grocery store to see how far we could stretch our $5 for an outdoor picnic snack! 

Here's what we purchased for less than $5:
1 lb. organic carrots = $0.99
1/3 lb. red seedless grapes = $0.66
1 bag white cheddar popcorn = $0.50
1 bag soy nuts = $1.49
1 box pasta salad mix = $1.00
1 pitcher ice water = free

Total spent = $4.64!!

I made the dip for the carrots by stretching the ranch seasoning packet from the pasta salad mix with a little more mayo and added some milk to make it a little more creamy. It worked well!


Happy Frugal Picnicking!

Thursday, May 21, 2009

Block Prints from Foam Meat Trays

I started saving our foam meat trays to make our own block printed cards, and Emily enjoyed the entire process of this activity!

To make your own block prints, you will need: foam meat trays, water-soluble block printing ink, brayer, cardstock, and a large spoon.

We used the opposite end of a paint brush to press our designs into the foam. You could also use a dull pencil.


Run your brayer through the ink to get a nice even coat on your stamp.


It should look like this. Flip it over to make your print, and use the back of a large spoon to press down firmly on the paper. Lift the foam up carefully to reveal your design.


I found this was a great way to reuse those foam meat trays! I cut them up into small squares so we could make several different stamps with them. These would make great bookmarks or gift tags too!

Wednesday, May 20, 2009

10 Chores for Preschoolers and up


Have kids? Think you need a maid? Think again! Put their boundless energy to work! Chores are a great way to teach kids about responsibility, and help build self-esteem. Here's a list of some suggested chores to keep the kiddos busy.


  1. Make the bed -- Younger kids can help strip the bed, fluff pillows, and get fresh sheets from the linen closet.

  2. Fold socks and/or towels -- This is a great way to introduce kids to folding their own laundry. 

  3. Sweep the floor -- This is one of Emily's favorite chores.

  4. Wash windows -- Another favorite. A soapy sponge and a towel works well.

  5. Pick up toys -- Emily started doing this from the time she could walk, and now I am so grateful that she knows her toys are her responsibility. If possible, make this a habit from an early age.

  6. Weeding/Watering Flower Beds -- Emily has kid-sized gardening gloves and small gardening tools to make this job a little more fun. She also loves picking up twigs, and raking leaves with a kid-sized rake. Teach your kids how to water the flowers, and you will be teaching them about science and nature too.

  7. Dusting -- I get the high spots, and Emily gets the low spots. She loves using the feather duster!

  8. Clean the car -- The car is frequently over-looked, but it is really an extension of your home. Kids can pick up toys, wash windows, and help give the car a good washing.

  9. Set the Table -- I usually take out a stack of plates, and hand them to Emily to set the table for us. She can get the silverware herself, and Mark gets the glasses and drinks.

  10. Clearing the Table -- Teach the kids how to scrape their plates, and place them by the sink or in the dishwasher. This can be a big time-saver.


For more great tips on Spring Cleaning with Kids, check out Sunny Side Up!

Have a great kid-friendly chore that I forgot to add? Leave a comment and share your ideas with us!

Tuesday, May 19, 2009

So you wanna go to the beach?

Emily asked me if we could go to the beach today, which resulted in a lesson in geography. See this map? We live in Pennsylvania. See the ocean? It's ALL THE WAY OVER THERE. I asked her what she wanted to do at the beach. "Play in the water..... and the sand!", she said. So we visited a place with lots of sun and plenty of sand....


There was even water! The beach, you say? Well....... not exactly.


We went to a local park with a sand volleyball court and a man-made pond. Like so many other aspects of the frugal lifestyle, this trip to "the beach" was all about making do. We had lots of fun, and we didn't even have to leave town! 

Added benefit -- no jellyfish!

Monday, May 18, 2009

Bean Face Mosaic

Emily informed me this morning that she wanted to make a smiley face. I have no idea why she chose to make such an angry face this afternoon, but she kept telling me this was a picture of a bad guy who is very very VERY ANGRY. 

To make bean faces, you will need heavy cardstock or cardboard, a pencil, glue, some rice, and a bag of 16 bean soup mix (found in the bean aisle at the grocery store, very inexpensive). Emily drew the face on the cardstock first, then started gluing the rice and beans. This is a great activity for building fine motor skills, and having all the beans in one bag meant that she had to sort through them too. While working on this, she commented that she had no idea there were so many different kinds of beans. I loved how she showed emotion in the face with both the mouth and the eyebrows! If your kids like using glue (as Emily obviously does), this is sure to be a big hit! Also, I don't plan to cook with this particular bag of beans, since now it is strictly for art use only!!

Sunday, May 17, 2009

Tutorial -- No Sew Spring Cleaning Apron

It's that time of year again.... time for Spring Cleaning. Here's an easy and frugal way to make your own no-sew Spring Cleaning Apron. Start by making a pile of three flour sack towels. Lay them flat and place a ribbon across the middle as shown below.


Fold over the towels.


Tie the ribbon around your waist, and you are done. Whenever you need a cleaning towel, pull one out and hold the other layers  in place. Flour sack towels are perfect for this, since they are light and have large surface area for cleaning. You can get lots of mileage out of just one towel. 
Happy cleaning!

Saturday, May 16, 2009

Slacker Saturday -- Paper Boats

For this week's Slacker Saturday activity, Emily and I made paper boats! She liked decorating hers with crayons, and get this.... they float! For a little while, anyway. At least until the paper becomes too soggy. These are very simple to make, and you start off with a simple paper hat. There are only a couple more folds before it turns into a boat. For more instructions, click here. She was able to follow along with me quite well, but younger kids might need some help. These use regular letter-sized paper, and they are quick and easy to make! Have fun!

Friday, May 15, 2009

$5 Friday -- Window Crayons

I was so happy to find these Window Crayons, and I scooped them up the minute I saw them at Target for just $2.70! I have let Emily use window markers before, but the ink seems to run out rather quickly, and the kids have to be really good about putting the caps back on because otherwise they will dry up easily. The crayons, however, are brilliant, and they work well on any glass surface. Emily drew on the storm door, some windows....


...and you know those vases you get from the florist, and you never really know what to do with them? She drew on those too!


Drawing on the storm door kept her occupied for a long time. She was really enjoying herself!


Don't have any window crayons? We have used bath crayons with great results! They need to be a little wet, but they write well on the glass and they clean up easily. Have fun!

Thursday, May 14, 2009

Organizing with Recyclables -- Pencil Holder

This decorative pencil holder is great for organizing pencils, paint brushes, pens, and/or markers. We used chalkboard paint, and a little ribbon to give new life to an empty baby formula canister!


This is messy, so you might want to do the painting part outdoors. We used a water-soluble non-toxic chalkboard paint. You can find chalkboard paint at a craft store. We removed the paper label from the baby formula canister, and Emily covered the outside with the paint. It takes about two coats. 


Once the paint is dry, glue some ribbon around the top and/or bottom edge of the canister. Emily loved drawing on hers, erasing it, and drawing again!


Fill with pencils, paint brushes, markers, and/or pens. Isn't it great to be organized?
Related Posts with Thumbnails