Sunday, January 31, 2010

Spring is Here! (Sort of...)

Winter can be dark, dreary, and COLD here in Pennsylvania. This year, we thought it would be fun to trick that stupid groundhog into predicting an early Spring.


We went outside armed with tons of tissue paper flowers....


....and planted them all over the place!


Soon, it was very colorful! Some flowers bloomed from bushes....


...others in the ground....


...and some even bloomed in the trees!


While we were doing this, a little old lady drove by, did a double-take, and got a huge grin on her face!


Take that, Punxsutawney Phil!

To make your own tissue paper flowers, click here. Have fun!

Saturday, January 30, 2010

DIY: Scratch N Sniff Valentine Treat Bags

These scratch 'n sniff Valentine treat bags smell as SWEET as they look! Emily had so much fun making these, and the colors were quite vibrant!

To make your own, you will need: white paper lunch bags (we found ours at Target), unsweetened powdered drink mix (ie. Kool Aid - very inexpensive), and a bit of ribbon.


Emily was so excited to make the paint with the unsweetened powdered drink mix! We had done this one other time, and it was big hit. To make the paint, mix the packet of powder with 2 Tbsp. of water.


We used heart-shaped cookie cutters to trace our designs onto the bags.


Then it was time for painting!!


...and sniffing!!

Once the paint was dry, we filled the bags with Valentine's Day goodies, folded the tops down, and used a hole puncher to make holes for a bit of ribbon.

So much fun!!

Friday, January 29, 2010

Giveaway -- 250 Custom Stickers/Labels from UPrinting.com


It's time for another fun giveaway! This giveaway comes from our super-generous sponsor, UPrinting.com! One lucky reader will win a set of 250 custom stickers/labels FREE with shipping!

Here are the details:

- 250 Stickers/Labels for One (1) lucky winner
- Sizes: 2” x 3.5”, 2” x 4”, or 3” x 3”
- Paper: 70lb Label Matte
- Specifications: Full color front, blank back; 4 Business Day printing
- Shipping: FREE UPS Ground Shipping
- Eligibility: Limited to US Residents only

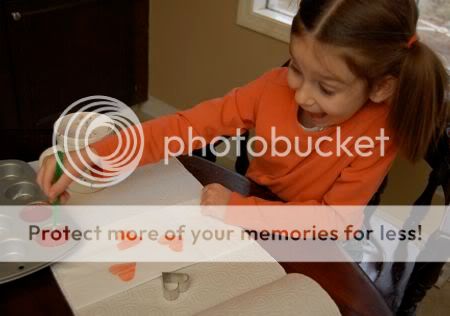
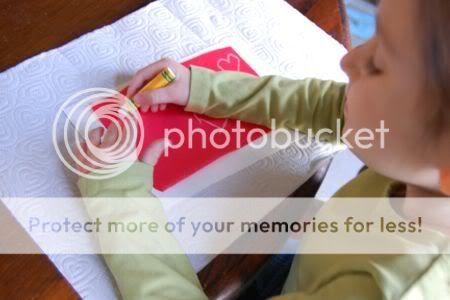
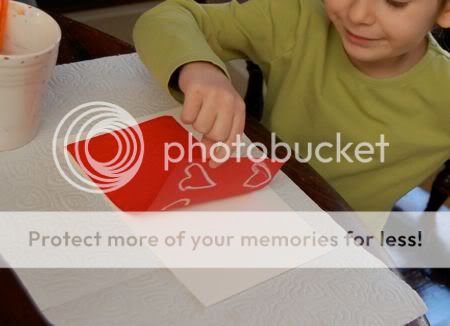
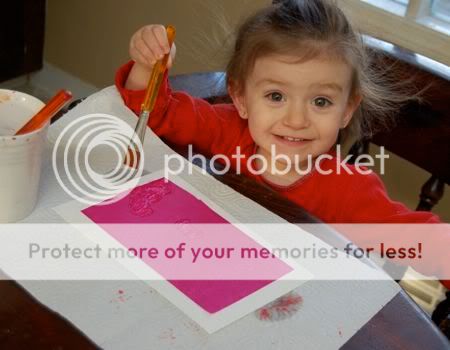
You can use these as return address labels, or to promote your business. If you are a teacher, consider using these labels to customize your own reward stickers! Since they are completely custom-made, the possibilities are practically endless! UPrinting offers a fabulous selection, and speedy turn-around time to cover all of your label printing needs.

To enter for your chance to win, leave a comment on this post (be sure to leave your email address in the comments field) and you're in for one entry. Tweet/Facebook/Blog about this giveaway, and you're in for 3 more entries! Just be sure to come back here and leave a comment with a link to your tweet/facebook/blog post.

This giveaway ends Wednesday, February 3rd at 6:30pm EST and winner will be chosen by random.org.

In exchange for hosting this giveaway, UPrinting.com will be providing me with the same prize package outlined above. I am really looking forward to them!

Good luck!!

Thursday, January 28, 2010

Easy Reverse Resist Paintings


If your kids love to paint, but you would rather not deal with the mess, bleeding art tissue paper is for you. It's very inexpensive and can be found at any art supply store -- plus, a little bit goes a long way! We are never afraid to get messy with art, but at times making a mess is not really the best option (i.e. a few minutes before dinner). Instead of getting out the paints, we had fun experimenting with a new technique this afternoon to make some reverse resist paintings! The girls thought this was so cool!


Cut out a piece of bleeding art tissue paper, and use a white crayon or oil pastel to make your design. (In this case, hearts for upcoming Valentine's Day.)


Flip the tissue paper over (design side down) onto some thick paper.


"Paint" with water over top! Both of the girls love to paint, but Clara was really into it today!


Encourage your child to use the water over the entire piece of tissue paper. Some may need more encouragement than others... ahem.


Peel off the tissue paper.....


....and admire your beautiful designs!!

[Update: This is not to be confused with regular tissue paper. Having trouble finding bleeding art tissue? You can order it online from Blick Art here!]

Wednesday, January 27, 2010

Will You Be My Paint Chip Valentine?


The girls and I were busy crafting up these handmade Valentine's Day cards made from leftover paint chips (found free at any hardware or paint store). We had a bunch of different shades of red and pink, which made perfect Valentine cards!


To make your own paint chip Valentine's, place two paint chips back-to-back as shown above.


I used a zig zag stitch around the perimeter of the card, and trimmed the edges with pinking shears. Very quick!

Emily and I took turns punching out hearts with the help of our heart-shaped hole puncher...


...and the girls went to town decorating their handmade Valentine's! For Clara, I put down a few dots of glue and she placed the hearts on top. Great practice for fine-motor skills, and she was so proud of herself!


Emily got to practice some handwriting, and she is looking forward to mailing these off to Grandma!


These were so much fun to make!!

Tuesday, January 26, 2010

Who Needs Toys....

Who needs toys....


... when you can have Mommy's purse? Seriously, what is with her obsession with my forbidden purse of mystery? [Note -- I love how she dug through all of that just to get to the coveted lip gloss.]

Monday, January 25, 2010

Kid-Made Stuffed Toys

I helped Emily make this cute stuffed robot toy this afternoon, and if you have some fabric scraps, stuffing, and a some fabric markers, you can make your own stuffed toy using this technique too!


Emily was so proud to have made this toy, and plans are in the works for a home for our new robot friend, as well as other stuffed toys for gifts. You know how it is... one project, leading to another... and another!

First, we printed out an image we wanted to use. In this case, a robot image found at this free coloring page site. They have lots of other images available too! Emily traced the image onto fabric using fabric markers. We used masking tape to keep the pictures from shifting.


Color in your image with the fabric markers, and choose a contrasting fabric for the backing of your stuffed toy. I did a tiny bit of sewing. With right sides together, sew up the side, top, and down the other side, leaving an opening at the bottom.


Stuff your new toy, (Emily loved this part!) and stitch up the bottom.

... play!! Isn't he cute??

Sunday, January 24, 2010

Weekend Rewind -- Indoor Sandbox

Hope everyone is enjoying the weekend! Here's a fun post from our archives, and one that I talked about on our debut for The 10! Show. The girls had so much fun with this indoor sandbox, and it's a great activity even the littlest ones can enjoy!

One of the things Emily misses the most about Spring and Summer is playing outside in her sandbox. I created an indoor version that was a big hit for both of my girls. You might already have an inflatable pool (most likely it is hanging out in the garage for the winter). We brought ours inside and Mark used the air compressor to blow it up quickly....


Instead of sand, we used oatmeal. Lots and LOTS of oatmeal! I love using the oatmeal instead of sand because I did not have to worry about Clara eating it, and it is much easier to clean up. You can find large containers of oatmeal at the dollar store or places like Big Lots. This pool used about $14 worth of oatmeal to fill it up.


The girls played in here for several hours, and we will use the empty containers for future projects. When they were finished we dumped all the play oatmeal into a large plastic bin (to use for more projects) and deflated the pool.


It was great to see them enjoying this so much! Just a few shovels, funnels, and cups kept them very entertained.

Friday, January 22, 2010

Happy Birthday, Bubble Wrap!

Bubble Wrap is turning 50 years old this Monday! We'll use any excuse to celebrate!!


We save and reuse this stuff all the time. It was the perfect excuse to bring it out for the girls to enjoy!


Bubble wrap was originally intended as a new kind of wallpaper, but soon after became used as insulation in greenhouses. Today this popular packing material provided lots of popping fun!


There was lots of jumping, throwing and catching... and lots and lots of POPPING!


Have fun!!

Thursday, January 21, 2010

Easy Super-Cute Penguin Prints


Emily thought these penguin prints were so much fun to make! She wants to make a girly penguin so this handsome guy can have some company.

To make your own penguin prints, you will need some paint, construction paper, glue, and some googly eyes. You may want to have some baby wipes on-hand.


Begin by gluing your snowy landscape onto the background construction paper.


We went foot-loose and fancy-free for this craft! Take off your child's socks and paint the bottom of the foot as shown.


Make the foot print on the paper, (use those baby wipes to wipe down the foot), and use a paintbrush to add a beak to your penguin.


Emily dipped her finger in some black paint to add the penguin's wings.


Add a googly eye, and have your child sign this beautiful artwork to hang proudly in your home!
Related Posts with Thumbnails