Monday, November 30, 2009

Handmade Holidays -- Peppermint Hot Cocoa Mix

Hot cocoa is a real treat in our household, and I've found that it is so simple and easy to make your own mix! Plus, Emily thinks this is a super-fun activity! We went the all organic route, but you certainly don't have to.

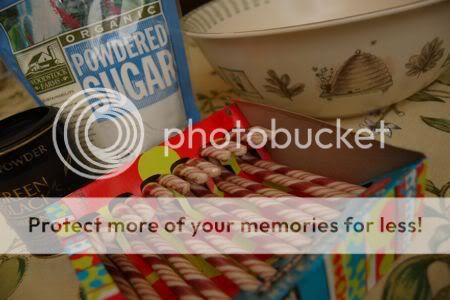
To make your own peppermint hot cocoa mix, you will need:

1 1/2 cups powdered sugar
1 cup + 2 Tbsp. cocoa powder (one 4.4 oz container will have enough for one batch plus about 1/2 cup leftover)
5 candy canes


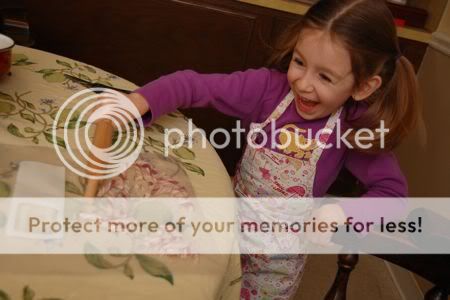
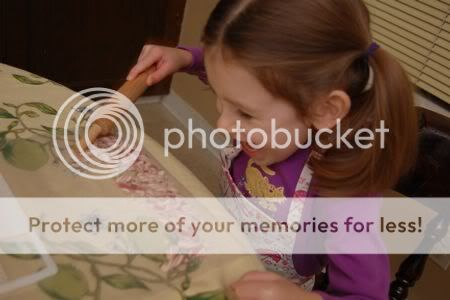
Place candy canes in a plastic zipper bag, and close most of the way. Pound the bejesus out of those suckers!


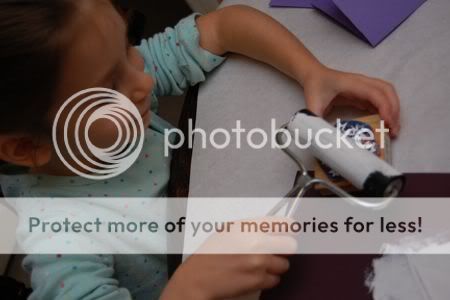
Emily's little rolling pin did a great job, but then Mark took the bag over to the garage. I'm not *quite* sure what he did, but the candy canes came back as a fine powder!!


It sure was fun watching Emily, though!

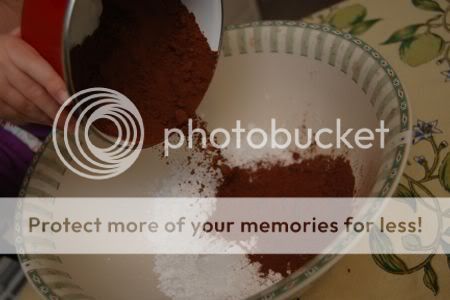
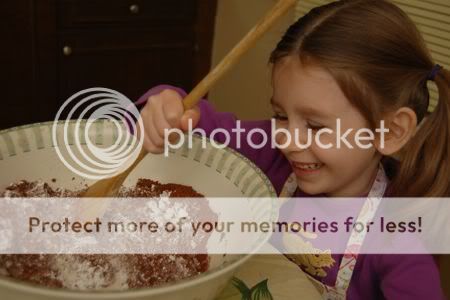
Next, to the powdered sugar, add the (unsweetened) cocoa powder, then the crushed (pulverized..??) candy canes.


Stir, stir, stir! Make sure your mix is well-blended. There's nothing worse than poorly stirred hot cocoa mix. Trust me on this.


Spoon into air-tight containers.

To make hot cocoa:

To 1 cup warm milk, add 1 1/2 - 2 Tbsp. mix.


Mmmm.... delicious and so festive!

Sunday, November 29, 2009

Back to Knitting -- Free Easy Pattern

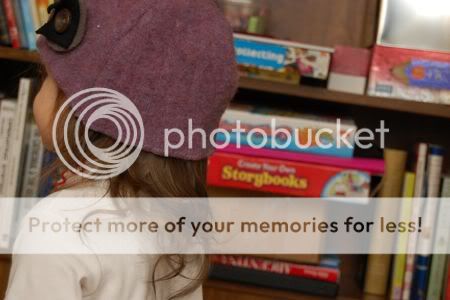
I knitted this hat for Clara from 1 skein of Lion Brand Nature's Choice organic cotton yarn purchased at JoAnn with a 50% off black Friday coupon for just $3.25. Bargain! The hat was a quick and easy knit, and is the perfect weekend knitting project! I even had enough yarn leftover to crochet a small dishcloth. The pattern for the hat is below... and it's free!


Free Toddler's Hat Pattern by Valerie @ Frugal Family Fun Blog!!

Finished hat is size 2T.

Materials:
US size 9 knitting needles (5.5 mm)
1 skein Lion Brand Nature's Choice Organic Cotton Yarn
1 yarn needle

Gauge: 16sts, 21 rows = 4" x 4" square

Directions:

Cast on 64 stitches.

Knit 5 rows.

* Purl next row. Knit next row. Repeat from * until hat measures 9 inches in length. End on a purl row.

* Knit 6, knit 2 together. Repeat from * to end of row.

* Purl 3, purl 3 together. Repeat from * to end of row. Do not cast off.

Leaving a long yarn allowance, cut yarn and thread the end through a yarn needle. Thread yarn through remaining stitches on knitting needle. Remove knitting needle and pull tightly. Sew side seam and finish off.

Clara has been wearing her new hat indoors and out! Next on the needles.... a hat for Emily!

Friday, November 27, 2009

Cheap Thrills -- Jumping for Joy Edition

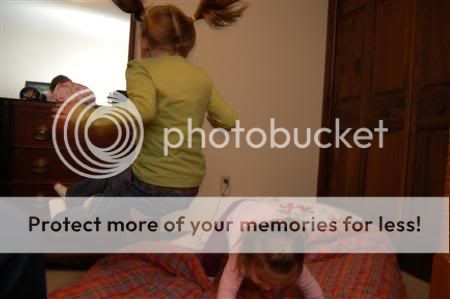
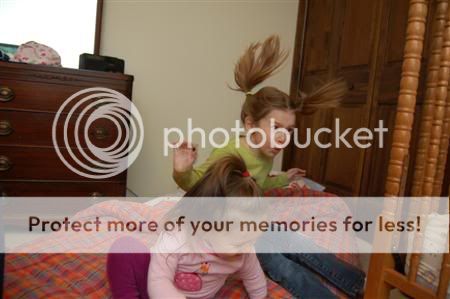
For a fun time, locate a mattress.

Take it off the bed and place it on the floor.

Jump up and down!!!


For some magical reason, this activity never gets old.

Have fun!!

Note: Be careful not to fall off and bonk your head, or mama will call the doctor, and we all know what he will say....

Thursday, November 26, 2009

Thanksgiving Highlights


Happy Thanksgiving!!

Wednesday, November 25, 2009

Festive Thanksgiving Placecards

We were asked to bring placecards for Thanksgiving dinner this year, and Emily thought these turned out so cute! She cannot wait to show them to all our family and friends. If your child is old enough to write, this is a great way to get in some handwriting practice. Emily enjoyed learning how to spell all of our relatives names.


I found votive candles (both the candle and the glass votive holders) came in packs of 12 at Big Lots for $6. They were intended to be used for weddings, but I thought they would work perfectly for Thanksgiving dinner too.

We used card stock in fall colors, and Emily wrote out the names with black marker.


Then, she wanted to decorate the names to make them look fancy!


I used pinking shears on the edges, and a hole punch at the top. Threaded through some ribbon and they were done!

Simple and easy! We cannot wait to see them all lit up around the table!

Wishing everyone a very safe and happy Thanksgiving!!

Tuesday, November 24, 2009

Super Fun Surprise Giveaway!!

I am going to let you in on a little secret -- (some of you already know this, but...) from time to time we enjoy picking out some of our very special readers, contacting them via email to ask for shipping info, and then mailing out surprise packages. Just because!

Sometimes I take the girls to the thrift shop and we'll find little vintage treasures, magazines or books, kitchen towels... that sort of thing. If I know it is something a particular reader would truly appreciate, we set it aside. Then we pack it all up and make a special trip to the post office.

It is so much fun, and we never ever expected to get anything back in return. Yet, that is precisely what happened a few days ago when this awesome package arrived from Val in the Rose Garden. What a wonderful surprise!!


Inside was a beautiful card, a felted wool hat Val made (which Clara seemed to claim and refuses to take off), a Real Simple Family magazine (I love that!), a child's apron and cookie cutter set from... China (?) Emily LOVES them.... and wait... there was more!


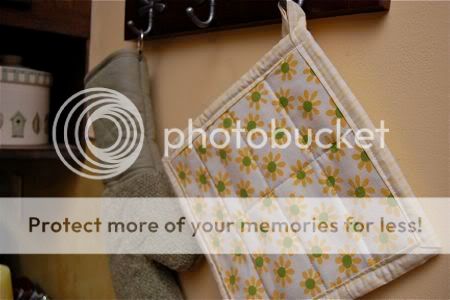
This pretty potholder Val made from vintage bed sheets! I love how it goes so well in our kitchen! Val also included lots of great vintage fabrics that I have big plans for.... maybe some bread bags? Oh, that would be so much fun!


Thank you, Val!! If you haven't been to Val's little corner of the internet over at Collecting the Moments... One by One, definitely go check it out. I've been calling her site "the best kept secret on the internet". It is an absolute treasure trove!
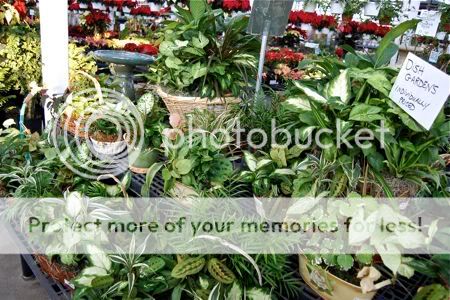
Now the fun part -- we are just itching to bless another lucky reader with a package, but this one will be a complete surprise! To enter for your chance to win this super-fun giveaway, leave a comment on this post telling us about the best surprise you've ever received in the mail. Winner will be chosen by.... Emily!! And contacted via email for shipping info. This giveaway ends Tuesday, December 1st @ 6:30 PM EST.

Good luck!!!

Monday, November 23, 2009

5 Tips to Minimize Food Waste with Kids

Please join me in giving a warm "Frugal Family Fun Blog" welcome to my guest, Debbie Lillard, from SpacetoSpare.com for today's post! Debbie is the author of Absolutely Organized – A Mom’s Guide to a No-Stress Schedule and a Clutter Free Home, and she has generously offered her best tips to help minimize food waste with kids. Picky eaters can quickly bust your budget, and Debbie offers tips that help save money as well as the environment.


Does this happen to you? You come home from food shopping and the kids tear into all the new bags of food yelling, “Whadya get?” before you have time to unpack. New snacks are ripped open, meanwhile you have 4 half-full bags of cookies, pretzels, and crackers in the cabinet, but somehow those just don’t seem so appealing. My children are 7, 10 and 13 so I go through this about once a week. I hate to waste food, so I’ve had to come up with some simple tricks to finish one thing before we start another. (This is one of my Absolutes of Organizing).

  1. Healthy After School Snacks - When they get home from school they are famished – so put out what you want them to eat on the table. If it’s easy, they’ll grab it. I often do cheese & crackers, chips and salsa, cookies and milk or a big bowl of grapes.

  2. Party Trays -The day before you go food shopping, check the cabinets for half full bags of snacks and use them up. To make these more appealing, put them in a decorative serving tray. I have one with three compartments so I might do: nuts, pretzels and chips or cheese, crackers and cut up peppers. If your kids like dip, put that out in a little bowl.

  3. Mix It Up -Produce doesn’t last long so I find myself with black bananas quite often. For this reason, I always have a big container of vanilla yogurt on hand for smoothies. Toss one cup of yogurt, one cup of fruit juice and whatever fruit you have: bananas, pineapple, strawberries, blueberries into the blender and let it whip. I like to add some crushed ice at the end. These make a great after-school snack or breakfast. A little whipped cream on top makes it even more appealing. And who can resist a bendy straw!

  4. Buffet Style - Left over meals are an economical way to save food and money, but if you have picky eaters, they won’t like the sounds of this. Again, on the day before I plan to food shop I have a “Pick Your Own” dinner or lunch. I will categorize the food by protein, starch and fruits & vegetables and put it all out on the counter. Everyone in the family gets to choose one of each and that’s the meal! If you don’t have enough left-overs to round out the meal, make one new thing that the kids love like oven fries or pasta, this will make the meal seem fresh.

  5. A better lunch – It’s so easy to go for convenience these days when it comes to packing lunches. I used to buy big boxes of school snacks at BJ’s and just use them until they were done. Now I’m trying to be more environmentally & health conscious, so I invested in some key lunch box items to do both:
Small stainless steel drink bottles– no more plastic.
Cloth napkins – no more paper
Reusable containers – for cut up fruit, snacks and sandwiches
Foil – to wrap other items ; I tell the kids to bring it home to recycle.

Thank you, Debbie, for sharing these wonderful tips with us!

Do you have any other tips to share? I would love to hear from you! Please leave a comment and share your ideas with us!

Sunday, November 22, 2009

Loving...

I mentioned a few days ago that we took a trip to a local plant nursery to prepare for our next activity from our Gratitude Jar -- Flowers: Make a special flower delivery! Emily and I had so much fun with this!


At the plant nursery, we found bags of fall bulbs that were 30% off or about $2.00 for several bulbs. Then, Emily asked some of our elderly neighbors if it would be okay to plant some bulbs in their flower beds.

What's that? You want to plant flowers in our yard? Ummm.... Yes, please!!

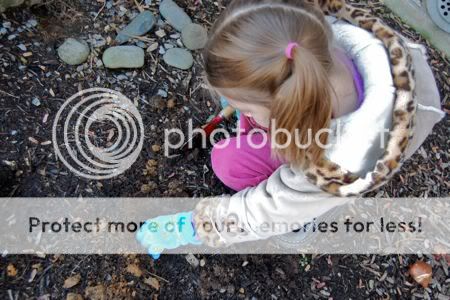
The reaction was absolutely fantastic! I wish I could have gotten some more photos, but Emily was just so excited and could not wait to get started! After deciding where the bulbs should be planted, we eagerly got to work.


At one point, she was talking to each of the bulbs as she was planting them, "I think you're going to do just fine over here, little flower. You'll grow up big and strong."


Afterwards, we were invited inside for what was probably the best tasting hot cocoa and chocolate chip cookies ever! What an unexpected treat!

This was such a wonderful way to get to know some of our neighbors, express gratitude for flowers, and let Emily get involved with a small service project.

A few things:
1. Always ask for permission first!
2. Discuss what you will be planting and where.
3. I wish we had brought a slightly larger shovel, and another set of gardening gloves. Some bulbs need to be planted about 5" deep, and ground conditions can make that difficult in November.
4. Have fun!!

Friday, November 20, 2009

Please help vote for us!!


Frugal Family Fun Blog has been nominated for the Best Thrifty Homeschooler Award! If you have enjoyed reading our blog, could you help cast your vote for us? No need to login and it only takes a second, thank you!

Mark says he'll do a guest post if we win.... fun!

[Update: Polls are now closed! Thank you to everyone who took the time to vote for us. Votes are being reviewed now!]

Today's Gratitude Activity

We have been enjoying all of the wonderful things to come out of our Gratitude Activity Jar! So far some of the activities we have done include: donated Jared Boxes to the hospital, invited a friend over to play, and visited the library. We are loving this little jar, and have even added more cards into the mix.

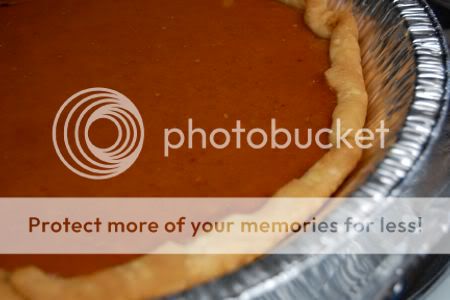
Today, Emily picked the Pie card, which meant it was time to bake a pie for a neighbor. I'm not much of a baker, but I think together we managed to do okay with this one.


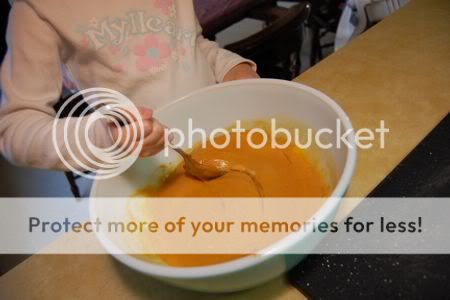
We decided to make an organic pumpkin pie. Not exactly from scratch, mind you.... but a pie nonetheless!


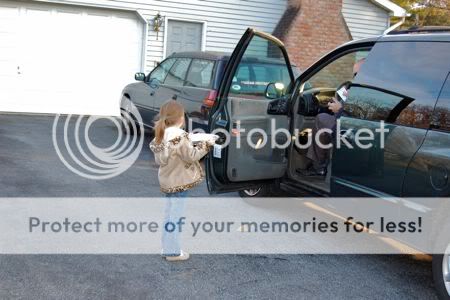
I think our neighbor was very surprised! I know I would love to come home to freshly baked pie, and ours was still warm from the oven.

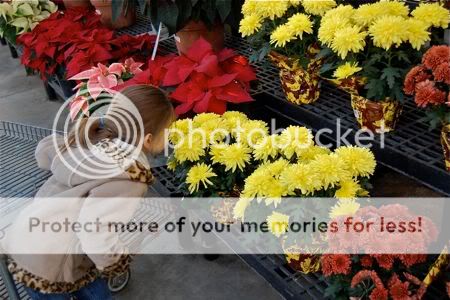
Then we started to prepare for tomorrow's activity. It involves being grateful for flowers. If you're in need of a mood lift, try visiting your local plant nursery. It felt so nice to surround ourselves in all the greenery and brightly colored flowers!


Emily fell in love with this wee little plant.


The colors were amazing!


So much fun, and we have much to be grateful for indeed.

Thursday, November 19, 2009

Handmade Holidays -- Snowflake Notecard Mailers

This beautiful post on A Creative Mint had me thinking about rich shades of purple, lavender, linen, and white. It reminded me of this pad of 50 sheets of cardstock I had picked up on clearance at JoAnn's ($3.17) a long time ago. We put it to good use today!


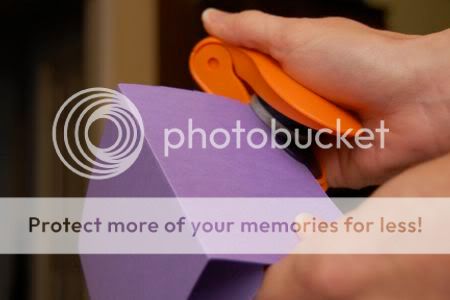
First, I cut each 8 1/2" x 11" sheet of cardstock in half to measure 4 1/4" x 11". This was the perfect size to make notecard mailers! I used my corner rounder on all the corners for a more finished look, and folded each card into thirds.


Emily came to help stamp the cards with white snowflakes....


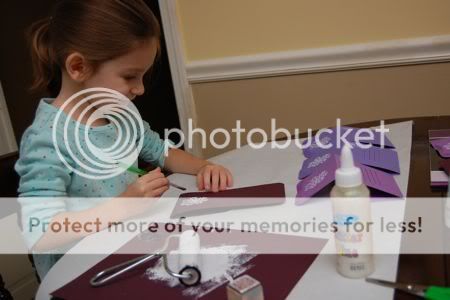
....and painted on some glitter glue! I think she was showing great restraint here, as she would have loved to cover the entire card with glitter glue. Instead, she painted one edge plus the corners.


I drew some lines for an address, and added a stamp where the postage would go.


When they were completely dry, we wrapped them up with some lavender raffia.


So pretty! Emily is still working on making more of these to send out to some of her friends. If it helps to encourage letter-writing.... I'm all for it!

Wednesday, November 18, 2009

Handmade Holidays -- Meet Rose!

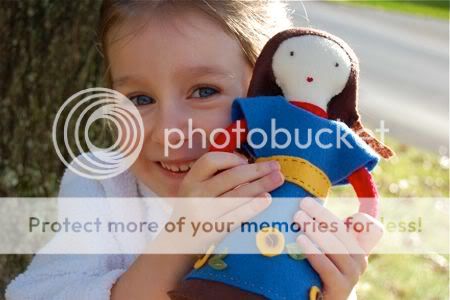
As promised in yesterday's post, here's what we've been working on.... a doll made from felt! This handsewn doll became an instant treasure, and Emily has named her Rose. Rose was easy to make, though she did take a few days to complete.


I made two dresses (one red, one blue), and Emily loves to pretend that the red dress is a pajama dress, and the blue dress is for wearing during the day.


We have also discovered that Rose knows how to dance! She is very flexible, and has great rhythm. She is most proficient in tap and ballet. Although she wears special quiet tap shoes.

The best part about this project, is that you can make one too! Thanks to this lovely (and free) downloadable pattern and tutorial from purl bee. The pattern was developed by the lovely, talented, and extremely generous Mimi Kirchner. Mimi, my daughter thanks you!!
Related Posts with Thumbnails