Friday, July 31, 2009

Crafting with Cheap Office Supplies

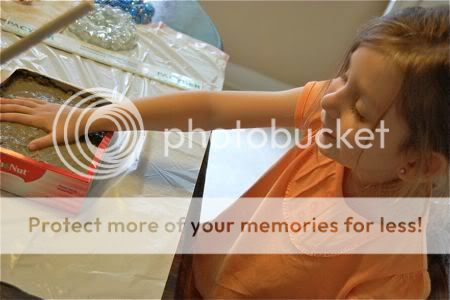
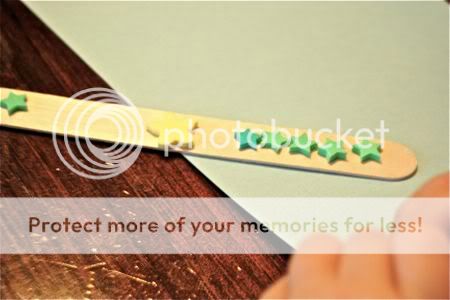
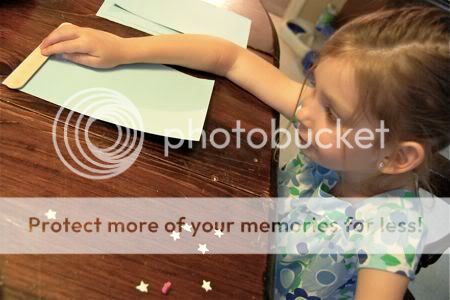
I can't get over how cheap school supplies are this time of year. For those of you afraid of messy projects, this is the perfect craft for you!! This is a very inexpensive, no-mess craft that uses pencils, star-shaped Post-It Notes, self-adhesive wiggle eyes, and neon sticker dots. It is ridiculously easy.

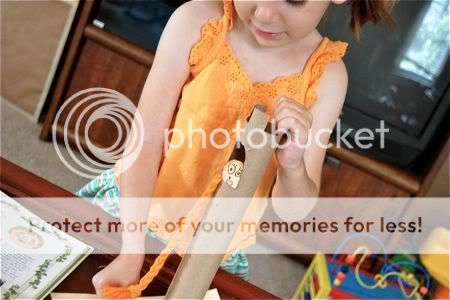
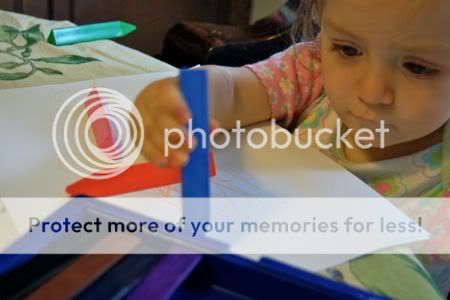
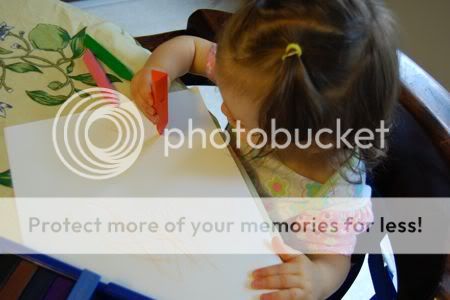
First have your child decorate the pencil with the sticker dots.

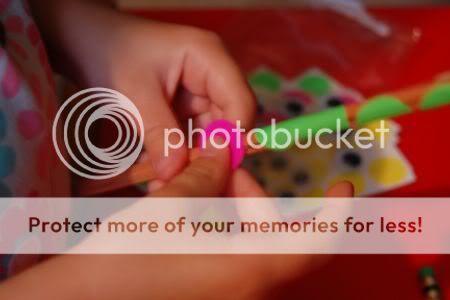
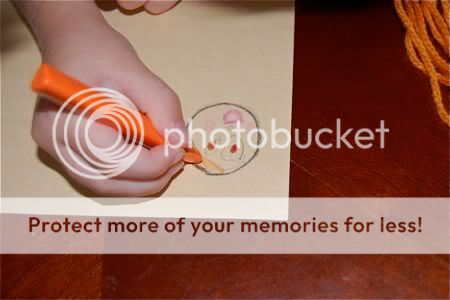
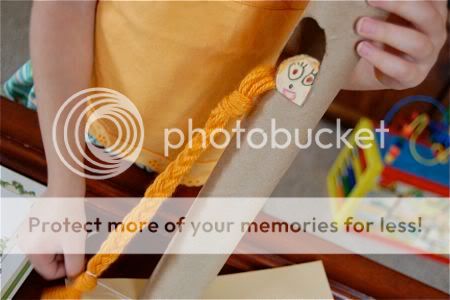
Next, attach the self-adhesive wiggle eyes to the star-shaped Post Its and draw in the nose and mouth.

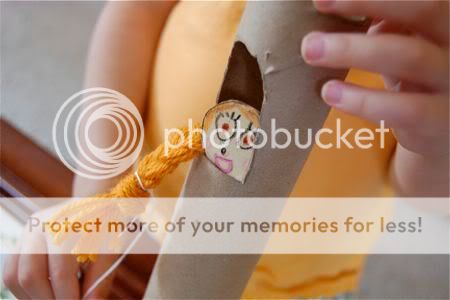
Use three Post Its to form the pencil topper. Place on top of the pencil, and you're done. How easy is that???

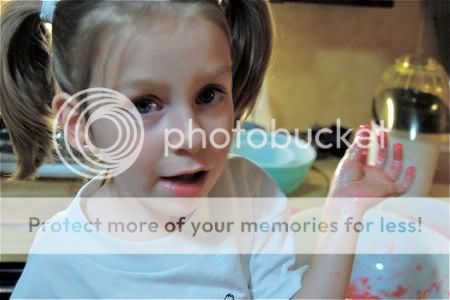
Emily used these as puppets this afternoon. She made happy star faces, silly faces, and even a grumpy face.
I love activities that spark imagination like this... Have fun!

Thursday, July 30, 2009

Kids in the Kitchen -- Poor Man's Turtles

This week, I thought it would be fun to participate in A Little Fun with Me and Lu's Kids in the Kitchen Thursday. Emily and I had such a great time this afternoon making these tasty Poor Man's Turtles. She even decorated some boxes to keep them in, but I don't think they will last long in this house!

To make your own Poor Man's Turtles, you will need: Snap Pretzels, Rolos, and Pecan Halves.
Start by layering the pretzels onto a baking sheet. If you're like Emily, feel free to munch on a few as you are doing this step.

Next, place one Rolo on top of each pretzel. Don't they look great already?? Wait, wait, it gets even better........

Place in a 200 degree oven for just a few minutes, or until the chocolate starts to melt. The Rolos do not melt down, so as soon as the chocolate is melted, go ahead and pull them out. Now, place a pecan half on top of each Rolo and press down. Yummmmm!

Place the baking sheet in the refrigerator for the chocolate to harden back up again.

Here's Emily decorating her candy box with lots of "Yum! Yum! Yum!".

Don't they look heavenly? They taste absolutely divine!
Have fun! And for more Kids in the Kitchen, visit A Little Fun with Me and Lu.

Wednesday, July 29, 2009

Garden Stones

At this point, our garden could use all the hope, prayers, and well-wishes it can get, so we spent this afternoon making some garden stones using quick dry cement (very inexpensive, and we had some leftover mix in the garage), empty cereal boxes, sea shells, and some glass gems from the dollar store.

I had initially planned on doing this activity outside, but it started to rain. However, this project wasn't nearly as messy as I thought! I pre-loaded the box with the cement, and then Emily took over from there.

Cut the front off of the cereal box. Mix up the dry cement and load it into the box. Level the cement with a ruler. Emily loved making a hand print in the cement.

We decorated our garden stones with the glass gems and seashells.

Once the cement is dry, rip off the cereal box to reveal your beautiful garden stone. I'm hoping ours brings some good luck to our garden!

Tuesday, July 28, 2009

Rapunzel, Rapunzel...

Emily has been asking me since yesterday if we could please make this craft found in the lovely book Crafts From Your Favorite Fairy Tales by Kathy Ross. This was one of the first books Emily borrowed from the library with her new library card! When she plays with toys like this, she does this funny falsetto voice to go along with them. I was in the kitchen when I heard this teeny tiny high-pitched voice say, "Emily, can you pull my hair back into the tower? It's going to rain, and I don't want it to get all wet!".

To make your own Rapunzel tower, you will need: yarn for hair, string, a paper towel roll, construction paper for the face, scissors, crayons, and a bit of glue.

Cut the top of the paper towel roll as shown, and cut out a window near the top of the roll too.


While I was cutting the paper towel roll, Emily got to work on drawing a face for Rapunzel.

We cut out the face, and glued it to the inside bottom and side of the window. I braided some yarn for hair, and looped a piece of string around the top of the braid as shown. Run the string through the inside of the window and down to the bottom of the roll. Tie the bottom of the string to the bottom of the braid.

Now... play! Rapunzel..... Rapunzel, let down your hair!!


I love crafts that go along with stories like this, and since it uses recyclables.... even better! The fact that she enjoyed playing with Rapunzel long after the craft was completed, made this just about everything a craft project should be!

Monday, July 27, 2009

Glittery Gem Dough

If your child loves bling, glitter, or all things sparkly (who doesn't??), here's an activity that sure to be a big hit! To make your own glitter gem dough, you will need:
1 cup rock salt
1/4 cup glitter glue
3-4 drops food coloring

Emily did all the measuring for this, with the exception of the food coloring. Begin by mixing the rock salt and food coloring first until well blended. Then, add the glitter glue. Our glitter glue even had tiny confetti stars in it... so cool!

Stir again until well blended.

Spread out onto work surface. Make sculptures, or.....

...use cookie cutters to make glittery shapes!

So sparkly!! Allow a few hours for the glue to dry.

Sunday, July 26, 2009

Easy Block Printed Letterhead

Ever since we made block prints using foam meat trays, Emily has been asking for more stamping projects. This letterhead stationary is perfect for letters to Grandma, and we plan to use some for our Super Summer Swap too!

To make your own block printed letterhead, you will need:
Large Craft Sticks
Small Foam Stickers
Water Soluble Block Printing Ink
Brayer
Some Paper

Invite your child to design the letterhead by placing the foam stickers on the craft stick.


Roll the brayer through the ink, and then roll the ink onto the stamp your child has just created.

Using a craft stick makes it easy for little ones to line it up with the top of the paper. Press down firmly to make a nice, crisp image.

The big reveal! That's it... easy peasy, right?
Have fun!

Saturday, July 25, 2009

Focus on the Family

This is the memory I am trying to focus on today -- an impromptu picnic dinner at the garden. We were enjoying our cold fried chicken, garden salad, cornbread, and slices of watermelon. It was a completely spur-of-the-moment decision, one made out of simply a lack of time to get both dinner and work at the garden done before dusk. We ate, and talked, and laughed, and I need to focus on those things now.

Because later, we found that our entire beloved garden plot, and our entire community's garden like much of the Northeast US is infected with late blight, a plant disease for which there is no known cure. While I tried to wrap my brain around the concept that we will lose virtually every plant in our garden, that tomatoes are about to become extremely expensive this growing season, that the hours and hours and hours all of us spent weeding, watering, planting..... just the thought of it has me feeling completely devastated.

So we are all focusing on being grateful for our healthy family, a happy home, and (for today) this simple, last-minute, picnic.

What memory did you choose to focus on today?

Friday, July 24, 2009

Pink Popcorn Balls

This recipe is very frugal, and lots of fun (especially for the kids). It is, however, a messy project. Please note that our family is not afraid of messy projects. As Emily would say, "Messy project? Bring it ON!!" Also, it is not in the least bit healthy. My advice is to let the kids enjoy these, then quickly take them to the nearest playground and let them burn off that sugar high. If a playground is not available, try padding the walls of your house with thick cushions because they will be bouncing off of them.

To make your own pink popcorn balls, you will need:
2 Quarts Air Popped Popcorn
3 Tbsp. Butter
4 Tbsp. Raspberry or Strawberry Gelatin Mix
1 1/2 Cups Mini Marshmallows

Pop the popcorn in the air-popper and set aside. In a small bowl, combine butter and marshmallows. Microwave on high for about 50 seconds. Stir in gelatin mix until the marshmallow mixture is smooth.

Pour over popcorn.

Stir until popcorn is completely coated.

Spray your hands with non-stick cooking spray, and form popcorn mixture into balls.

Enjoy! Then run around like a crazy person.
Mmmm... yummy! And so much fun!!

Thursday, July 23, 2009

Celebrating Milestones


Two very important milestones were celebrated today:

1. Emily's very own library card!! We finally got to the point where all of her books were cutting into my quota. Having a card of her own means she can check out plenty of materials, teaches valuable lessons in responsibility, and promotes lots of free and educational experiences. We are very excited!

and

2. Clara's first scribbles!!


She uses this triangular crayon set from Melissa and Doug. These crayons don't roll off the table, are easy to draw with, and difficult to break. She loves them!

Wednesday, July 22, 2009

Pretend Play on a Dime -- Movie Day

After Emily and Clara went off to bed last night, Mark and I got to work on this ticket booth made from cardboard, masking tape, a tension curtain rod, an old curtain, some scraps of gold wrapping paper, a foam meat tray, and some LED Christmas lights. When Emily found it this morning, she was thrilled!


The "Open/Closed" sign is held on with magnets, making it easy for her to switch it around. Several times I would pretend to go to buy tickets, but have to turn around because the booth was closed, but Emily thought that was so funny!

Ah, now it is open again! I had a large box of styrofoam peanuts that we used as pretend popcorn. I think what made this so great for her were the Christmas lights. I love the LED lights because they use far less electricity, and I didn't have to worry about them getting hot.


I love how the entire ticket booth folds flat for storage. Kids and cardboard are a happy combination, aren't they?
Related Posts with Thumbnails