Showing posts with label books. Show all posts

Thursday, April 29, 2010

Giveaway -- Laura Numeroff's New Book

I'm so excited about this fun giveaway from Laura Numeroff, author of If You Give a Mouse a Cookie, who has partnered with Sleepy's and First Book to provide a free reading event for those who are lucky enough to live in the King of Prussia area! But you don't have to live near King of Prussia to be part of the excitement because one very lucky reader will win a copy of Laura Numeroff's new book, The Jellybeans and the Big Book Bonanza!! Laura is one of our family's favorite authors, so I am especially thrilled to be hosting this giveaway. In exchange for hosting the giveaway, our family will be given a copy of Laura's new book as well, and I cannot wait for it to arrive!

Monday, November 23, 2009

5 Tips to Minimize Food Waste with Kids

Please join me in giving a warm "Frugal Family Fun Blog" welcome to my guest, Debbie Lillard, from SpacetoSpare.com for today's post! Debbie is the author of Absolutely Organized – A Mom’s Guide to a No-Stress Schedule and a Clutter Free Home, and she has generously offered her best tips to help minimize food waste with kids. Picky eaters can quickly bust your budget, and Debbie offers tips that help save money as well as the environment.


Does this happen to you? You come home from food shopping and the kids tear into all the new bags of food yelling, “Whadya get?” before you have time to unpack. New snacks are ripped open, meanwhile you have 4 half-full bags of cookies, pretzels, and crackers in the cabinet, but somehow those just don’t seem so appealing. My children are 7, 10 and 13 so I go through this about once a week. I hate to waste food, so I’ve had to come up with some simple tricks to finish one thing before we start another. (This is one of my Absolutes of Organizing).

  1. Healthy After School Snacks - When they get home from school they are famished – so put out what you want them to eat on the table. If it’s easy, they’ll grab it. I often do cheese & crackers, chips and salsa, cookies and milk or a big bowl of grapes.

  2. Party Trays -The day before you go food shopping, check the cabinets for half full bags of snacks and use them up. To make these more appealing, put them in a decorative serving tray. I have one with three compartments so I might do: nuts, pretzels and chips or cheese, crackers and cut up peppers. If your kids like dip, put that out in a little bowl.

  3. Mix It Up -Produce doesn’t last long so I find myself with black bananas quite often. For this reason, I always have a big container of vanilla yogurt on hand for smoothies. Toss one cup of yogurt, one cup of fruit juice and whatever fruit you have: bananas, pineapple, strawberries, blueberries into the blender and let it whip. I like to add some crushed ice at the end. These make a great after-school snack or breakfast. A little whipped cream on top makes it even more appealing. And who can resist a bendy straw!

  4. Buffet Style - Left over meals are an economical way to save food and money, but if you have picky eaters, they won’t like the sounds of this. Again, on the day before I plan to food shop I have a “Pick Your Own” dinner or lunch. I will categorize the food by protein, starch and fruits & vegetables and put it all out on the counter. Everyone in the family gets to choose one of each and that’s the meal! If you don’t have enough left-overs to round out the meal, make one new thing that the kids love like oven fries or pasta, this will make the meal seem fresh.

  5. A better lunch – It’s so easy to go for convenience these days when it comes to packing lunches. I used to buy big boxes of school snacks at BJ’s and just use them until they were done. Now I’m trying to be more environmentally & health conscious, so I invested in some key lunch box items to do both:
Small stainless steel drink bottles– no more plastic.
Cloth napkins – no more paper
Reusable containers – for cut up fruit, snacks and sandwiches
Foil – to wrap other items ; I tell the kids to bring it home to recycle.

Thank you, Debbie, for sharing these wonderful tips with us!

Do you have any other tips to share? I would love to hear from you! Please leave a comment and share your ideas with us!

Wednesday, October 28, 2009

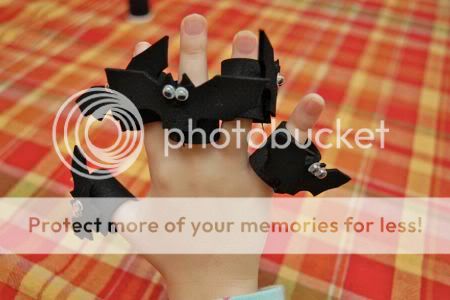
Five Little Bats Finger Puppet Playset

We have been enjoying lots of Autumn and Halloween themed books and poems in our household lately. Between battling colds, and rainy weather, it is the perfect time for snuggling under blankets and reading good books. When we read this poem this afternoon, we just knew we needed a finger puppet playset to go along with it!

Five Black Bats

Five black bats
Ready to soar;
One stayed behind,
Now there are four.
Four black bats
Hanging from a tree;
One fell down,
Now there are three.
Three black bats
Wondering what to do;
One flew away,
Now there are two.
Two black bats
Sitting in the sun;
One fell asleep,
Leaving only one.
One lonesome bat
With no place to go,
Went hiding in a cave,
Now there are zero.

Isn't that the cutest?

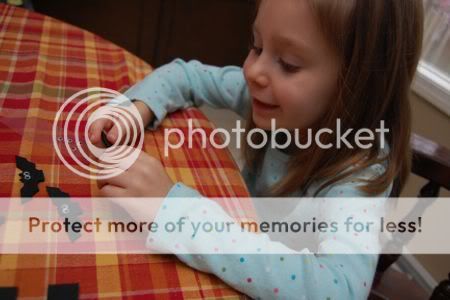
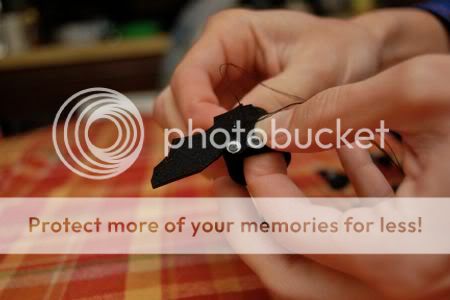
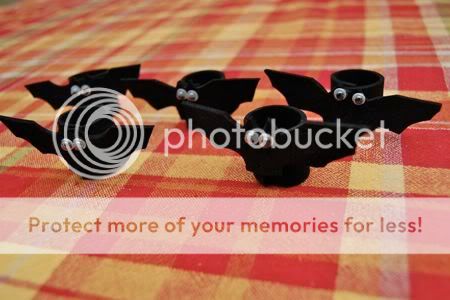
Emily could not wait to start playing with these! They are made from black craft foam. We cut 10 pieces 1/2 inch x 2 1/2 inches. I used 5 of them to cut out bat shapes, and the other five became the finger bands. Emily loves attaching googly eyes! Who doesn't??


Just a few quick stitches to hold them together, and they were done!


She has already asked for a tote bag to keep them in.... I happen to have some pumpkin patterned fabric that I think will be perfect. Another excuse to get crafty?? Bring it on!

Friday, October 23, 2009

10 Tips to Get the Most Out of Library Book Sales (Guest Post from Chronicle of an Infant Bibliophile)

I hope you will join me in welcoming Lynn to Frugal Family Fun Blog for this gem of a guest post with lots of valuable money-saving tips. Thank you, Lynn!

Update: We have a guest post up on Lynn's blog today. Be sure to visit her!


Hi. I'm Lynn, mom to a 2 year old lover of books, and I blog over at Chronicle of an Infant Bibliophile, where we record and review everything my son reads. We're delighted to be guest posting at Frugal Family Fun today. When it comes to frugal, and fun, it's hard to beat your public library. While visiting the library and borrowing books is wonderful, there is also a certain joy in owning your own books. That's where the subject of today's post comes in -- getting the most out of library book sales.

As a child, I remember descending the stairs of my local library once a year, entering a small room jam-packed from floor to ceiling with books and eager patrons elbowing each other for the best selections. The excitement was palpable. My mother would buy me a brown paper bag for a set price and set me loose to fill it. I was in heaven. Now I am fortunate enough to live in a city with a huge public library that holds book sales multiple times per year.

Fresh from our most recent sale this week, I am sharing 10 tips for getting the most bang for your buck out of library book sales. Our focus is on children's books, but many of these apply to all types of books.


1. Go early. When they're gone, they're gone, and the best selection will be in the opening hours. If you are a Friend of the Library (my husband signed our family up as a stocking stuffer last year for $25), check to see if there are free members-only preview sales the night before.

2. Volunteer. If you really want first dibs, sign up to volunteer for the sale. I don't know what the official rules are about snagging books for yourself when you volunteer, but in the last city I lived in, the crafts section was always completely empty, and those kindly older women working the checkout line looked mighty smug about it.

3. Set a budget. This is fairly obvious, although admittedly, I don't usually do it. It might work especially well if you have older children with you. Give them each $5 (or less, depending on how much books cost) and let them figure out what they can buy.

4. Go late. Check with the library about the last few days of the sale. Prices might be cut in half, or the fill-a-bag sale might only be brought in on the last day. I know I also recommended going early. It's a trade-off between greater availability and the best bargains. Last year, I found that I was struggling to fill an inexpensive bag with books we really didn't want on the last day, so I limited myself to the first day of the sale this year.

5. Be neighborly. This tip makes the whole experience more fun. At large sales, ask others around you if they're searching for a particular topic and ask them to let you know if they see what you're looking for. If you feel weird asking, you can also just express your thoughts loudly to your young child: "I hope we can find you some books about cars!" This inadvertently scored us four great finds last week.

6. Choose wisely. Check board books for chewed corners (my personal peeve, which eliminates most board books at the sale), and especially every page in pop-up and lift-the-flap books for missing sections. If you see a book in great condition by an author you know and love, don't waste time reading it -- toss it in your bag and move along. It's a keeper.

7. Put your kids to work. If, like me, you visit the sale with your child(ren), put them to work. How much they can do will vary by age, of course, but even my two year old helps out. We have a rule that he's allowed to run around as long as he stays in the same aisle as me. I engage him by asking him to deliver books I pick to a pile on our stroller and to yay or nay borderline choices. Hotwheels from my purse buy me extra time when he matter-of-factly declares that he is "all done!". At the last book sale we attended, someone had set their three year old on the floor with a PDA playing movies. I don't recommend that approach, but it seemed to work well as a tactic to block us from a few shelves full of good books...

8. Go through all of your selections one last time before you buy. Ask yourself if you really want to own the book or if you'd be content to borrow it from the library.

9. If you get a book home and realize that you don't like it, fear not. Use sites like paperbackswap.com or bookmooch.com to trade for other books that you would enjoy more. I suspect many use the big book sales expressly to get books for trading online. I don't have that kind of drive, but you can use it selectively for books that you change your mind about once you get them home. Personally, we pop them right back into the library donation bin.

10. Feel good -- your purchase is helping to keep our libraries running!

Do you have other tips? We'd love to hear them. I already have the next sale marked on my calendar...

Wednesday, September 30, 2009

Indoor Herb Garden Update... Sprouts!

When we woke up this morning, we were greeted by these.....


.... sprouts of basil from our indoor herb garden!! To celebrate, we read the book Seeds! Seeds! Seeds! by Nancy Elizabeth Wallace. What a fabulous find this book turned out to be, and I highly recommend it if you have any junior gardeners in your household!


Then, we decorated picture frames by gluing beans to them. (This activity came straight from the book above.) There are so many fun gardening activities mentioned in this adorable story. Emily loves gluing things, so this was really fun for her!


We're looking forward to more sprout celebrations soon!

Friday, September 11, 2009

Frugal and Useful -- Post-it Bookmarks

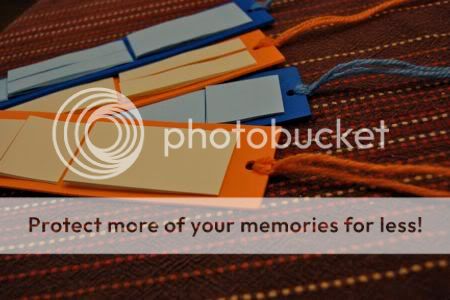
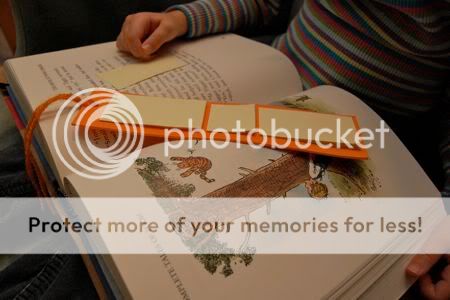
Here's a useful gift that even the smallest crafters can make -- Post-it® Bookmarks! I am so guilty of folding multiple corners on just about every book I read and writing in the margins, so I really needed one of these. When Emily saw what I was up to, she wanted to help.

To make your own Post-it bookmark, you will need a piece of craft foam (2" x 7"), some yarn, and some Post-it Notes. One package of Post-it Notes will make several bookmarks.

First, separate a few sheets from the note pad (about 7-10 sheets or so).

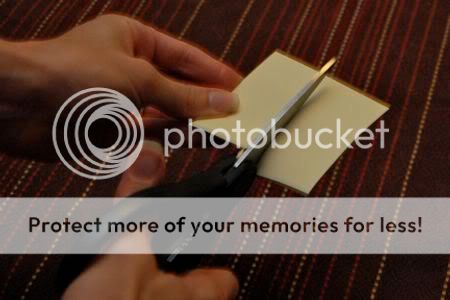
Use a pair of kitchen scissors to cut the Post-its into shapes that fit onto your bookmark.


Arrange the mini-pads on the bookmark and glue into place. Attach some yarn to the top of the bookmark for a decorative touch.


No more corner-folding or notes written in the margin of the book!


Have fun!

We have had lots of fun with Post-it Notes (see here, here, and here). Hmmm... 3-M, are you reading this??

Thursday, September 3, 2009

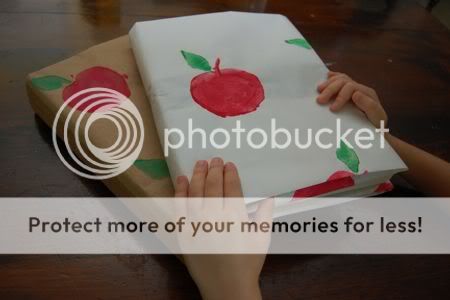
Easy Apple Printed Book Covers from a Paper Bag

One of the first homework assignments many kids need to complete is to cover their books. Why not have a little fun doing it? Using some paint, a brown paper bag or freezer paper, an apple, and a potato, you can make beautiful book covers! I see book covers at office supply stores all the time, but it's so much for fun (and less expensive) to make your own. It doesn't get any more frugal than an apple and a brown paper bag!!


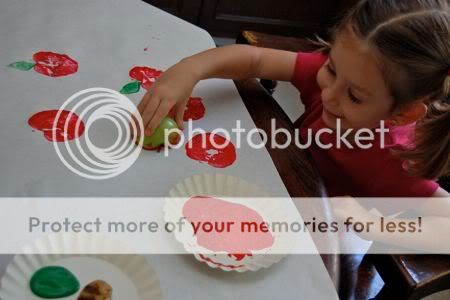
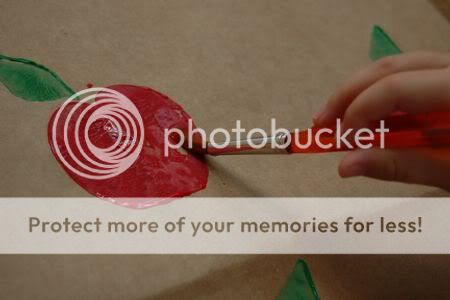
First, cut an apple in half to use as a stamper. Emily dipped the apple stamper in some red paint and then stamped the design on the paper.


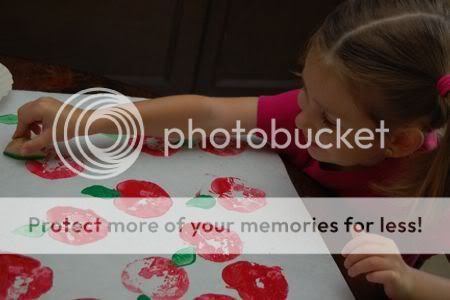
Next, cut a leaf shape stamp from a potato. Your child can add green leaves to the apples they already stamped.


Using a paint brush, fill in any spots with a little more paint. Emily was so pleased with how her book cover was starting to look! Allow the paint to dry completely. Now it's time to cover the book!


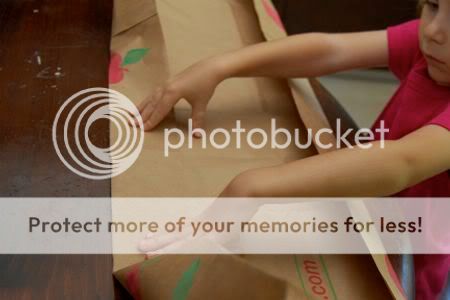
With the apple-printed side down, fold the bottom edge of the bag over about 3 inches.


Lay your book to be covered on top of the bag and mark the top of it with a pencil.


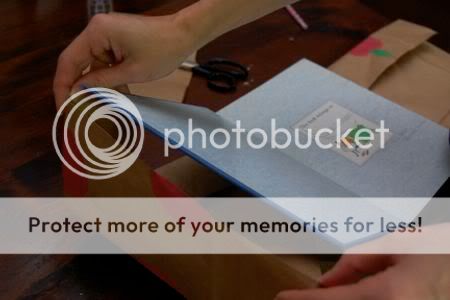
Using your pencil mark as a guide, fold the top edge to make a sleeve for the book cover.


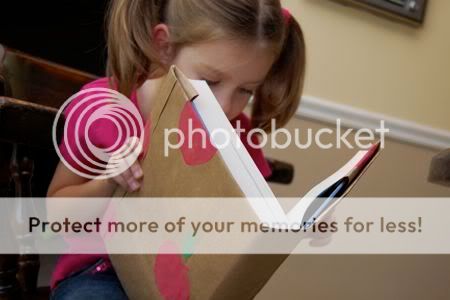
Insert the front cover of the book into the sleeve. Repeat with the back cover. You may need to trim your bag a bit, depending on the size of the book.

... and you're done! Have fun!!

Tuesday, August 25, 2009

Light-Up Fireflies

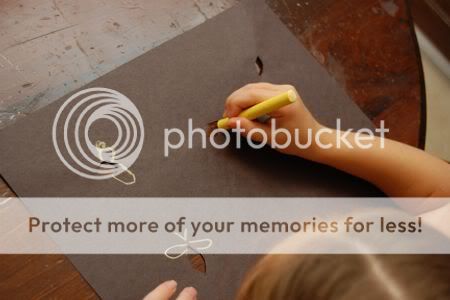
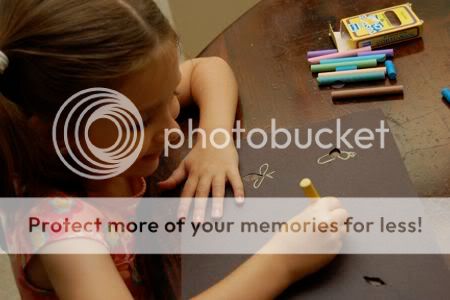
This was a fun before-bedtime craft that Emily enjoyed. It's easy, and mess-free too! She loved seeing all the fireflies light up in the picture!

To make your own light-up fireflies, you will need: black construction paper, yellow tissue paper, scissors, chalk, and tape.

Cut holes out of the black construction paper for the bodies, and invite your child to draw wings and antenna using chalk.


Next, flip the paper over and cover the holes with yellow tissue paper. Attach with tape as shown.

Hold the picture up to a light source and the fireflies will light up!

So much fun!! The perfect bedtime story to go along with this... The Very Lonely Firefly by Eric Carle.

Monday, August 3, 2009

Strawberry Necklaces at the Park

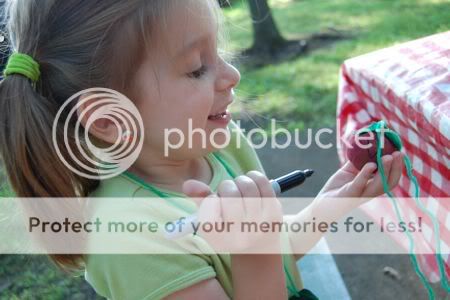
We were blessed with gorgeous weather here, so the girls and I spent as much time as possible outside. A few weeks ago, we found this craft idea in the book Crafts to Make in the Summer. Sure, we could just go out and buy a bag of walnuts, but I used it as an excuse to visit our favorite park that features plenty of large walnut trees. One of the highlights from the park was this....

....Clara's first time on the Merry-Go-Round! The girls had lots of fun on the playground and then Emily went on a hunt for walnuts and acorns. She gathered them up into her garden goody bag.


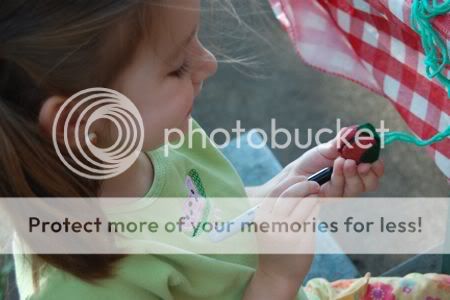
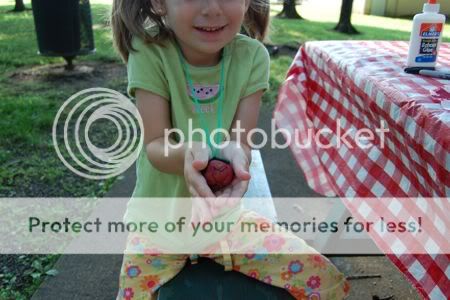
Emily painted the walnuts red and I cut out the leaves from green felt. While the paint was drying, she threaded the yarn through the leaves for the necklace.

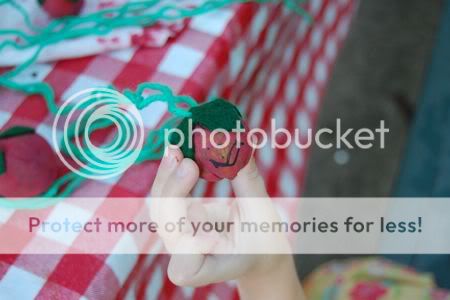
The girls enjoyed some more time on the playground, and then once the paint was dry, Emily used a black marker to make black dots. Of course, she could not resist the temptation to draw a face on her strawberry as well!


This one was her favorite. She named him, "Mr. Chit Chat" because he looks like he's talking.

Emily declared today the "Best Park Day Ever"!

Tuesday, July 28, 2009

Rapunzel, Rapunzel...

Emily has been asking me since yesterday if we could please make this craft found in the lovely book Crafts From Your Favorite Fairy Tales by Kathy Ross. This was one of the first books Emily borrowed from the library with her new library card! When she plays with toys like this, she does this funny falsetto voice to go along with them. I was in the kitchen when I heard this teeny tiny high-pitched voice say, "Emily, can you pull my hair back into the tower? It's going to rain, and I don't want it to get all wet!".

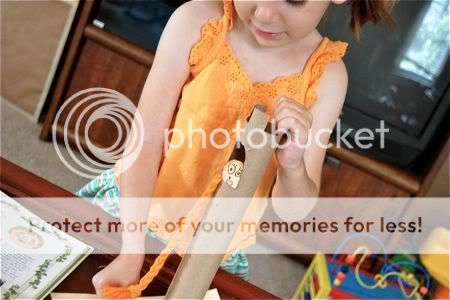
To make your own Rapunzel tower, you will need: yarn for hair, string, a paper towel roll, construction paper for the face, scissors, crayons, and a bit of glue.

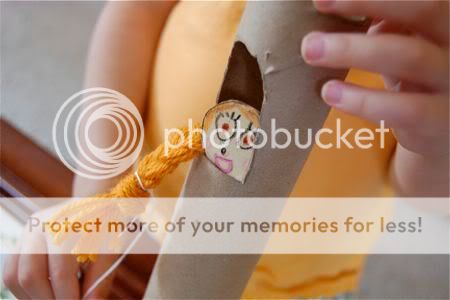
Cut the top of the paper towel roll as shown, and cut out a window near the top of the roll too.


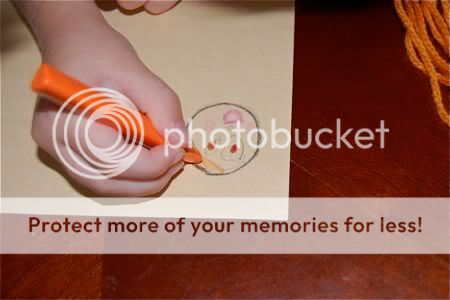
While I was cutting the paper towel roll, Emily got to work on drawing a face for Rapunzel.

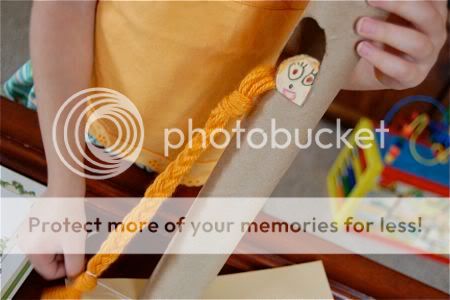
We cut out the face, and glued it to the inside bottom and side of the window. I braided some yarn for hair, and looped a piece of string around the top of the braid as shown. Run the string through the inside of the window and down to the bottom of the roll. Tie the bottom of the string to the bottom of the braid.

Now... play! Rapunzel..... Rapunzel, let down your hair!!


I love crafts that go along with stories like this, and since it uses recyclables.... even better! The fact that she enjoyed playing with Rapunzel long after the craft was completed, made this just about everything a craft project should be!
Related Posts with Thumbnails