Showing posts with label halloween. Show all posts

Saturday, October 31, 2009

The Halloween Deal


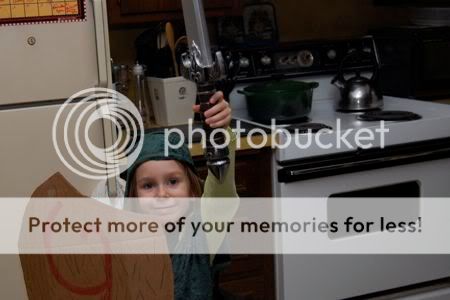
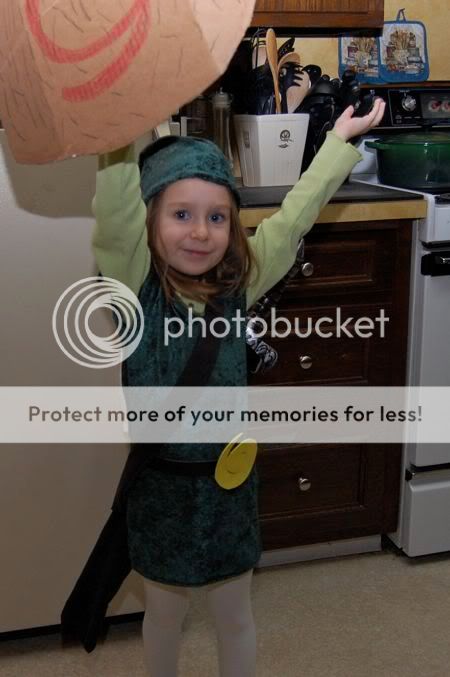
Between Clara's Little Red Riding Hood, and Emily's Link from Zelda, we're kickin' it old school in our household this Halloween.


Mark made the shield from cardboard, and I sewed the tunic, hat, and sheath for the sword ($5.00 fabric from JoAnn). The sword was a Target find ($5).

Emily and I worked out a deal. She gets the M&M's. I get the Reese's. Nobody gets hurt.

Wishing everyone a happy and safe Halloween.

Friday, October 30, 2009

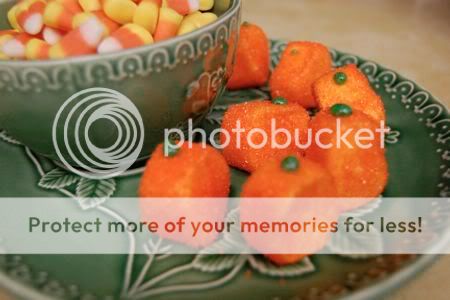
Super Easy Marshmallow Pumpkins

Emily and I did some Halloween "baking" this afternoon. She thought these marshmallow pumpkins were the coolest thing, and they were super-easy to make. Each marshmallow makes two pumpkins. Very frugal! She made these with very little help from me whatsoever.

For a slightly healthier option, try slices of banana instead of marshmallows. I say, go for the marshmallows! After all, Halloween only comes but once a year.


Begin by cutting each large marshmallow in half. It is scientifically proven that when you cut sweets in half all of the calories spill right out.


Poke the marshmallow through a skewer.


Let the marshmallow go for a quick swim in a small bowl of water.


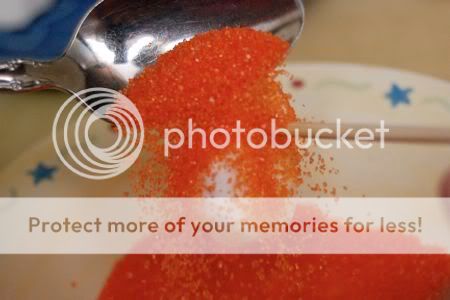
Cover with orange decorating sugar! Emily did a happy dance when we got to this step, and I think a happy dance is mandatory for this activity. It makes the marshmallows taste a little better.


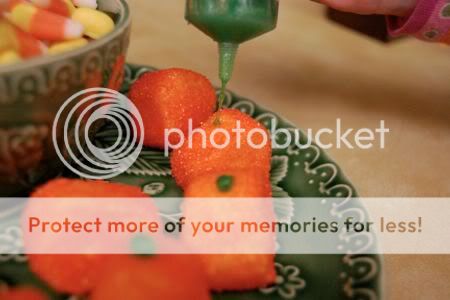
Use green icing to make stems.


The taste test results..... success!! Nom nom nom!

Thursday, October 29, 2009

Hey there Little Red Riding Hood

I finished sewing Clara's Halloween costume last night because there's no sense in waiting until the last minute, right?


Fortunately, this sweet hooded poncho for Little Red Riding Hood took less than 10 minutes to put together. I used 1 yard of costume fabric from JoAnn that was just $2.49/yard. Bargain!


I love that her "basket of goodies" doubles as a treat basket for trick-or-treating! It was a thrift store find for $0.25.

What are your little ones dressing up as?

Wednesday, October 28, 2009

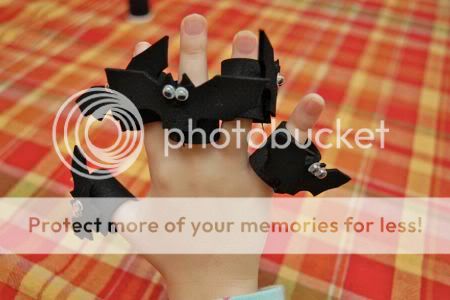
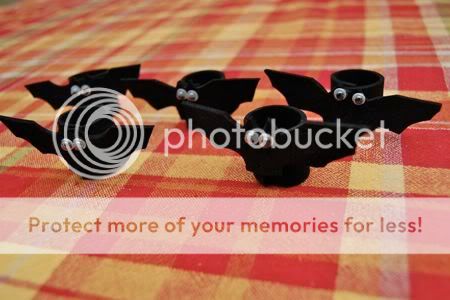
Five Little Bats Finger Puppet Playset

We have been enjoying lots of Autumn and Halloween themed books and poems in our household lately. Between battling colds, and rainy weather, it is the perfect time for snuggling under blankets and reading good books. When we read this poem this afternoon, we just knew we needed a finger puppet playset to go along with it!

Five Black Bats

Five black bats
Ready to soar;
One stayed behind,
Now there are four.
Four black bats
Hanging from a tree;
One fell down,
Now there are three.
Three black bats
Wondering what to do;
One flew away,
Now there are two.
Two black bats
Sitting in the sun;
One fell asleep,
Leaving only one.
One lonesome bat
With no place to go,
Went hiding in a cave,
Now there are zero.

Isn't that the cutest?

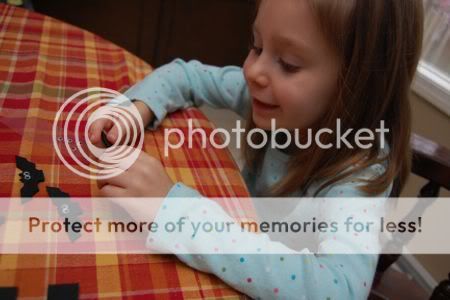
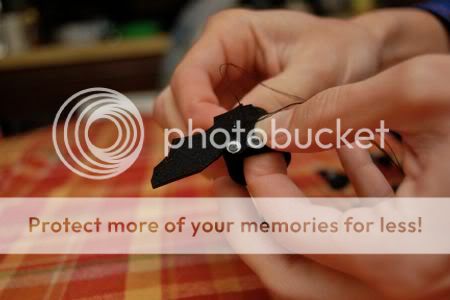
Emily could not wait to start playing with these! They are made from black craft foam. We cut 10 pieces 1/2 inch x 2 1/2 inches. I used 5 of them to cut out bat shapes, and the other five became the finger bands. Emily loves attaching googly eyes! Who doesn't??


Just a few quick stitches to hold them together, and they were done!


She has already asked for a tote bag to keep them in.... I happen to have some pumpkin patterned fabric that I think will be perfect. Another excuse to get crafty?? Bring it on!

Tuesday, October 27, 2009

Last-Minute Goody Bags from an Envelope

Emily asked if we could make some special Halloween goody bags to give out to her friends, but I am too lazy (and far too frugal) to go to the store and spend money on goody bags. In the end, she liked these handmade ones so much better! I think they would be perfect for last-minute party favors, but we've been battling some colds around here, so no parties for us anytime soon. Boo hoo! Grab some business-sized envelopes, enlist the help of the kids, and make your own goody bags in seconds. (Well, maybe a bit longer if you waste time tearing the house apart looking for envelopes because you can't remember where you last placed them and you're certain that the baby must have walked off with them... Not that it has happened to me, or anything.... I was... um... I was just sayin'.)

Here's how to make your own:

1. Seal the envelopes.


2. Cut each envelope in half to make two goody bags. Yes, two goody bags from one envelope. So thrifty, right? Start with one half, and fold along what was the side of the envelope, about 1/4 inch in. This will now be the bottom of the goody bag. Unfold, and then fold along the top and bottom 1/4 inch of the envelope as shown.


3. Pop open your envelope to form your goody bag. My, aren't you crafty??


4. Here's what the bottom of the bag should look like.


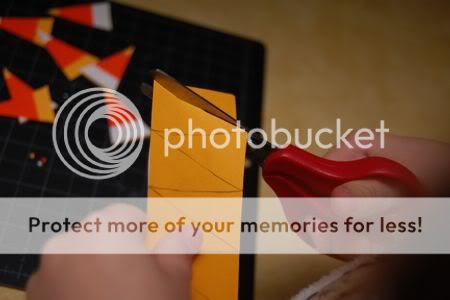
5. For the candy corn, cut out strips of colored construction paper and glue together as shown.


6. Cut out triangles, as shown. (Great for the little ones who are just getting used to scissors!)


7. Attach to the bag, fill with candy, and pass out to friends!


Monday, October 5, 2009

Super Emily to the Rescue!

This super hero cape was a late night sewing project I made with my own pattern and some costume satin that is currently on sale at JoAnn Fabrics. It was going to be part of Emily's Halloween costume, but we are currently suffering from a serious case of indecisiveness with regards to Halloween costumes. At any rate, it was perfect for an afternoon of pretend super hero play!


Super Emily to the rescue! Super Emily is.......


...able to stop tiny babies from wandering onto the sidewalk...


...faster than a speeding snail...


...able to leap blades of grass in a single bound!

Thursday, October 1, 2009

Pumpkin Printed Halloween Treat Bags

Today's project was inspired by Lisa Anne from Smell the Coffee, Lisa! She recently featured a great Halloween Spooktacular post with all sorts of neat crafty ideas. Lisa Anne plans to sew Halloween treat bags this year, and I thought that was a terrific idea, so we made our own too.

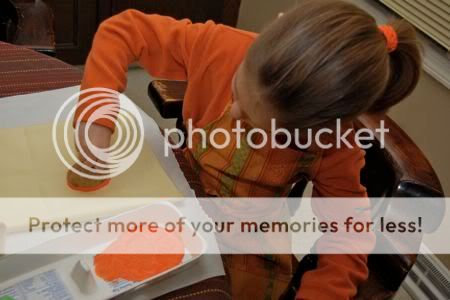
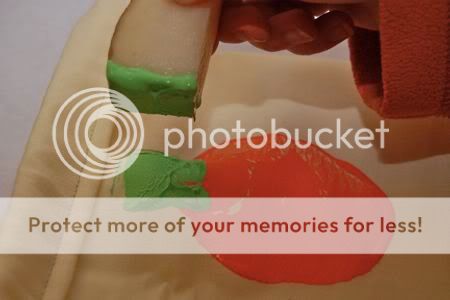
I made a very simple drawstring bag from some scrap fabric, and Emily enjoyed printing pumpkins on it with potato stamps.


She even made mini-pumpkins with her fingerprints. This was all her idea, and she was quite proud of herself.


The stems were also made using a potato.


She was having so much fun with this! I think she is greatly anticipating Halloween this year.


She is already envisioning this big bag filled with candy... oh my!

Monday, September 21, 2009

Spooky Spider-Printed Pumpkins

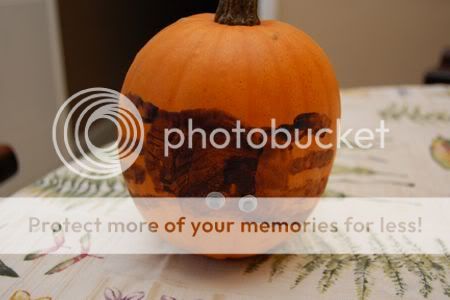
The only one who's crazy about carving pumpkins in our household is Mark. Emily and I would prefer to paint on ours, thank you very much. These spider-printed pumpkins were fun and easy to make! Keep some baby wipes on-hand to keep the mess to a minimum.

To make your own spider-printed pumpkins, you will need some black paint, a pumpkin, a paint brush and some baby wipes.

First, brush some paint on your child's palm and four fingers.


Make a hand print on the pumpkin as shown.


Next, wipe off that hand with a baby wipe to get rid of the paint, and brush your child's opposite palm and four fingers with black paint.


Now, overlap the palm of the first print with the palm of this new hand print.


Allow the paint to dry, and add some googly eyes!

Have fun!!
Related Posts with Thumbnails