Showing posts with label gardening. Show all posts

Monday, June 21, 2010

Easy Garden Welcome Banner

After having done countless craft projects that involved tissue paper, I had been saving a rather large collection of tissue paper confetti. Since I'm never one to throw stuff away, I saved these bits of colorful goodness to recycle for other projects like this one! Our vegetables are starting to arrive in our garden, and what better way to welcome them than with this garden welcome banner. It's quick, easy, and even the littlest crafters can make it with great results!!


I cut out letter-frames of construction paper to spell out the word "welcome" and placed them right-side down on a sheet of clear contact paper. Then I invited the girls over to decorate the letters with all that fun confetti!


For Clara, this was a great exercise in letter-recognition and fine motor skills. She was so proud of her letters!


Emily thought the bright colors would make the plants feel as though our garden was one big fiesta!!


I added another sheet of clear contact paper sticky side down to sandwich the letters in-between. She used binder clips to attach the letters in the right order to a length of laundry line -- great spelling practice and the binder clips helped challenge her pincher grasp too.


...and now our garden is starting to look a whole lot more colorful!

Wednesday, June 16, 2010

I'm Over at No Time for Flashcards Today!

No Time For Flash Cards

I'm SO excited!! I'm guest posting over at No Time for Flashcards today! This is one of my all-time favorite blogs, and has such fun learning activities for the little ones, so I was honored when Allie invited me to post there. Check out my post on gardening with kids, and be sure to enter the fun giveaway!

Friday, May 14, 2010

Pretend Play on a Dime -- Garden Center

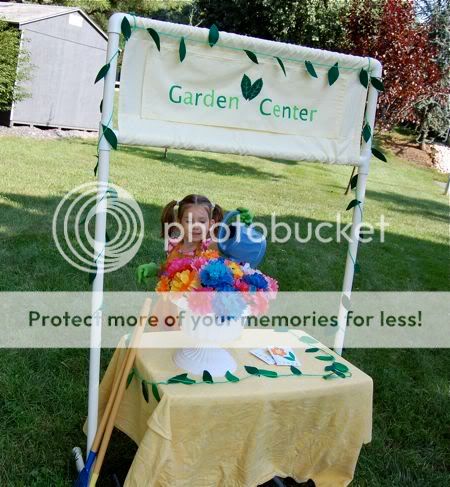
Emily loves to pretend that she works at a garden center. She can spend hours arranging and re-arranging the flowers (as seen here), planting pretend seeds, and caring for her pretend plants. So Mark and I put together a little store front for her about a year ago, and she has been playing with it virtually every day since!


Mark put together the frame for the store front using inexpensive PVC pipe (thanks, honey!), and I sewed a banner from an old bed sheet. I painted the lettering using a freezer paper technique. 

Sunday, November 22, 2009

Loving...

I mentioned a few days ago that we took a trip to a local plant nursery to prepare for our next activity from our Gratitude Jar -- Flowers: Make a special flower delivery! Emily and I had so much fun with this!


At the plant nursery, we found bags of fall bulbs that were 30% off or about $2.00 for several bulbs. Then, Emily asked some of our elderly neighbors if it would be okay to plant some bulbs in their flower beds.

What's that? You want to plant flowers in our yard? Ummm.... Yes, please!!

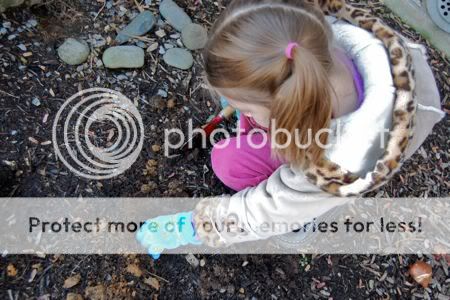
The reaction was absolutely fantastic! I wish I could have gotten some more photos, but Emily was just so excited and could not wait to get started! After deciding where the bulbs should be planted, we eagerly got to work.


At one point, she was talking to each of the bulbs as she was planting them, "I think you're going to do just fine over here, little flower. You'll grow up big and strong."


Afterwards, we were invited inside for what was probably the best tasting hot cocoa and chocolate chip cookies ever! What an unexpected treat!

This was such a wonderful way to get to know some of our neighbors, express gratitude for flowers, and let Emily get involved with a small service project.

A few things:
1. Always ask for permission first!
2. Discuss what you will be planting and where.
3. I wish we had brought a slightly larger shovel, and another set of gardening gloves. Some bulbs need to be planted about 5" deep, and ground conditions can make that difficult in November.
4. Have fun!!

Wednesday, September 30, 2009

Indoor Herb Garden Update... Sprouts!

When we woke up this morning, we were greeted by these.....


.... sprouts of basil from our indoor herb garden!! To celebrate, we read the book Seeds! Seeds! Seeds! by Nancy Elizabeth Wallace. What a fabulous find this book turned out to be, and I highly recommend it if you have any junior gardeners in your household!


Then, we decorated picture frames by gluing beans to them. (This activity came straight from the book above.) There are so many fun gardening activities mentioned in this adorable story. Emily loves gluing things, so this was really fun for her!


We're looking forward to more sprout celebrations soon!

Thursday, September 24, 2009

Indoor Herb Garden

Starting this indoor herb garden was such a fun project for Emily and me, and we are especially looking forward to having some fresh basil to add to our homemade pizzas! Thanks to a few items from Target's $1 section, this was very inexpensive and surprisingly not nearly as messy as I had anticipated.

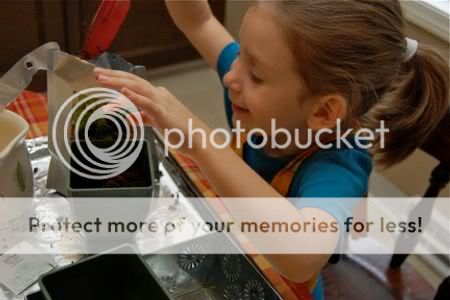
The seed packets we chose came with a soil pellet and you could start the seeds right in the bag! We opted for some inexpensive planters (also from the dollar section), and some recycled YoBaby 3-in-1 Meal containers, but Emily did mix the soil pellet with water right in the bag.

She fluffed the soil with a fork, and remarked that the soil was "light and soft".

Next, we transferred the soil to the pots with a small hand shovel (also from Target's dollar section). This was Emily's favorite part!

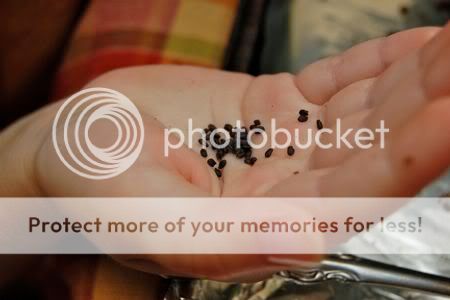
Then, she added the seeds, and covered them with dirt.

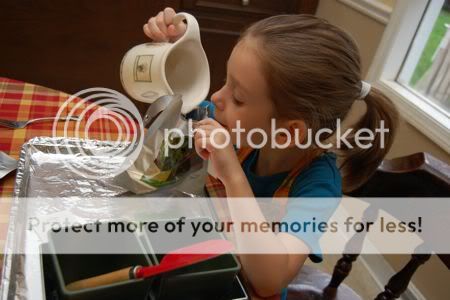
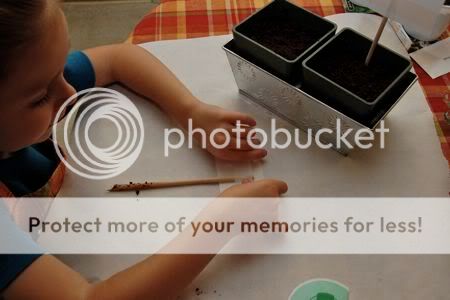
And gave them a little bit more water.

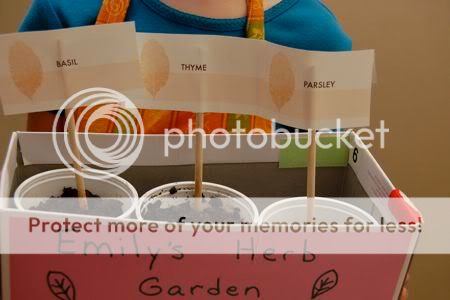
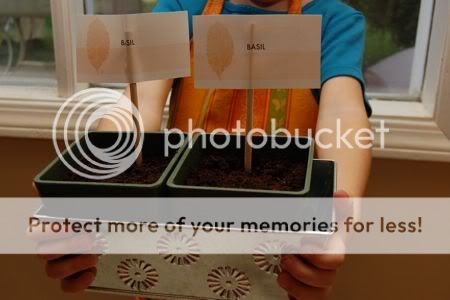
I printed out some seed labels on the computer and Emily attached them to some short dowel rods. Of course, you could also use popsicle sticks, but we are all out of those.


Ta-da!!! Our nifty indoor herb garden!

By the way, Emily's garden apron was made from a tea towel. It has a bunch of pockets for all her kid-sized gardening tools.

Which reminds me... be sure to come back soon for an important update regarding the Sewing in Baby Steps workshop. The second session of the same workshop (slightly improved) is about to begin! You won't want to miss it!

Tuesday, August 4, 2009

Mint-TEA Fresh

If you've been reading this blog for awhile, you probably know about my profound love for tea. (I've mentioned it here, here, and oh yes, here...)

Today, Emily and I made our own organic mint tea! It was so easy and lots of fun to make!

First, we gathered lots and lots of mint from the side yard of our house.

Next, we separated the leaves from the stems. Only the best leaves were chosen by my discriminating tea maker.

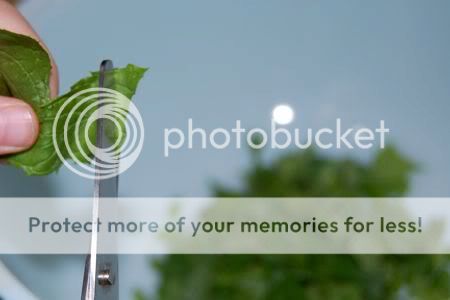
I chopped most of the mint using a cutting board and a knife, but Emily wanted to help too. She cut some mint using scissors!

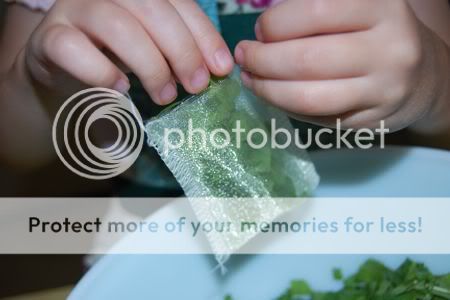
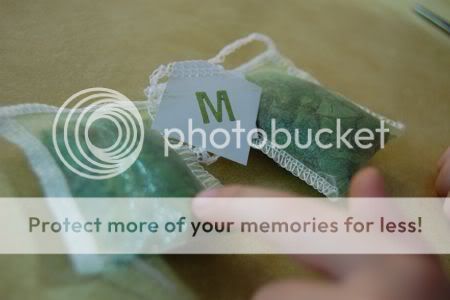
I made some tea bags using very sheer fabric and the serger. Just a long rectangle 2" x 6" folded in half with one seam on each side to form a pocket. Emily helped stuff the tea bags. We made sure they were really stuffed full!!

I used the serger to make the last seam across the top of the bag, and left a little space with just thread, and then attached a small tag. "M" is for "Mint", of course!

The taste test had great results!!
Mmmmm.... so tasty and minty fresh! A set of these would be a perfect gift for any tea-drinker!

Wednesday, July 29, 2009

Garden Stones

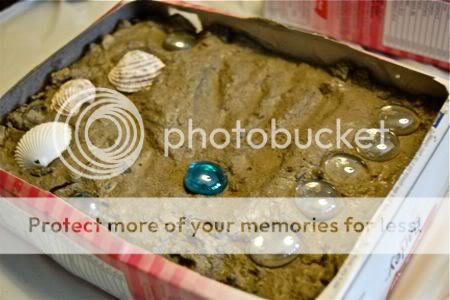
At this point, our garden could use all the hope, prayers, and well-wishes it can get, so we spent this afternoon making some garden stones using quick dry cement (very inexpensive, and we had some leftover mix in the garage), empty cereal boxes, sea shells, and some glass gems from the dollar store.

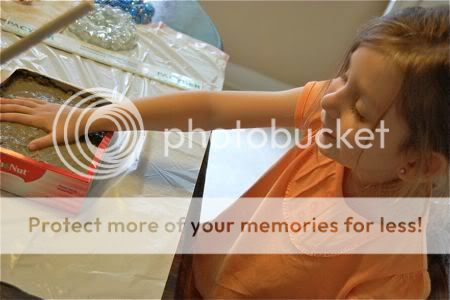
I had initially planned on doing this activity outside, but it started to rain. However, this project wasn't nearly as messy as I thought! I pre-loaded the box with the cement, and then Emily took over from there.

Cut the front off of the cereal box. Mix up the dry cement and load it into the box. Level the cement with a ruler. Emily loved making a hand print in the cement.

We decorated our garden stones with the glass gems and seashells.

Once the cement is dry, rip off the cereal box to reveal your beautiful garden stone. I'm hoping ours brings some good luck to our garden!

Saturday, July 25, 2009

Focus on the Family

This is the memory I am trying to focus on today -- an impromptu picnic dinner at the garden. We were enjoying our cold fried chicken, garden salad, cornbread, and slices of watermelon. It was a completely spur-of-the-moment decision, one made out of simply a lack of time to get both dinner and work at the garden done before dusk. We ate, and talked, and laughed, and I need to focus on those things now.

Because later, we found that our entire beloved garden plot, and our entire community's garden like much of the Northeast US is infected with late blight, a plant disease for which there is no known cure. While I tried to wrap my brain around the concept that we will lose virtually every plant in our garden, that tomatoes are about to become extremely expensive this growing season, that the hours and hours and hours all of us spent weeding, watering, planting..... just the thought of it has me feeling completely devastated.

So we are all focusing on being grateful for our healthy family, a happy home, and (for today) this simple, last-minute, picnic.

What memory did you choose to focus on today?

Saturday, July 18, 2009

And the winner is...


The winner of the Garden Bag Giveaway is Reena!! Congratulations!

Here is Reena's winning comment:
What a CUTE bag!!! Right now watering our garden as well as running through the water has become one of our favorite pastimes - tooo hot these past few days!

Reena
Thanks to everyone for participating, and another fun giveaway starts soon!

Sunday, July 12, 2009

Garden Bag Giveaway

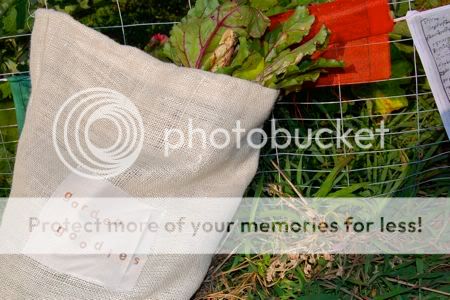
We are starting to enjoy our garden, and lately there have been lots of pickings. I was bringing reusable shopping totes to collect our veggies, but after getting my hands on some burlap I was inspired to create a "Garden Goodies" bag. I hand-stamped the lettering and made a very basic drawstring bag. Today the bag was filled with green beans, tomatoes, parsley, red beets, peas, onions, and lettuce. I loved bringing all this fresh organic produce home in this very special bag!


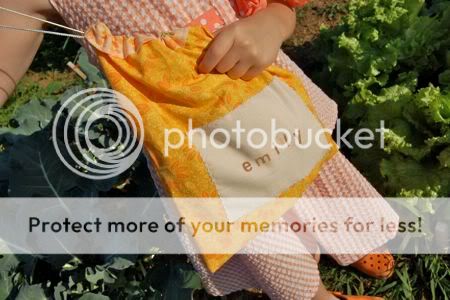
In fact, I loved it so much that I decided to make a smaller, prettier version of a "Garden" bag for Emily too! Here she is gathering a bunch of lettuce.

Whenever I make things like this, I love sharing them with others. If you would like a chance to win a similar oh-so-cute personalized garden bag for your little one, leave a comment on this post telling me about your favorite Summer family activity (be sure to leave your email address in the comment field)! Giveaway ends Friday, July 17th at 6pm EST and the winner will be contacted via email. Good luck!!

Wednesday, June 10, 2009

Garden Update

This summer our family signed up for a garden plot through our township. It was a bargain. Six hundred square feet for just $10 for the year! Plus, it was already tilled for us. They might as well have just planted the seeds for us, and given us a garden. It sounded ridiculously easy.

We started planting seeds, and adding seedlings later in the season. I was visiting the garden almost every day. Watering, weeding, planting....more watering..... And then I went through a "what the HELL have I gotten myself into" phase. 

I think it was because I would look around at everyone else's garden and they all looked so beautiful. Ours seemed to be taking forever to grow. Mark would remind me that it wasn't a race, but still! Look! They have the same exact amount of land and growing conditions that we have, and they're sprouting tomatoes already for heaven's sake!

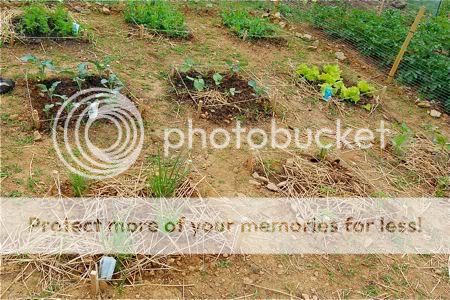
But now... now things are starting to grow... 


Ain't nothin' like eatin' lettuce right out of the garden!

Tuesday, March 24, 2009

Free Printable Garden Journal Pages

We have been hard at work on our garden journal. I love working on this with Emily because it is very frugal, it helps connect us with nature, and it keeps her interest for long periods of time. We were successful at tricking the forsythia into blooming a bit early by bringing some branches indoors, and this afternoon we planted more seeds and updated our journal.


Many of you have shown interest in keeping a garden journal as well, so I have uploaded these journal pages I created for you to print out and keep a journal with us! They are free to download and print, and if you link to them please provide a link back to Frugal Family Fun Blog. Thanks so much and happy gardening!


Catalog Wishlist


Photos Drawings


Planning Grid

Seed Starting

Thursday, March 19, 2009

Starting a Garden Journal

We have been noticing some signs of Spring around here, and I thought it would be fun to start keeping a garden journal with Emily. Our been sprouts are starting to turn green...


This morning she planted some tomato seeds in an empty egg carton. Kids love to plant seeds, don't they?


We brought some forsythia branches indoors to try to trick them into blooming. They are so close now...


And of course we starting working on the garden journal. Today we worked on the cover and used a seed catalog to make a collage. Emily enjoyed cutting out all the photos and gluing them together.


We are using a plain white binder for the journal (very inexpensive) and I filled it with plain white paper and lots of sheet protectors for leaf-rubbings, paintings, pressed flowers, observational drawings, etc. Lots of fun, and it helps us to stay connected to nature. Now we are very eager to get outside and start planting!
Related Posts with Thumbnails