Showing posts with label fall. Show all posts

Wednesday, November 11, 2009

Gratitude Activity Jar

Around Thanksgiving we try to do crafts and activities that promote gratitude and focus on the things we have to be thankful for. Last year we did gratitude journals, but this year we're trying something a little more active -- Gratitude Activity Jars!


I asked Emily to name some of the things she was thankful for, and together we came up with a coordinating activity to go along with it. At first, we were just going to type these up and print them out, but I like to think that by physically writing these things down it sends more positive energy out into the universe. Mark would probably say that's just a bunch of new-age crap, but that's how I like to picture it, anyway!

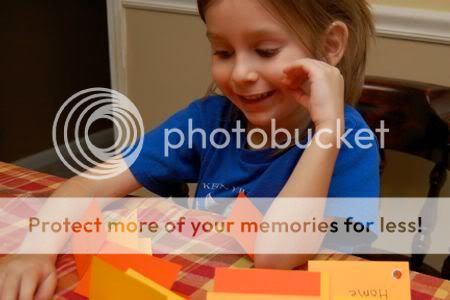
Decorate your cards with stickers!!
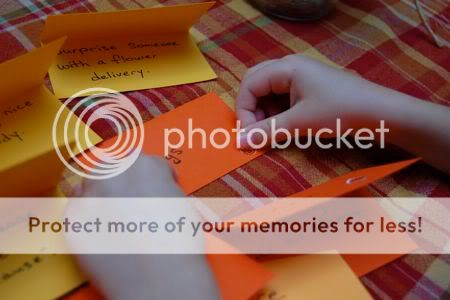
Some of the cards we wrote:

I am thankful for.....
:: Dad -- Do something nice for Daddy.
:: Friends -- Make 1 new friend today.
:: Hugs -- Hug 3 people today.
:: Books -- Visit the library today.
:: Home -- Clean the guest bedroom, and invite a guest over to stay.
:: Play Time -- Invite a friend over to play.
:: Good Health -- Make a "Jared Box" to donate to the hospital.
:: Toys -- Donate a toy to Goodwill.
:: Clara -- Spend some time playing with your sister today.
:: Good Food -- Donate canned goods to the food pantry.
:: Pies -- Bake a pie for a neighbor.
:: Flowers -- Surprise someone with a special flower delivery.
:: Nature -- Play a fun game outside today.

.... and so on. The idea is to pick one card from the jar every day between now and Thanksgiving and do the activity on the card. Emily is looking forward to this with great anticipation!

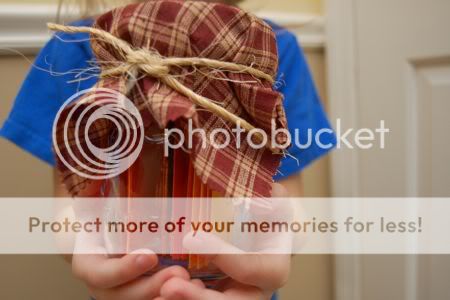
Fill your jar with the cards....


...tie with a pretty bow....


.... and remember to take time to appreciate all the wonderful things in your life!

Monday, November 2, 2009

This Bakery is for the Birds

We thought the birds could use a little love this time of year, so we made a fresh batch of bird seed cookies! While we were "baking" these, we could hear birds chirping loudly outside our kitchen window. Emily kept telling them to be patient!


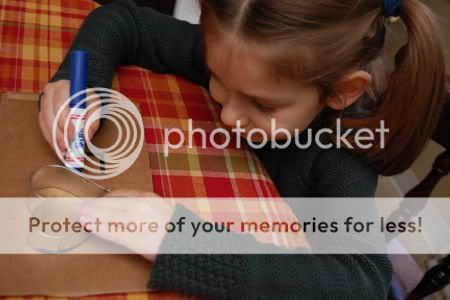
First, Emily traced a heart shaped cookie cutter onto corrugated cardboard (in this case, a cut up box from our invention kit).


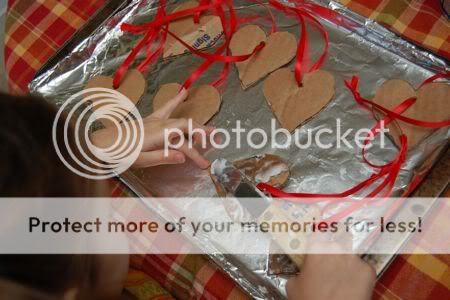
I cut out the hearts, and poked a hole into them to thread through some red ribbon. Then, Emily spread a layer of vegetable shortening onto the cardboard, just like you would spread butter onto toast. I think this was her favorite part! You can substitute lard for this, but don't use products that contain salt, as it is bad for birds.


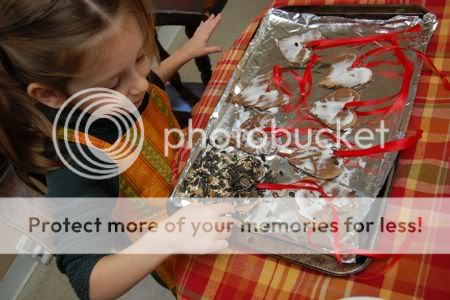
Next, time to sprinkle the cookies with bird seed!


We used the back of the spoon to smooch the bird seed into the shortening really well.


Delivery time!


To identify some of your "customers", you might want to try making your own inexpensive bird field guide for tots. Some other ways we've spoiled the birds include these bird feeders made from recyclables, and this bird watching kit. So much fun!!
Saturday, October 31, 2009

The Halloween Deal


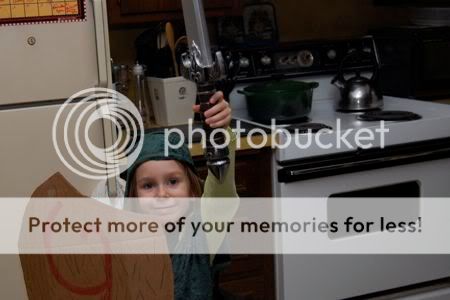
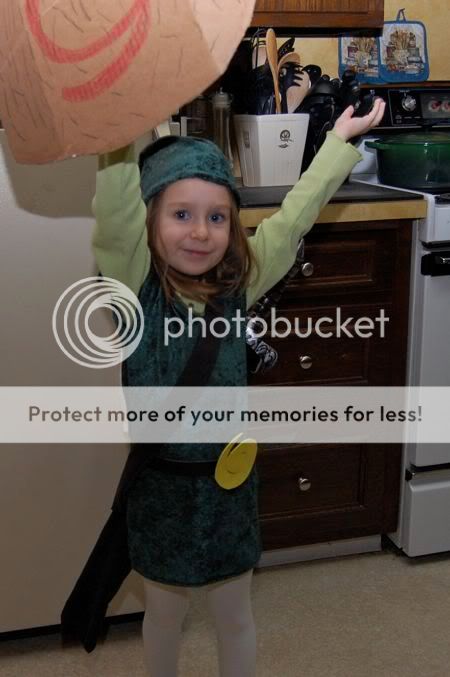
Between Clara's Little Red Riding Hood, and Emily's Link from Zelda, we're kickin' it old school in our household this Halloween.


Mark made the shield from cardboard, and I sewed the tunic, hat, and sheath for the sword ($5.00 fabric from JoAnn). The sword was a Target find ($5).

Emily and I worked out a deal. She gets the M&M's. I get the Reese's. Nobody gets hurt.

Wishing everyone a happy and safe Halloween.

Wednesday, October 28, 2009

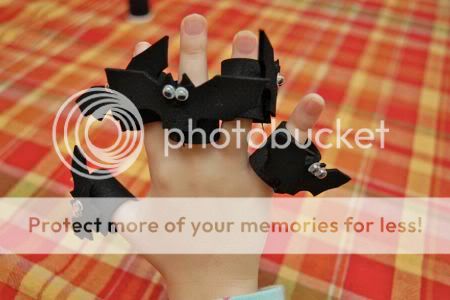
Five Little Bats Finger Puppet Playset

We have been enjoying lots of Autumn and Halloween themed books and poems in our household lately. Between battling colds, and rainy weather, it is the perfect time for snuggling under blankets and reading good books. When we read this poem this afternoon, we just knew we needed a finger puppet playset to go along with it!

Five Black Bats

Five black bats
Ready to soar;
One stayed behind,
Now there are four.
Four black bats
Hanging from a tree;
One fell down,
Now there are three.
Three black bats
Wondering what to do;
One flew away,
Now there are two.
Two black bats
Sitting in the sun;
One fell asleep,
Leaving only one.
One lonesome bat
With no place to go,
Went hiding in a cave,
Now there are zero.

Isn't that the cutest?

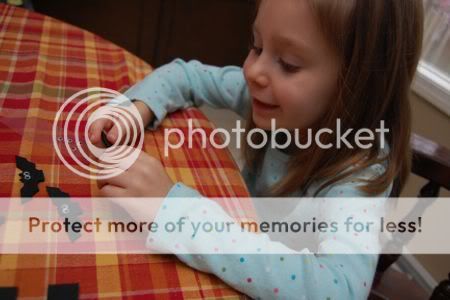
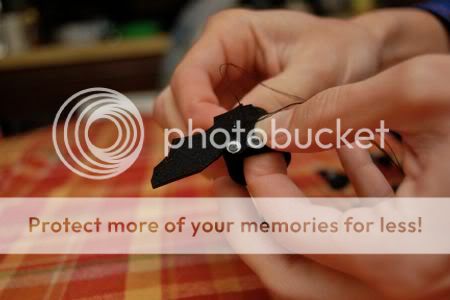
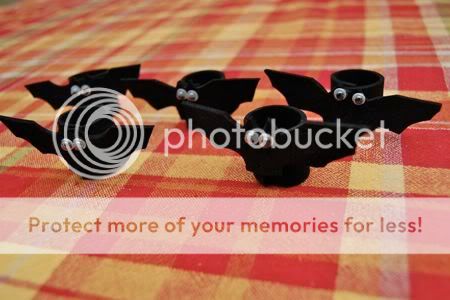
Emily could not wait to start playing with these! They are made from black craft foam. We cut 10 pieces 1/2 inch x 2 1/2 inches. I used 5 of them to cut out bat shapes, and the other five became the finger bands. Emily loves attaching googly eyes! Who doesn't??


Just a few quick stitches to hold them together, and they were done!


She has already asked for a tote bag to keep them in.... I happen to have some pumpkin patterned fabric that I think will be perfect. Another excuse to get crafty?? Bring it on!

Monday, October 26, 2009

Beautiful Autumn Leaf Garland


We thought the dining room (aka sewing studio) could use some decorating this season, so Emily gathered up some leaves earlier in the day and we got to work on this beautiful garland for some late night crafting.

Emily had been begging me to do the waxed paper leaf collage for a long time, but I don't know... it seemed kinda... *yawn*. Boring. But, when we thought of this project, we both got so excited about it.

The garland turned out even better than I had anticipated, and we had so much fun putting it together! From start to finish, it took about five minutes.


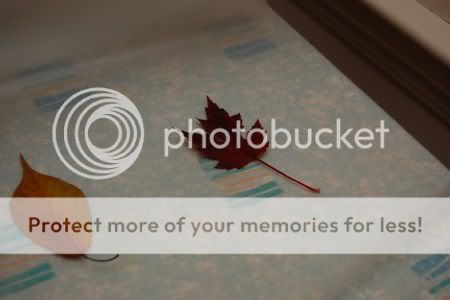
To make your own Autumn leaf garland, you will need some leaves, waxed paper, and a sewing machine or serger (you may call this an over-lock machine). Begin by laying down your leaves on top of some waxed paper. It helps if the leaves have been pressed first for a few days, but if you are particularly impatient (as my five year old sometimes is.... ahem) that isn't necessary.


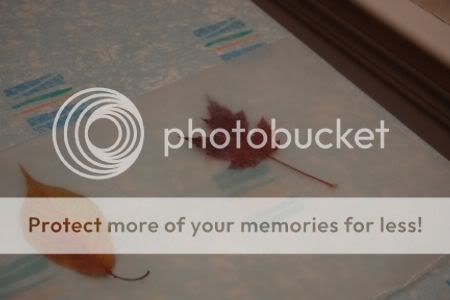
Sandwich the leaves between two sheets of waxed paper, as shown. Be sure to have plenty of space between the leaves.


Use a cloth to cover over the top....


...now iron until the wax paper melts together.


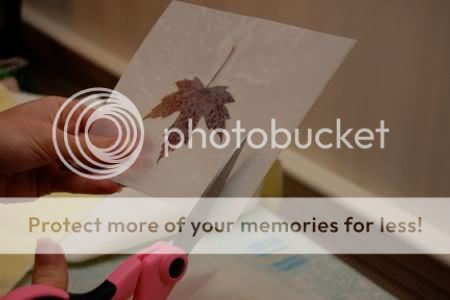
Trim the edges as shown.


Using your serger, or sewing machine, start with a tail of thread about 4 inches long.


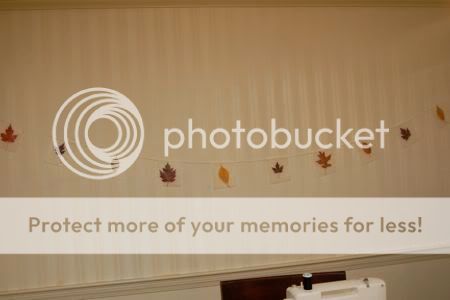
Stitch through the top of the leaf square, and continue with just the thread for another four inches, stitch through the top of another leaf square. Repeat this step until all the leaves have been stitched to make a garland.


Hang proudly for all to see!


I think Clara approves of our taste in home decor, don't you?

Thursday, October 22, 2009

Fun Autumn Treasure Hunt

We went on an Autumn treasure hunt at our local nature conservancy! It was so much fun!


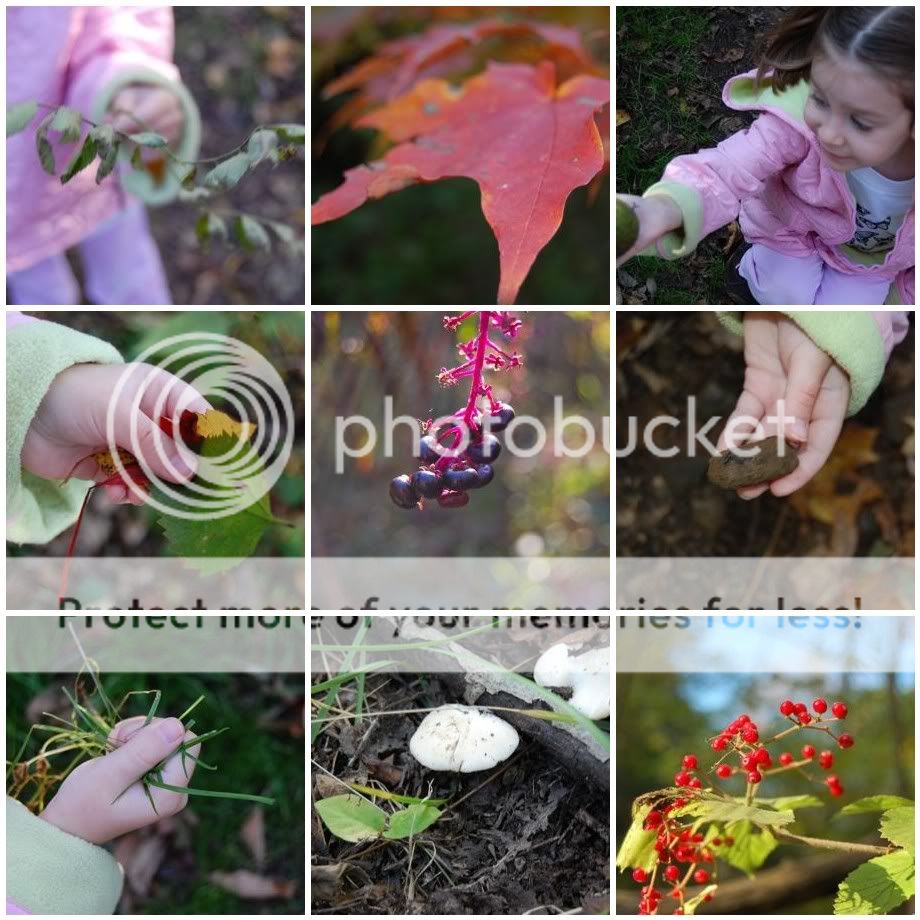
Emily used a clipboard with the list of treasures we were looking for. In mind were these playground scavenger hunt cards. We used our own non-illustrated version, since Emily's working on her reading skills. Here are just some of the Autumn treasures we found.


After we found a treasure, Emily would check it off of our reusable worksheet list. To record our success, we either took a photo of it, or sometimes she would place it in her Autumn treasure bag.


I thought I would share the list we used, so you can do an Autumn treasure hunt of your own too!
  • something that is alive
  • a leaf with jagged edges
  • an interesting weed
  • a dry leaf
  • a leaf with smooth edges
  • three acorns
  • a seed from a tree
  • a twig
  • a pinecone
  • a handful of grass
  • a feather
  • a branch with leaves on it
  • a red leaf
  • a yellow leaf
  • a green leaf
  • a smooth stone
  • three little pebbles
  • wild berries
  • a leaf bud
  • a piece of bark
  • a tiny bit of moss
Happy treasure hunting!

Saturday, October 17, 2009

Tiny Pumpkin Patch Playset -- Cuteness Overload!!

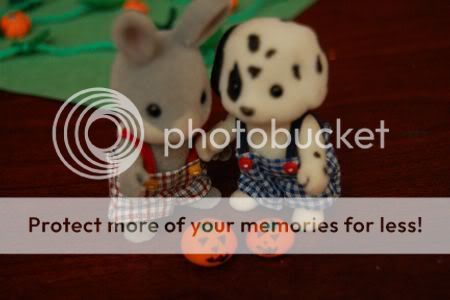
We had so much fun creating this tiny pumpkin patch playset for our little friends (in this case, Calico Critters). Emily has been busy helping me make this, and then playing with it all day!

First, we made tiny pumpkin seed packets with some paper and flax seeds. Dog got to work planting the pumpkins right away.


Then, a tiny vine (yarn with some felt leaves) started to grow....


The first pumpkin appeared (An acorn with the cap removed, painted. Does it get any more frugal than that?), but it was green! At this point, Bunny started to become very impatient and declared that these pumpkins were taking forever to grow. Emily tried to distract him with things he likes to do, and that seemed to help pass the time.


Finally!! The pumpkins turned orange! Bunny and Dog set out to pick their pumpkins. Bunny, however, was quite particular about his pumpkins... "This one's too small. This one's too big..." They were both so excited to see so many pumpkins to choose from!


They went home, and made Jack-o-Lanterns.....


...and lots of pumpkin pie (an acorn cap filled with some felt)!


Note: If you plan on keeping your pumpkin playset for an extended period of time, roast the acorns in a slow oven first, be careful not to burn them.

So much fun!!!

Monday, October 12, 2009

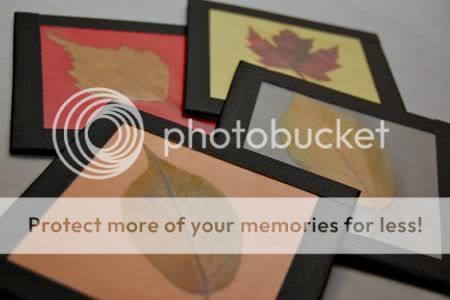
400th Post -- Fall Leaf Coasters

We made these beautiful Fall leaf coasters this afternoon, but first I wanted to tell you about this cute jumper I finished for Emily this morning.

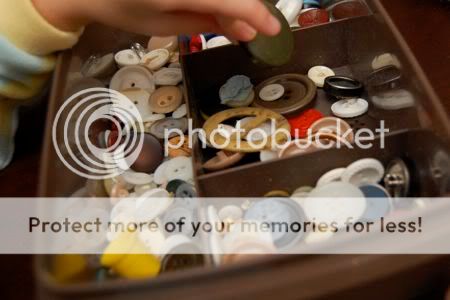
I started this dress late last night, and was almost finished with it, but my machine started to act up, (or maybe I was just getting too tired, but I like to blame it on the machine) so I called it a night. This morning I asked Emily to pick out the button for the back closure from the collection of vintage buttons I had inherited from my grandmother. I love that she treasures these buttons almost as much as I do!


I think she made an excellent choice, don't you?


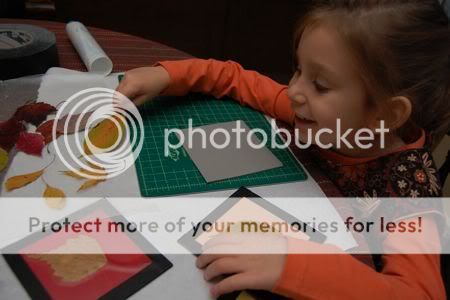
Now, about the coasters, they are made from foam sheets, colored duct tape, pressed leaves, and some clear contact paper. First, I cut the foam sheets into 4 1/2 " squares. Then, I invited Emily to arrange the pressed leaves how she would like them to appear on the coaster. We had collected so many pretty leaves to chose from!


Next, she covered the leaves and foam sheet with clear contact paper, and pressed out any air bubbles.


She trimmed any excess contact paper.


I helped line up the colored duct tape....


...and she wrapped it around the back.


We gave them a test run...

... perfect! These look so festive on our kitchen table, and I think they would make great hostess gifts too.

Also, the winners of our fun fabric crayon wallet giveaway are Ivy from Into the Wind and Mom2Triplets04 from Creative Triplet Mom! Congratulations and thanks to everyone who entered. There's still time to get your entry in for the Arm & Hammer Stain Fighting Kit courtesy of www.GreatCleaners.com!
Related Posts with Thumbnails