Showing posts with label handmade. Show all posts

Wednesday, July 21, 2010

Simple Farm Take-Along Toy

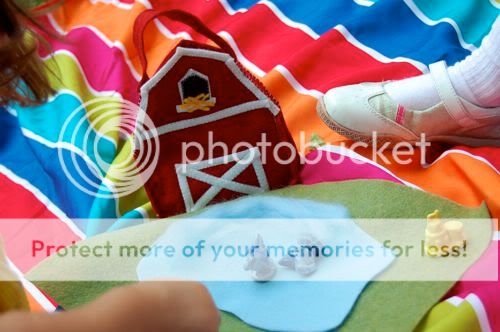
I had a bit of red and white wool felt leftover from the fold up kitchen set I made last week, which worked out perfectly to make this sweet travel farm set! It was an easy, quick and very frugal sewing project that gave the girls hours of imaginative play!


The animals are the free figurines that come with boxes of Red Rose Tea, and now they finally have a home. The girls loved this set so much, I couldn't keep them away from it!


The felt play mat folds up to fit inside the barn too. I added a handle to the barn so they can carry it with them wherever they go -- picnics, Grandma's house, the garden. The poor dog kept knocking on the barn door, but no one would let him in.
Monday, July 19, 2010

Super-Easy Cool Comets

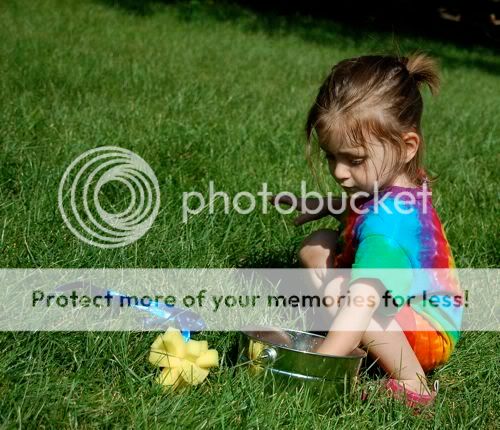
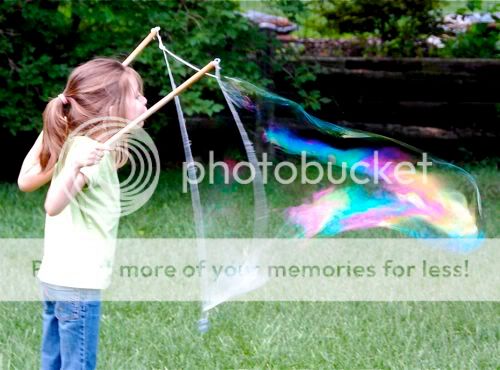
Faced with yet another hot afternoon, we made up some comets, dipped them in a bucket of water, and the girls had a blast hurling them at each other until they were soaked!


It started off innocently enough with Emily tossing a comet at Clara.....

Sunday, July 18, 2010

Sunday Snapshot -- You MUST Try This!

If you do only ONE thing this Summer, you MUST do this!!

Saturday, July 10, 2010

Watermelon Wrapping Paper

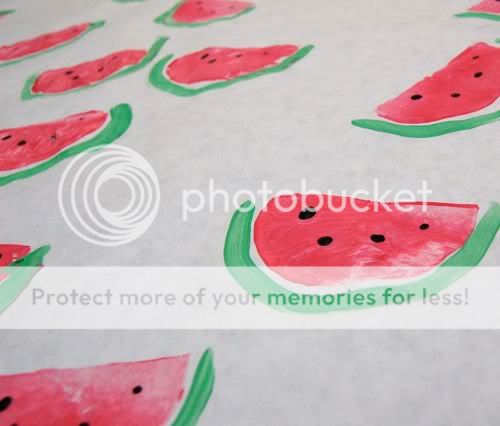
We have some special packages to mail out to friends, and I thought it would be fun to dress them up a bit. Emily had so much fun making this watermelon wrapping paper!! With just a bit of grown-up help, toddlers can have a go at this one too!


We used a potato to make the prints on long sheets of freezer paper using pink washable paint. I think it's kind of weird that we used a potato to make a watermelon print, but whatever! It worked well!

Thursday, July 8, 2010

DIY: Summer Party Invites

After the girls were in bed, I sat down with some color coding labels (one of my fave art supplies, since they are sooooo frugal) and drew up some cute watermelons!


They are so EASY to do:

Thursday, June 17, 2010

Father's Day Gifts Kids Can Make -- Circuit Board Pencil Holder

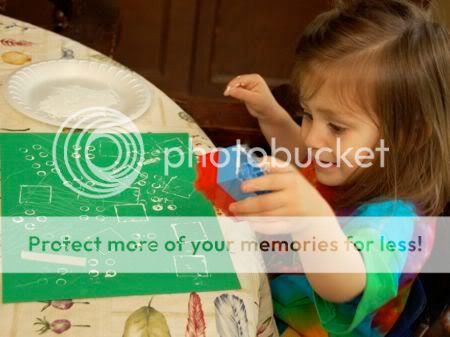
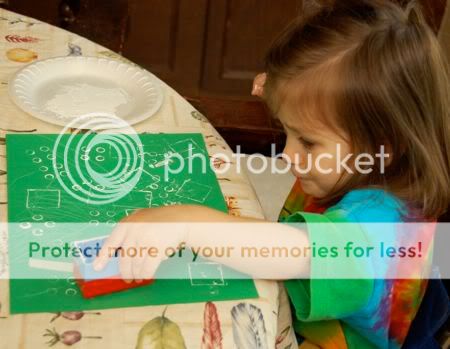
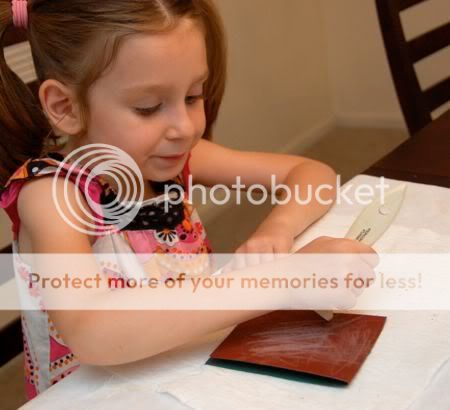
This was a fun stamping project Clara enjoyed, and we made a Father's Day gift from it as well! We used some Mega blocks as stampers with white paint on green paper (to mimic the look of a circuit board). She had so much fun!!


Stamp, stamp, stamp!! I cut up some pieces of masking tape for her to add to the design. 


We used all sides of the block to make different designs. She added some scribbles with a white crayon too.

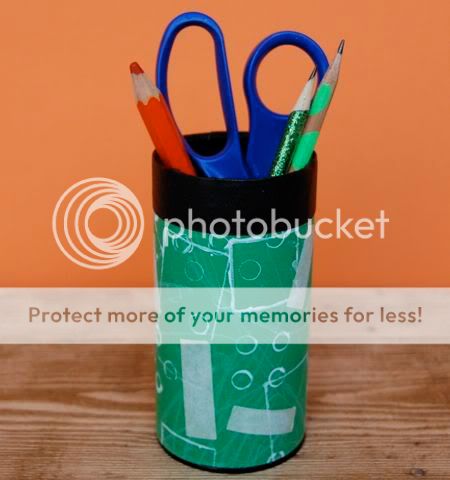
When she was all done painting, I let the paint dry, and then wrapped it around a tea tin to make a fun pencil holder for Mark's desk. I think it will look nice next to his brag book made from computer disks.


Clara was quite proud of herself! Have fun!!

Monday, June 14, 2010

Father's Day Gifts Kids Can Make -- Fish Magnets

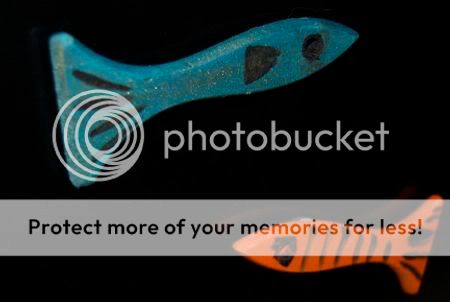
For some reason, I tend to associate fish with dads. I think it's because of Mark's fish tank, and also my own father's love of fishing. Emily and I had so much fun with this simple and frugal project -- fish magnets! They are made using handles of old paintbrushes. In mind was this cute fishing game, so I sawed off the handles, and Emily got to work with the sanding!


Next, it was time to paint our beautiful fish!


Attach some magnets to the back, and give to Dad to admire proudly on the fridge!

Monday, June 7, 2010

Father's Day Gifts Kids Can Make -- Fish Card

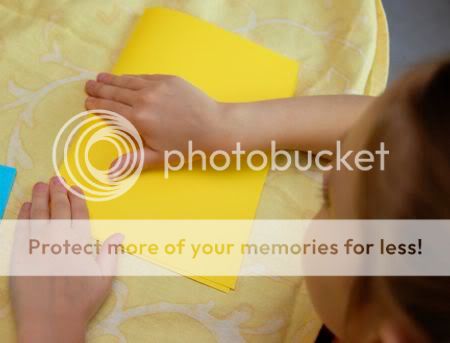
This Father's Day card was inspired by Mark's fish tank! To make your own, fold a sheet of construction paper in half as shown.


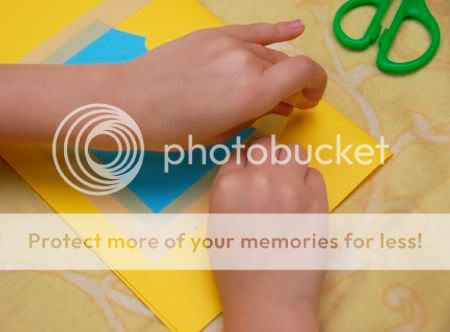
I cut some blue construction paper and made waves for water on the top edge. Emily used some masking tape to adhere it to the paper.


Lookin' good!


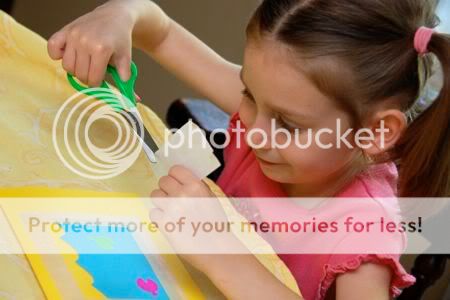
Next, we used color coding labels and cut them up to look like fish!


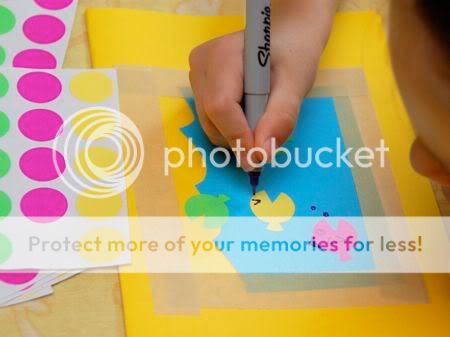
Use a marker to add the eyes (eyelashes are optional), bubbles, fins, etc. Aren't they so cute??


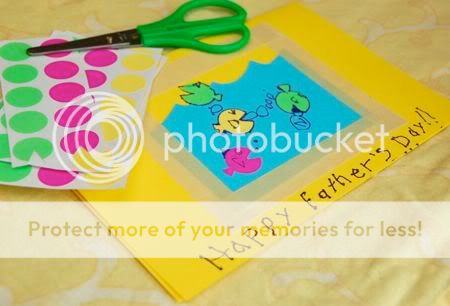
Don't forget to add a special Father's Day message on your card to give to Dad!


So colorful, and so much fun!!

Monday, May 17, 2010

Photo Puppets

These photo puppets were so much fun to make, and I think the girls will enjoy making scenery to act out plays with them. What little girl doesn't like to imagine herself as a flying fairy? For boys, try this same technique, but turn them into superheroes instead. Not that there's anything wrong with boys who want to be fairies or anything... I'm just sayin'.


This is mostly a Mommy/Daddy craft, but you didn't think we let the girls have ALL the fun, did you? Heavens, no! Mark took some photos of the girls playing with magic wands and I cut them out.

Saturday, May 8, 2010

Last Minute Mother's Day Gifts Round Up

In case you missed some of our FUN Mother's Day gift idea posts, here's a quick round up!


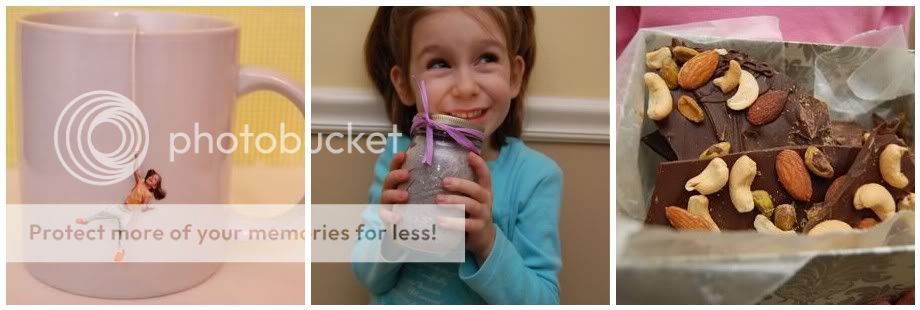
From Left to Right:
1. Super-Fun Tea Tags
2. Lavender Scented Bath Salts
3. Chocolate Nut Bark


From Left to Right:
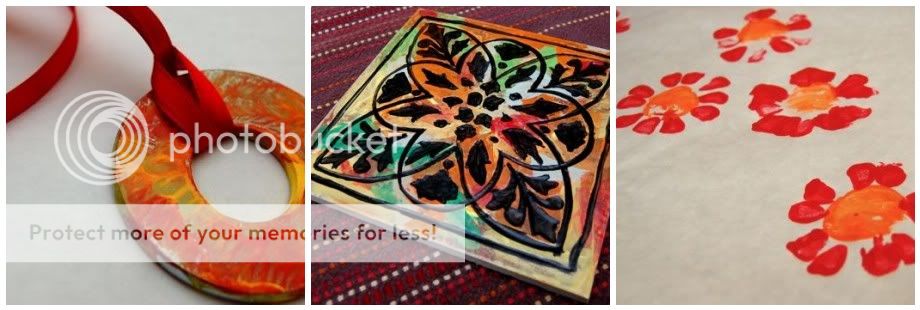
1. Hand-Painted Pendants
2. Ceramic Trivets
3. Flower Printed Wrapping Paper


From Left to Right:
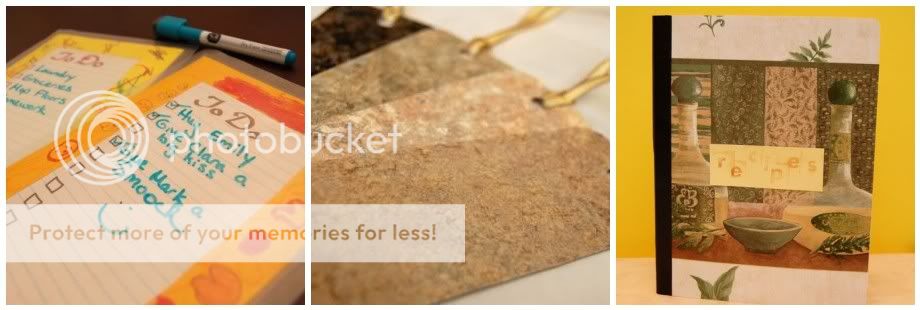
1. Reusable To Do List
2. Laminate Bookmarks
3. Recipe Journal

Wishing you a wonderful Mother's Day!!

Thursday, April 15, 2010

Mother's Day Gifts Kids Can Make -- Hand Painted Pendants

I thought it would be fun to do a little series on frugal Mother's Day gifts kids can make, so all you Dads out there... pay attention! (hint, hint)

We enjoyed some warm sunshine this afternoon along with some messy art to make these BEAUTIFUL hand-painted pendants!


You can find large washers like these at any hardware store, and they are super-inexpensive (about $0.20 each)! The girls painted theirs using make-up sponges and acrylic paint. Allow to dry, and then coat them with some clear nail polish.
Attach some matching satin ribbon, and you have a very unique gift for Mother's Day! The paint on Clara's was still a little wet when she flipped it over to paint the other side. I LOVE how it turned out!! It looks almost like flames!


Added Bonus -- Getting to see these adorable barefoot toes while she was busy crafting in her monkey pajamas!


Have fun!!

Monday, April 12, 2010

Shop Update! Butterfly Play Set

Once upon a time, there was a little caterpillar who liked to eat lots of leaves.


When he was full, he spun a cocoon, and went inside.


He was in there for a long time!


Then, the cocoon started to move, and...... out came a beautiful butterfly!!


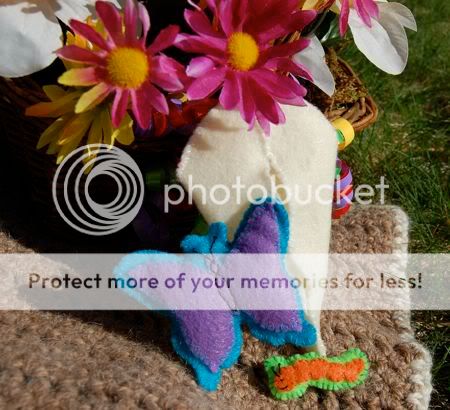
Emily had so much fun playing with this felt butterfly play set! If you would like one of your own, there is another set available for sale at our Etsy shop. [That was quick! Thank you, Marie!!] The proceeds from the sale go towards fundraising for the Walk Now for Autism Speaks event going on this weekend. While no one in our family is on the autism spectrum, Emily has several friends who are.


Included in the set are a butterfly, caterpillar, and a cocoon to store them in -- all made from felt and lovingly hand stitched by yours truly.


If you wish to make a donation toward the Walk Now for Autism Speaks event, please visit our team fundraising page. Thank you!!

Monday, February 22, 2010

Kid-Made Wooden Word Blocks

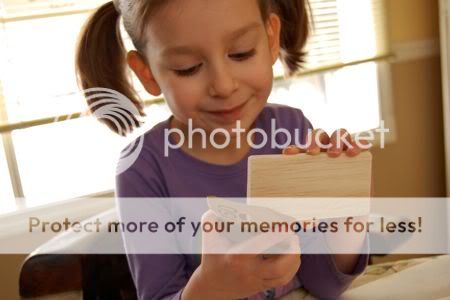
Ever since I first saw these blocks, I knew Emily would love to make a more kid-friendly version of them for her little sister. We had so much fun working on these while Clara was napping, and now both of the girls are enjoying this adorable new set of blocks!


To make your own set of wooden blocks, you will need: a package of 2" x 4" labels, a 2" x 36" x 1/4" piece of balsa wood cut into 4" pieces, a rubber stamp set, a pencil, sandpaper, and a fine black marker.

Begin by sanding down all of your cut pieces of balsa wood. Emily loved this part!


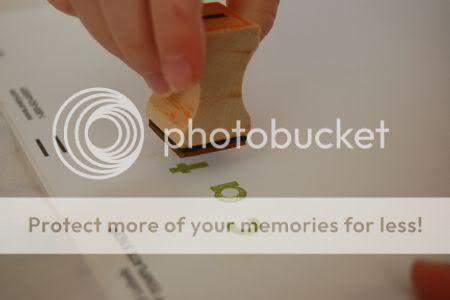
Stamp the words onto the labels...


Apply the label to one side of the block.


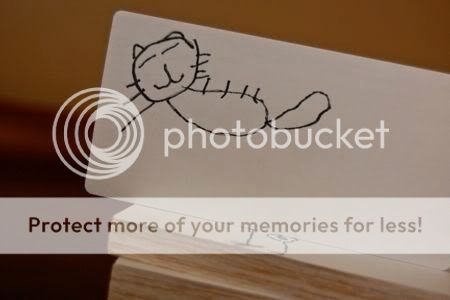
Draw a matching picture on another label, and apply that label to the other side.


PLAY!!!

This one is my personal favorite......


.... isn't it sweet??

Have fun!!

Wednesday, January 27, 2010

Will You Be My Paint Chip Valentine?


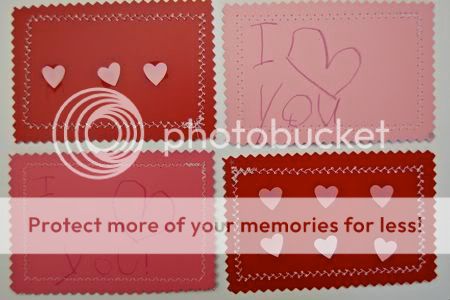
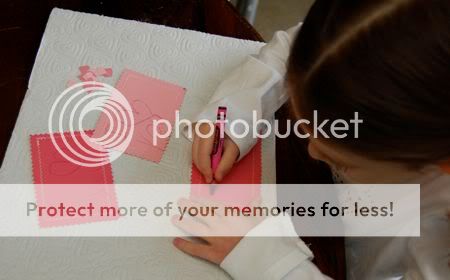
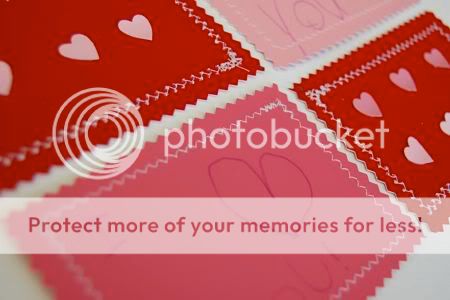
The girls and I were busy crafting up these handmade Valentine's Day cards made from leftover paint chips (found free at any hardware or paint store). We had a bunch of different shades of red and pink, which made perfect Valentine cards!


To make your own paint chip Valentine's, place two paint chips back-to-back as shown above.


I used a zig zag stitch around the perimeter of the card, and trimmed the edges with pinking shears. Very quick!

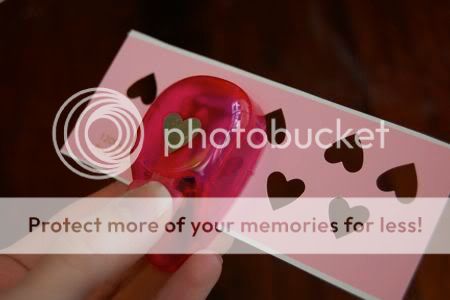
Emily and I took turns punching out hearts with the help of our heart-shaped hole puncher...


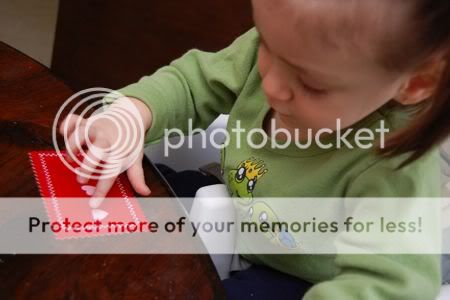
...and the girls went to town decorating their handmade Valentine's! For Clara, I put down a few dots of glue and she placed the hearts on top. Great practice for fine-motor skills, and she was so proud of herself!


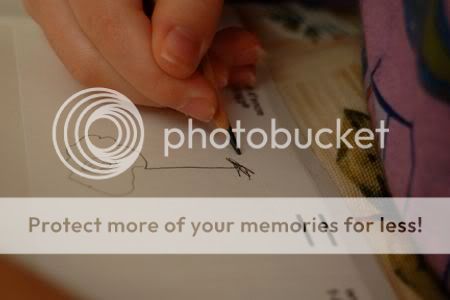
Emily got to practice some handwriting, and she is looking forward to mailing these off to Grandma!


These were so much fun to make!!
Related Posts with Thumbnails