Showing posts with label toys. Show all posts

Thursday, July 22, 2010

Configure Your Own Cardboard Castle

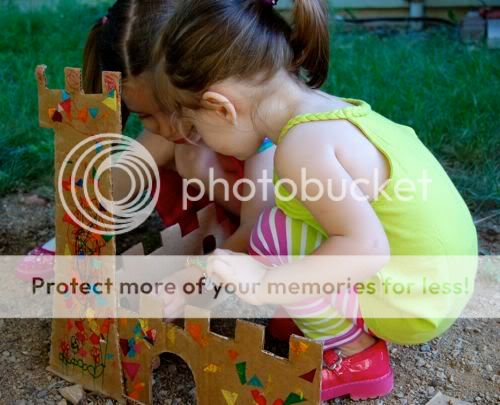
We made this cardboard castle set, and it kept the girls happy and busy for a large part of this afternoon. For something as frugal as cardboard, it was a big hit!


Not only did they spend a lot of time immersed in pretend play, but they also really enjoyed getting to decorate the castle exactly the way they wanted. We did a sort of assembly-line style production. I cut the cardboard, Clara did some scribbling.....
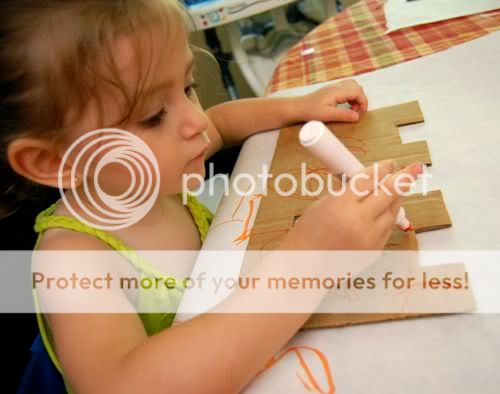

.... then Emily took over to put on the finishing touches of flower drawings and glue on bits of colorful tissue paper!
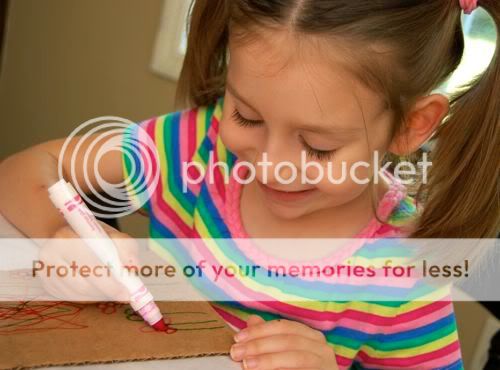

With the help of a bit of wire, I was able to make a working drawbridge! The girls LOVED that!!
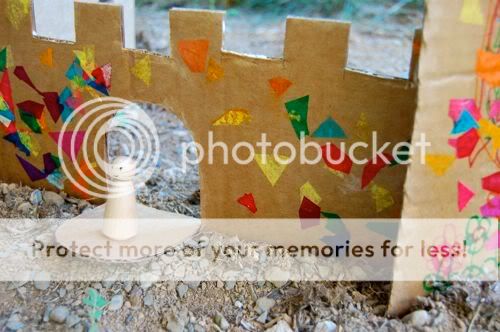

I enjoyed watching them come up with all sorts of different configurations for their castle.
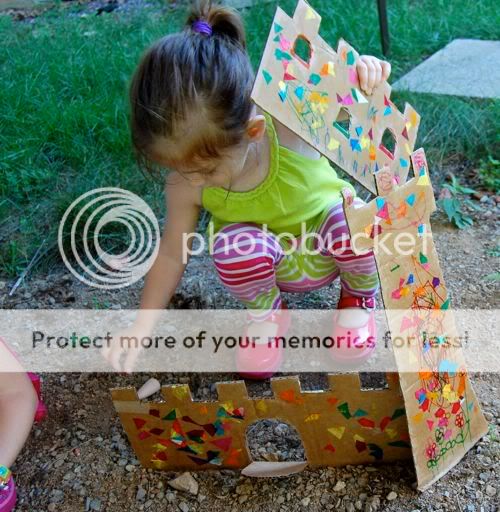

The peg dolls seemed right at home here.... Hello, peg doll!
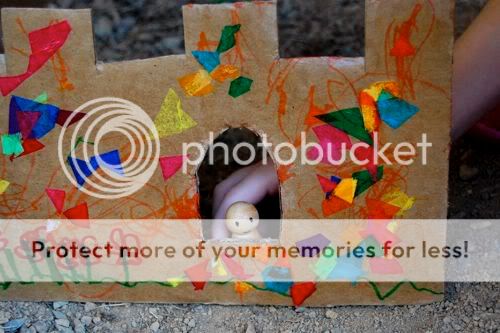

It was starting to get dark outside, and they were still having so much fun!
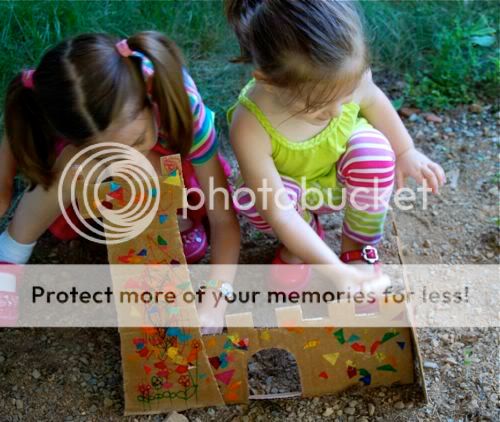

Finally, it was time to get dinner started, but I have a feeling we'll be enjoying a lot more play time with this castle for the next couple of days.... (or weeks)! 

I have some exciting things planned for our little bloggy-blog: Mark and I have been hard at work on a new layout that will make finding activities by theme, age, holiday, etc. SO much easier! There's even a section for "quick and easy" activities, and you can upload photos of your versions of our projects to share!!
Wednesday, July 21, 2010

Simple Farm Take-Along Toy

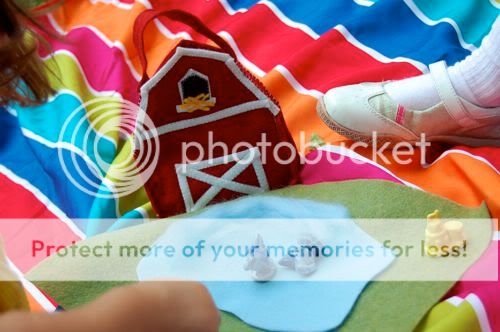
I had a bit of red and white wool felt leftover from the fold up kitchen set I made last week, which worked out perfectly to make this sweet travel farm set! It was an easy, quick and very frugal sewing project that gave the girls hours of imaginative play!


The animals are the free figurines that come with boxes of Red Rose Tea, and now they finally have a home. The girls loved this set so much, I couldn't keep them away from it!


The felt play mat folds up to fit inside the barn too. I added a handle to the barn so they can carry it with them wherever they go -- picnics, Grandma's house, the garden. The poor dog kept knocking on the barn door, but no one would let him in.

Monday, July 19, 2010

Super-Easy Cool Comets

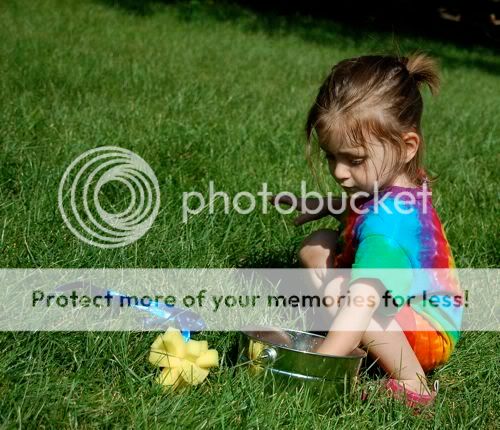
Faced with yet another hot afternoon, we made up some comets, dipped them in a bucket of water, and the girls had a blast hurling them at each other until they were soaked!


It started off innocently enough with Emily tossing a comet at Clara.....

Sunday, July 18, 2010

Sunday Snapshot -- You MUST Try This!

If you do only ONE thing this Summer, you MUST do this!!
Thursday, July 15, 2010

DIY: Travel Play Kitchen Set

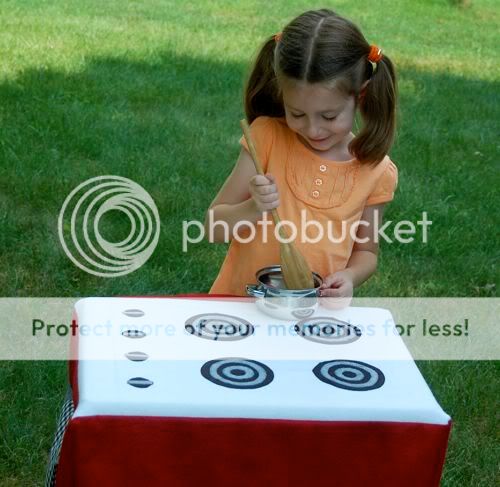
This travel play kitchen set was super-frugal to make, and is perfect for small living spaces since the entire set folds up!


I'm thinking we'll take it with us for trips to the garden plot, visits with grandparents, or just playing outside in the backyard like we did this afternoon.

Monday, May 17, 2010

Photo Puppets

These photo puppets were so much fun to make, and I think the girls will enjoy making scenery to act out plays with them. What little girl doesn't like to imagine herself as a flying fairy? For boys, try this same technique, but turn them into superheroes instead. Not that there's anything wrong with boys who want to be fairies or anything... I'm just sayin'.


This is mostly a Mommy/Daddy craft, but you didn't think we let the girls have ALL the fun, did you? Heavens, no! Mark took some photos of the girls playing with magic wands and I cut them out.

Tuesday, April 27, 2010

Repurposing Toys -- Peter and the Wolf Play Set

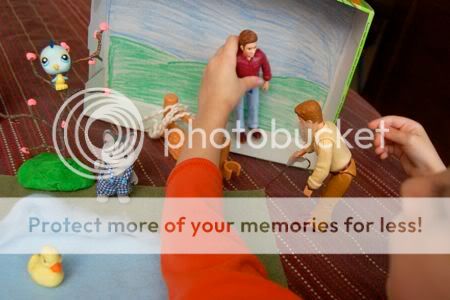
Last weekend, our family went to see Prokofiev's "Peter and the Wolf" (Thank you, Aunt Julia!) We all really enjoyed the ballet and music! So much so that Emily wanted a play set so she could re-enact the story. I thought that was a fabulous idea, so I sent her on a scavenger hunt to find toys she already had around the house to use for her play set! This kept her busy for a long time, but she was able to find everything she needed.

Without having to buy anything, she found two men dolls (one for Peter, and we added a white beard and cane to the other one to make him into the Grandfather), a small duck, a cat, a gate, a wolf, and even some hunters!

Thursday, April 22, 2010

Crafting with Recyclables - Design a Robot Kit

In honor of Earth Day, I thought we would do another fun craft with recyclables -- a kit to design your own robot! Of course, we craft with recyclables year round, since it's better for the environment, plus I consider them to be free art supplies. Emily has been on a robot kick lately, as seen here, so this craft was a big hit at our house!

To make the robot, I used an empty potato chip bag, washed it thoroughly and allowed it to dry completely. Then, I turned the bag inside out, and cut several shapes for the front and back of the head, body, arms, and legs. I ran each piece through my sewing machine with a zig-zag stitch around the outline, and trimmed them with pinking shears.

Monday, April 12, 2010

Shop Update! Butterfly Play Set

Once upon a time, there was a little caterpillar who liked to eat lots of leaves.


When he was full, he spun a cocoon, and went inside.


He was in there for a long time!


Then, the cocoon started to move, and...... out came a beautiful butterfly!!


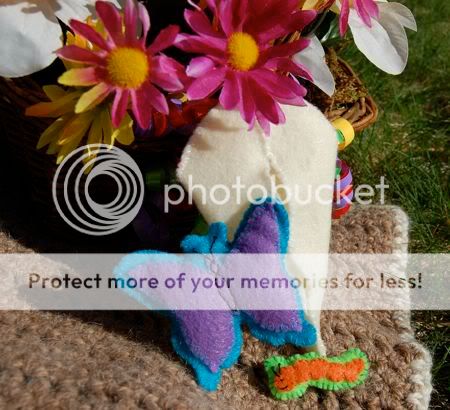
Emily had so much fun playing with this felt butterfly play set! If you would like one of your own, there is another set available for sale at our Etsy shop. [That was quick! Thank you, Marie!!] The proceeds from the sale go towards fundraising for the Walk Now for Autism Speaks event going on this weekend. While no one in our family is on the autism spectrum, Emily has several friends who are.


Included in the set are a butterfly, caterpillar, and a cocoon to store them in -- all made from felt and lovingly hand stitched by yours truly.


If you wish to make a donation toward the Walk Now for Autism Speaks event, please visit our team fundraising page. Thank you!!

Monday, January 25, 2010

Kid-Made Stuffed Toys

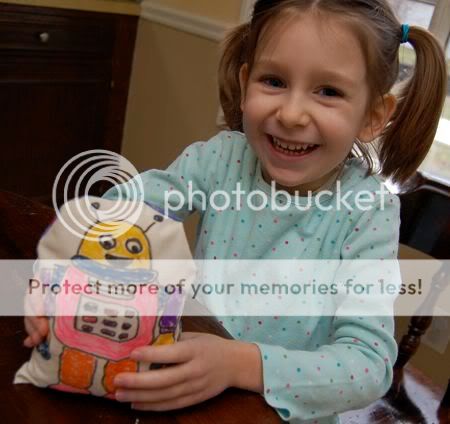
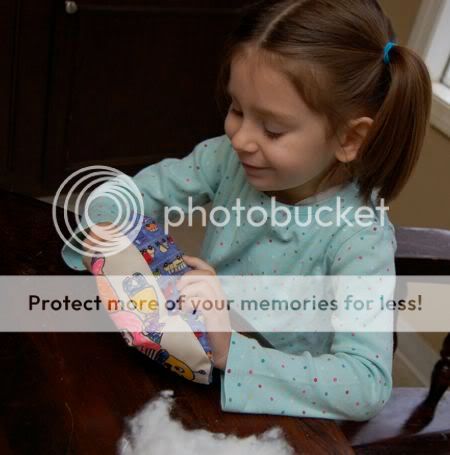
I helped Emily make this cute stuffed robot toy this afternoon, and if you have some fabric scraps, stuffing, and a some fabric markers, you can make your own stuffed toy using this technique too!


Emily was so proud to have made this toy, and plans are in the works for a home for our new robot friend, as well as other stuffed toys for gifts. You know how it is... one project, leading to another... and another!

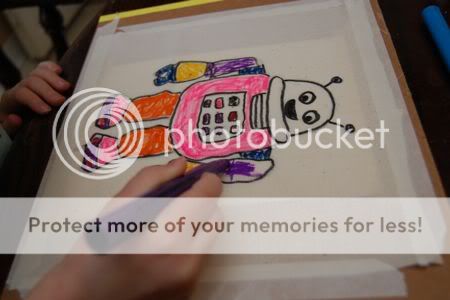
First, we printed out an image we wanted to use. In this case, a robot image found at this free coloring page site. They have lots of other images available too! Emily traced the image onto fabric using fabric markers. We used masking tape to keep the pictures from shifting.


Color in your image with the fabric markers, and choose a contrasting fabric for the backing of your stuffed toy. I did a tiny bit of sewing. With right sides together, sew up the side, top, and down the other side, leaving an opening at the bottom.


Stuff your new toy, (Emily loved this part!) and stitch up the bottom.

... play!! Isn't he cute??

Saturday, January 9, 2010

Weekend Rewind -- Homemade Hockey Table

Hope everyone is enjoying a lovely weekend! Here's a fun post from our archives. Our entire family enjoyed many memories of hockey tournaments on our homemade table, and when we were done it was so simple to convert back to our regular coffee table.

Be sure to check back tomorrow for a great giveaway from our sponsor, UPrinting.com!

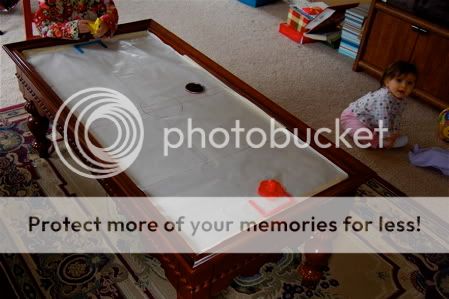
This is how we spent our morning -- designing our own hockey table, and it was so easy! Emily had a blast, and is still planning to devote the rest of the afternoon to table hockey. A few years ago, one of our neighbors had a moving sale and sold this fabulous coffee table to us for just $5.


We used leftover wrapping paper (print side down) and attached it to the table with masking tape. I helped Emily measure the table and we used a marker to draw the hockey lines. We covered the table with a layer of wax paper to make it extra slippery.


For the seam in the wax paper, I used scotch tape. We made a puck out of a frozen juice concentrate lid and covered the bottom of it with felt. For hockey sticks, we used stampers that came from an Aqua Doodle set. They were the perfect size, and already had a felt bottom.


We used colored popsicle sticks for the goals, and I attached them with scotch tape. Emily was thrilled and declared, "This is so much fun!!".


Guess we will be playing lots of table hockey for the next couple of days!

Tuesday, January 5, 2010

Penguin Playset Tutorial


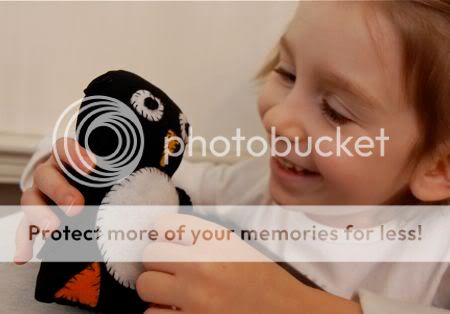
We were going through the girls out-grown clothes and deciding which ones to donate to Goodwill, when Emily spotted these old microfiber tights. She declared we could make a penguin from them, and of course I had to agree!

To make your own penguin playset, you will need: some felt, thread, old microfiber stockings, and some stuffing. First, cut off the foot of the stocking (about 7" from the toe). The toe will be the top of the penguin's head.


Stuff your penguin!


Whip stitch the body shut. Pin and sew felt pieces into place for the eyes, nose, belly, and feet. Sew on arms, and sew along the neckline with a gather stitch.


We added a small fish for our penguin to eat and used some of our snowflake ornaments to decorate his "igloo" (an empty dishwasher detergent box). Emily notified me that tomorrow is the penguin's birthday, so he's very busy sprucing up the place.

We'll be adding a mama penguin and a baby too! Both of the girls really enjoy playing with this set. Now.... off to watch March of the Penguins.........

Tuesday, December 22, 2009

Handmade Holiday -- Meet Butter!


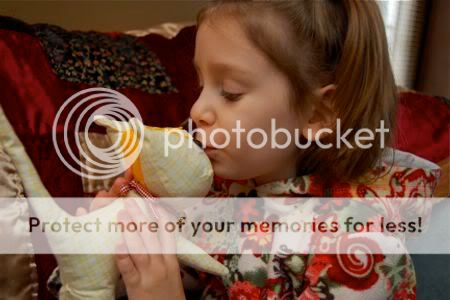
This sweet kitty cat was a late night sewing project I made using this free pattern found on Wee Wonderfuls, and I wish you could have seen the look on Emily's face when she first saw him! She immediately named him "Butter", and they have been enjoying many adventures together this morning.


Butter's made from a vintage pillowcase, some felt, stuffing, and 2 buttons for eyes. I even attached a little jingle collar, so Emily will be able to keep track of him, should he wander off on his own. The pattern only calls for 1/4 yard of fabric, so it's a good way to use up scraps. Val in the Rose Garden might recognize this fabric, since it came as part of this wonderful surprise package she mailed us. (Thanks, Val!)


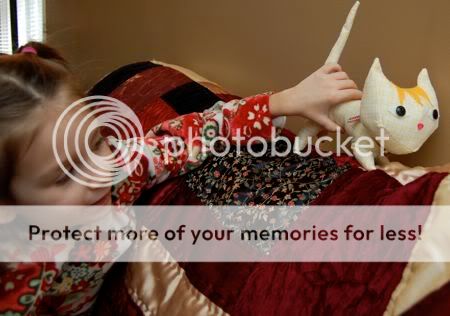
Butter is so brave! Sometimes he climbs the back of the sofa and pretends to be a mountain lion!


Meow!!

Thursday, December 17, 2009

5 Little Snowmen Play Set

Last year, my friend Erin and her two little girls taught Emily the Five Little Snowmen song. I had never heard it before, but it became an instant favorite of Emily's and was sung over and over again in our household many times during the Winter months.

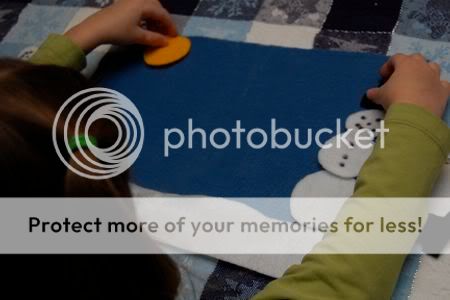
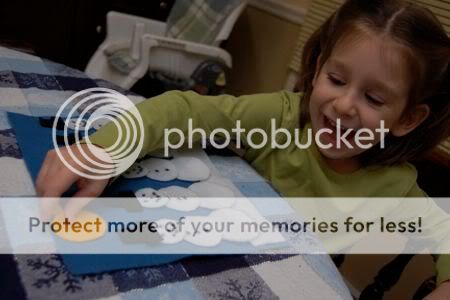
To go along with the song, I made a little play set out of felt. Emily loved re-enacting the song, building the snowmen, and then letting the sun come out to melt them all one by one. She especially loved building crazy snowmen all out of order and thought that was hilarious!


I cut out the shapes, and drew the eyes, nose, mouth, and buttons on each snowman with a Sharpie. Easy!


Emily's internet singing debut!!!


Five Little Snowmen

Five little snowmen, fat!
Each with a funny hat.
Out came the sun,
and melted one.
What a sad day was that!

Thank you, Erin, for sharing this fun song with us!

Monday, December 14, 2009

Napkin Doll Tutorial -- Guest Post by Mark!

Back in October, our family made a Princess and the Pea Play Set as a birthday gift for one of Emily's friends. For the doll, Mark created a miniature version of his napkin dolls, and I have since received numerous requests for a tutorial on how to make the doll. I must have bugged Mark enough that he agreed to do a guest post here. Please give him a warm welcome!


Have you ever been in a restaurant with small children, and the food is taking forever to arrive? Did you forget things for the kids to play with? Worry not!


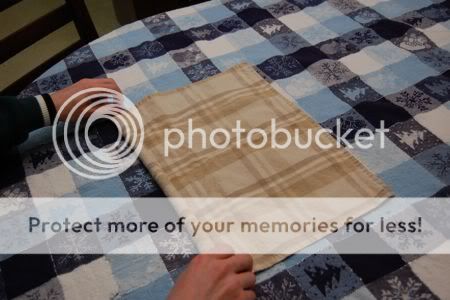
  • Take an ordinary cloth napkin, and lay it flat.

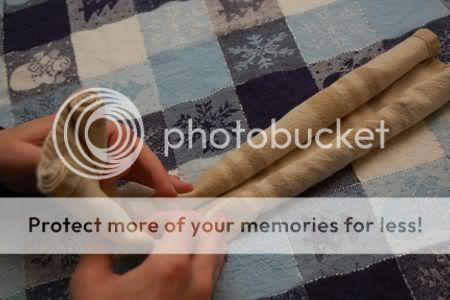
  • Roll up one side of the napkin, until you reach the middle.

  • Roll up the opposite side, until you meet the first side in the middle.


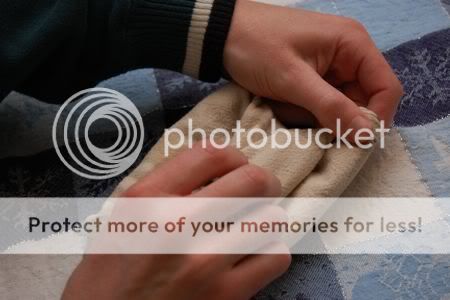
  • Take one end....

  • ...and fold it over the other, as shown.

  • Spread it out a bit so that the piece in your hands overlaps the rolled portion on the table.

  • Holding the piece you just folded up, pull the inner rolled portion down. Look at the next picture if this is confusing.

  • Those little pieces sticking out there will become the legs.


  • Grab the "arms", and pull them around to the back of the doll's body.

  • Now, grab the center of each arm roll and pull it out a bit to lengthen the arms. It should look a little bit like a cinnamon roll.

  • Now that the arms are longer, simply tie them in a knot. Not a full knot, but just like you are starting to tie your shoes.


  • Give the arms a strong tug to straighten them out and...


  • TA-DA!

Wow! Your child will be amazed, and the waitress will ask you for your phone number. Go ahead and give it to her. When the waitress leaves, your wife can (read: will) slap you. Keep the waitress' number. **ouch!! VALERIE!!**


If your child spills something, just wipe it up with the doll's head, as it is quite absorbent.


Related Posts with Thumbnails