Showing posts with label felt. Show all posts

Thursday, July 15, 2010

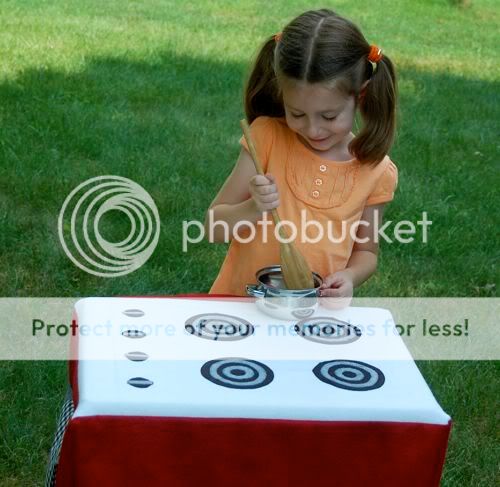
DIY: Travel Play Kitchen Set

This travel play kitchen set was super-frugal to make, and is perfect for small living spaces since the entire set folds up!


I'm thinking we'll take it with us for trips to the garden plot, visits with grandparents, or just playing outside in the backyard like we did this afternoon.

Wednesday, June 9, 2010

Pretend Play on a Dime -- Donut Shop

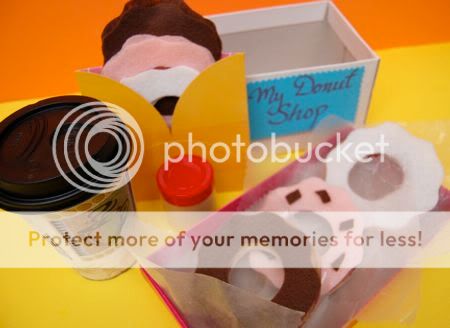
It rained all day today, so while Clara was napping, Emily and I had a nice pocket of time for some crafting. She worked on some adorable paper dolls, and I put this together -- A Mini Pretend Donut Shop!


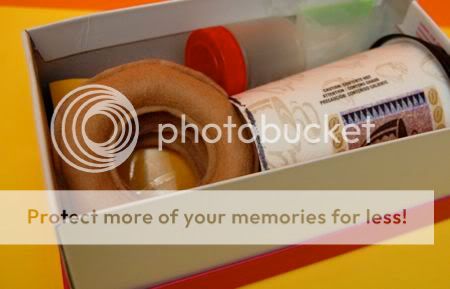
I used tan felt to sew the donuts (and batting to stuff them), then cut out pieces of felt for the icing and even some sprinkles. I love how the shoebox lid doubles as a serving tray! 


I found an envelope to store all the icing pieces....


.... and the plain donuts also double as bagels! The girls thought the pieces of waxed paper were a nice touch.


Since all of the pieces fit so nicely into a small shoebox, I thought it would be perfect to take along on vacation just in case we have a day of rain.


Clara woke up just as I had finished putting the set together, and we played Donut Shop for hours!!! Emily and I got very specific with our orders so Clara could practice her counting, "I would like one donut with vanilla icing and 4 chocolate sprinkles, please. No more, no less!"

Oh, and she loved pretending to put sugar in my coffee. Did I mention she makes a mean mochachino?

Have fun!!

I linked this post to -- Show Us Your Best!

Monday, April 12, 2010

Shop Update! Butterfly Play Set

Once upon a time, there was a little caterpillar who liked to eat lots of leaves.


When he was full, he spun a cocoon, and went inside.


He was in there for a long time!


Then, the cocoon started to move, and...... out came a beautiful butterfly!!


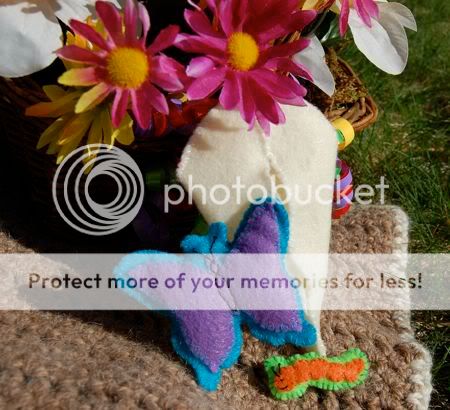
Emily had so much fun playing with this felt butterfly play set! If you would like one of your own, there is another set available for sale at our Etsy shop. [That was quick! Thank you, Marie!!] The proceeds from the sale go towards fundraising for the Walk Now for Autism Speaks event going on this weekend. While no one in our family is on the autism spectrum, Emily has several friends who are.


Included in the set are a butterfly, caterpillar, and a cocoon to store them in -- all made from felt and lovingly hand stitched by yours truly.


If you wish to make a donation toward the Walk Now for Autism Speaks event, please visit our team fundraising page. Thank you!!

Tuesday, March 30, 2010

Felted Easter Eggs

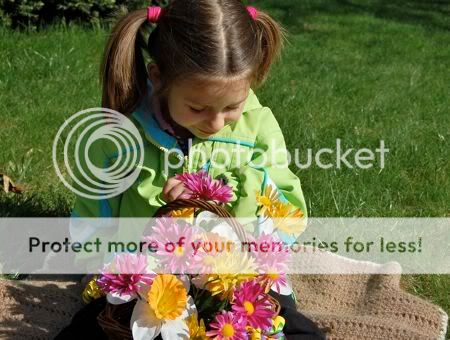
The girls and I had so much fun making these CUTE felted Easter eggs! To make your own, you will need some wool roving. If you have trouble finding wool roving, you can purchase it online here.

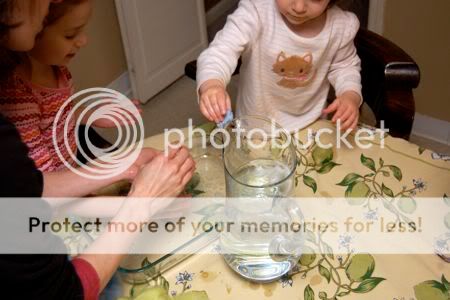
Start by filling a pitcher with some very warm water, and add a few tablespoons of dish soap.


Stir up the water in the pitcher until the soap is well-combined.


With a small amount of wool roving, get it wet and start rolling it into a ball in the palm of your hand. Clara was eager to keep up with her big sister, and with just a tiny bit of help from Emily, she was able to make a few eggs of her own.


Add more wool roving, bit by bit, until the egg is the desired size. Add stripes or dots to your eggs, make them multi-colored! Go CRAZY with your wild egg designs!


Once your felted ball is the right size, gently shape it into an egg shape.


Wow!! This is so much fun!!!


I see some felted Easter egg hunts in our future!


So pretty! Added bonus -- kids with clean hands!

* This post contains affiliate links.

Tuesday, January 5, 2010

Penguin Playset Tutorial


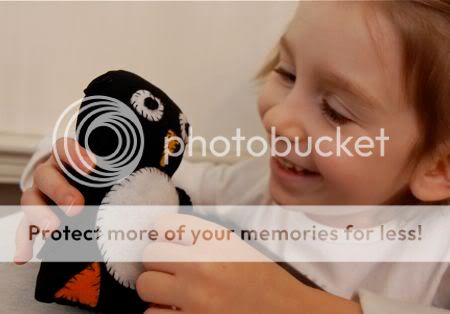
We were going through the girls out-grown clothes and deciding which ones to donate to Goodwill, when Emily spotted these old microfiber tights. She declared we could make a penguin from them, and of course I had to agree!

To make your own penguin playset, you will need: some felt, thread, old microfiber stockings, and some stuffing. First, cut off the foot of the stocking (about 7" from the toe). The toe will be the top of the penguin's head.


Stuff your penguin!


Whip stitch the body shut. Pin and sew felt pieces into place for the eyes, nose, belly, and feet. Sew on arms, and sew along the neckline with a gather stitch.


We added a small fish for our penguin to eat and used some of our snowflake ornaments to decorate his "igloo" (an empty dishwasher detergent box). Emily notified me that tomorrow is the penguin's birthday, so he's very busy sprucing up the place.

We'll be adding a mama penguin and a baby too! Both of the girls really enjoy playing with this set. Now.... off to watch March of the Penguins.........

Thursday, December 17, 2009

5 Little Snowmen Play Set

Last year, my friend Erin and her two little girls taught Emily the Five Little Snowmen song. I had never heard it before, but it became an instant favorite of Emily's and was sung over and over again in our household many times during the Winter months.

To go along with the song, I made a little play set out of felt. Emily loved re-enacting the song, building the snowmen, and then letting the sun come out to melt them all one by one. She especially loved building crazy snowmen all out of order and thought that was hilarious!
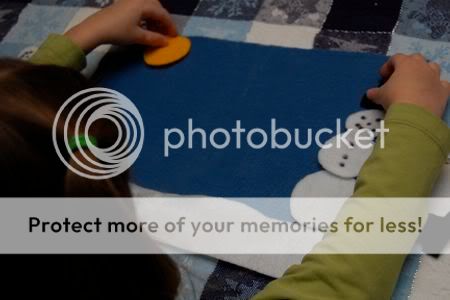
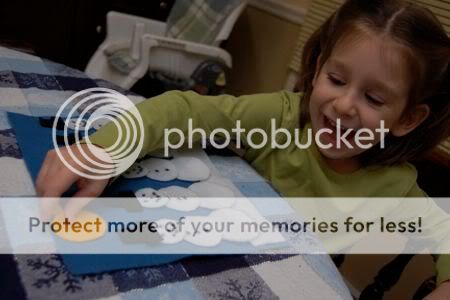
I cut out the shapes, and drew the eyes, nose, mouth, and buttons on each snowman with a Sharpie. Easy!


Emily's internet singing debut!!!


Five Little Snowmen

Five little snowmen, fat!
Each with a funny hat.
Out came the sun,
and melted one.
What a sad day was that!

Thank you, Erin, for sharing this fun song with us!

Thursday, December 10, 2009

Handmade Holidays -- Felt Fairy House Tutorial

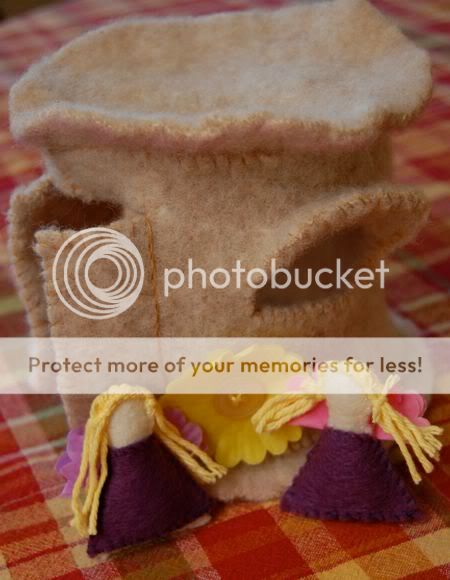
This little fairy house was an impromptu sewing project for two sweet girls (sisters) we were lucky enough to meet for a play date this afternoon. In mind was this fairy house from Imagine Childhood. Ours was made from this felted wool sweater, some other pieces of felt, a tiny bit of yarn, some buttons, and a few flowers from a lei kit. It was a great hit with the girls, and of course it was super-frugal (and fun) to make!
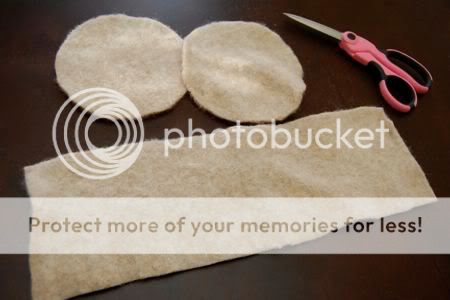
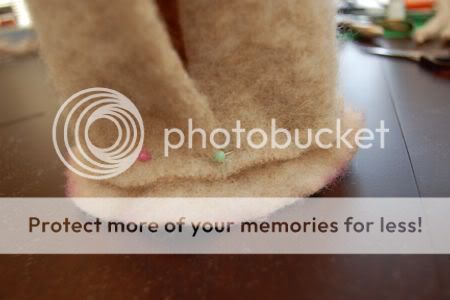

First, cut out your pieces of felt from a felted wool sweater. If you don't know how to felt a wool sweater, click here. You will need two 6" diameter circles, and one 15" x 5" rectangle. Or use whatever dimensions you want to make. I promise the fairy police will not come to your house and arrest you, so go crazy! I'm merely giving these dimensions as a guideline.

Next, pin the rectangular piece around the circle piece as shown. Whip stitch into place. To see a video demonstrating how to do a whip stitch, click here. This will be the floor of the fairy house. Do the same with the other circle piece. This will be the roof.

Cut out windows and doors. I just eyeballed it. Because I'm crazy, and live on the edge!

Whip stitch around the windows, and doors. Add awning to the windows, if desired. In our case, it was very much desired to have awnings on the windows. When we got to this point, I could not keep Emily from playing with this fairy house. It was like trying to hold back the ocean.


Decorate your fairy house with flowers! We used flowers from a lei kit and buttons for the centers. Very easy!

Of course, every fairy house needs fairies!!! I cut these shapes from felt for the body. Whip stitch the front and back together and leave a space for stuffing. Stuff the body and whip stitch closed.

I used a flower from the lei kit folded in half as wings, attached a dress, and stitched on some yarn for hair.
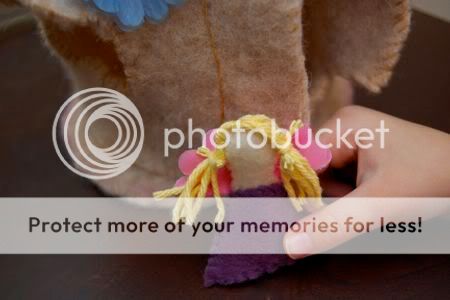
Play time!!!!


A few things I noted while working on this project:
:: I wish I had added a handle to the roof. It's the perfect size for the girls to tote around from room to room, and a handle would have been an easy addition.
:: I was surprised how sturdy the felt held up. I used a thick sweater, so that may have helped.
:: When we gave the girls some cotton balls, the fairies magically turned into snow fairies. So much fun!!


I listed this post on:
and

Tuesday, November 17, 2009

Crafty Sneak Peek

A little peek at what we're working on for tomorrow....


Emily is about to burst with anticipation! It does not involve a sewing machine, but it does involve a pattern that is free for download. Fun!!

Tuesday, November 10, 2009

You can't catch me!

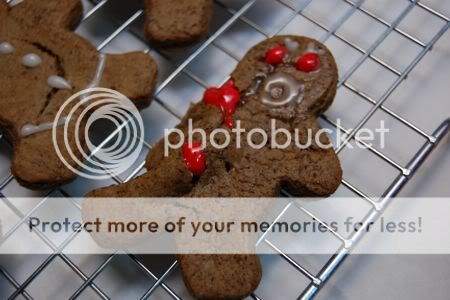
All four of us enjoyed some late night baking this evening. We made gingerbread cookies! This is an activity Emily has been begging me to do for ages, but I'm not much of a baker. At all. Clearly, it was time to call in reinforcements! Hey, I know my limits.

First, find the perfect cookie sheet.


Next, get a big, strong, daddy to roll out the dough.


Be sure to turn on your oven light!


Cut out the gingerbread men, and make them talk to each other.


Assign someone to keep an eye on things and make sure the cookies don't burn.


Carefully transfer cookies to a cooling rack.


Decorate! Oh dear, we did have one casualty....... *sniff*... poor guy. He didn't even see it comin'.


These guys looked much happier!


Craft!! Super quick and easy felt gingerbread men. 1. Trace cookie cutter. 2. Cut out felt. 3. Sew two layers of cut felt together. 4. Decorate with PUFFY PAINT for icing!
I don't know about you, but I'm thinking this is probably the best use for puffy paint I've seen in a long time!

In other exciting news, I just found out we have been nominated for a Homeschool Blog Award from The Homeschool Post! Please, please, please consider voting for us (there's no need to sign in). We have been nominated for two categories: Best Thrifty Homeschooler and Best Cyber Buddy Blogger!

More good news -- Dawn, (aka UK Lass), has granted me permission to sell some fun fabric dollhouses in our etsy shop. You can look for them there early next week -- just in time for the holidays! Thank you, Dawn!
Related Posts with Thumbnails