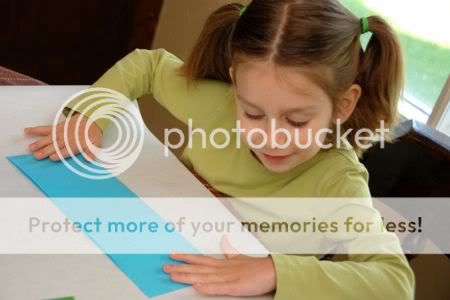
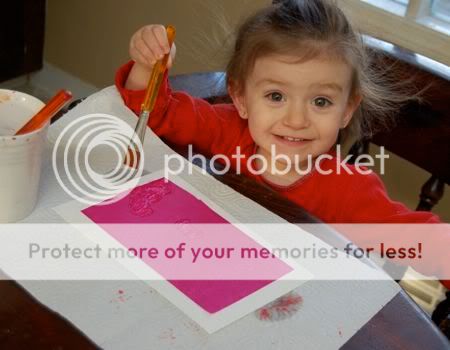
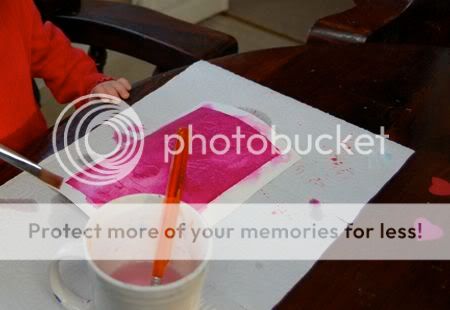
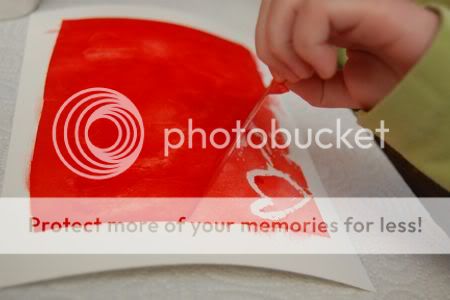
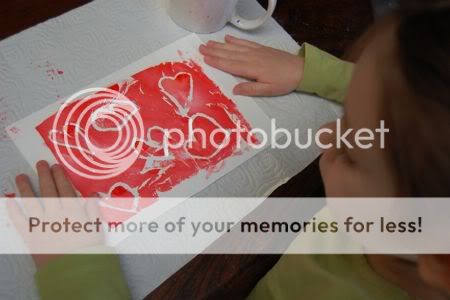
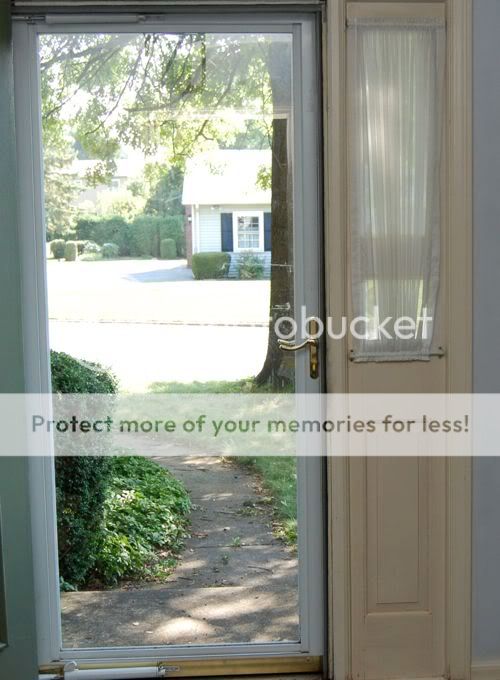
I thought our front door needed a bit more..... color.
So we broke out the paints and markers.....
Showing posts with label painting. Show all posts
Tuesday, July 20, 2010
Saturday, July 10, 2010
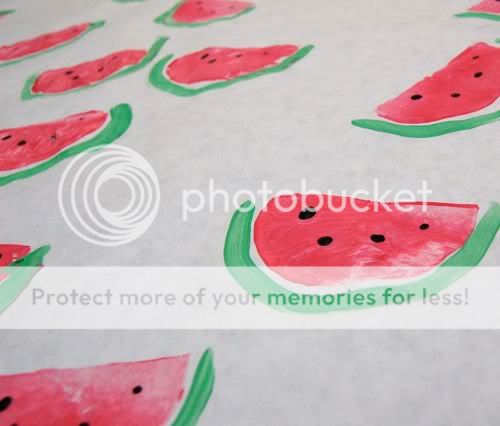
Watermelon Wrapping Paper
We have some special packages to mail out to friends, and I thought it would be fun to dress them up a bit. Emily had so much fun making this watermelon wrapping paper!! With just a bit of grown-up help, toddlers can have a go at this one too!
We used a potato to make the prints on long sheets of freezer paper using pink washable paint. I think it's kind of weird that we used a potato to make a watermelon print, but whatever! It worked well!
Monday, July 5, 2010
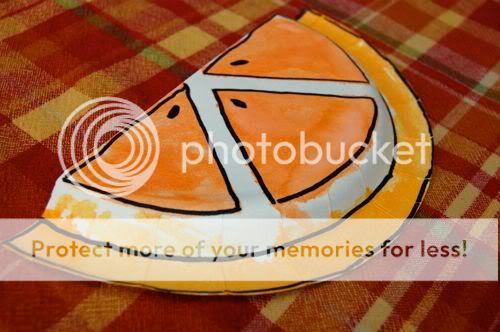
Painted Orange Slices
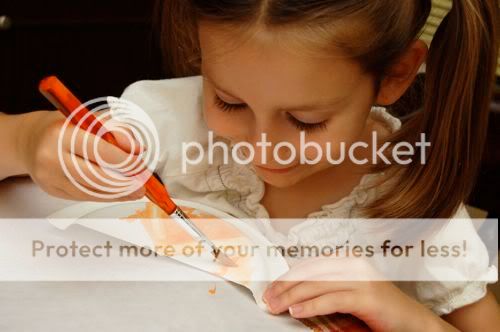
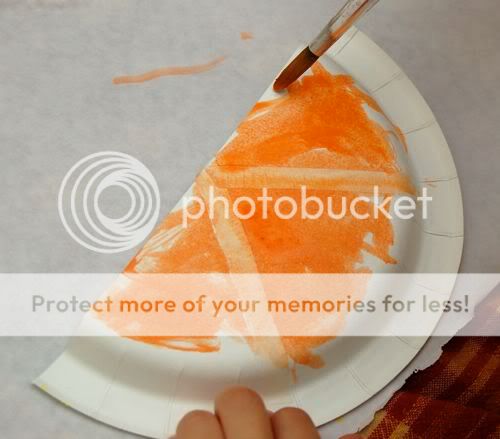
The girls loved painting these cute orange slices, and they were so simple to make! Just cut a paper plate in half, and use some masking tape to mark off the segments of the orange. Invite the kiddos over to paint!!
Emily will take any excuse to paint, plus her favorite color is orange, so this craft was an instant hit!
Have fun!!
Emily will take any excuse to paint, plus her favorite color is orange, so this craft was an instant hit!
It didn't take long for Clara to get in on the painting action too!
Orange slices always make me think of Summer!
Allow the paint to dry completely, then peel off the masking tape and outline with black marker. Beautiful and super-frugal!!
Have fun!!
Wednesday, June 23, 2010
Painting.... with Ice Cubes!
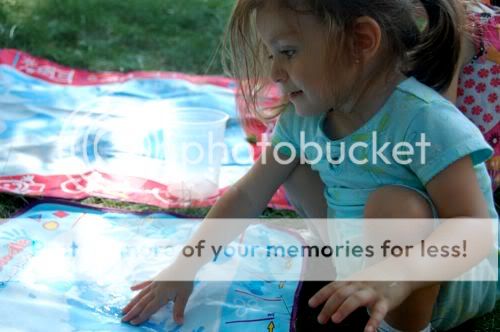
Today was a real scorcher, but the girls still wanted some outside play time (and of course some sort of art is aways a necessary part of our day). I had some very inexpensive "paint with water
" books, but we thought it would be more fun to paint with ice cubes instead!!
Stay cool, and have fun!!
If you're afraid of messy paint, this is the project for you!
Since the ice cube melts relatively slowly, Clara was able to paint her picture nicely without dumping so much water on it that the pages tear.
Next, we brought out the Aqua Doodle
mats, but again painted with ice cubes on them. These mats are a wonderful mess-free way to enjoy painting and drawing!
Once the mat is covered in doodles, wait for it to dry, and then start drawing all over again!
Clara thought this was a great way to cool off!
They had so much fun, that I had to bribe them with homemade chewy granola bars to get them to go back in the house.
Stay cool, and have fun!!
Monday, June 14, 2010
Father's Day Gifts Kids Can Make -- Fish Magnets
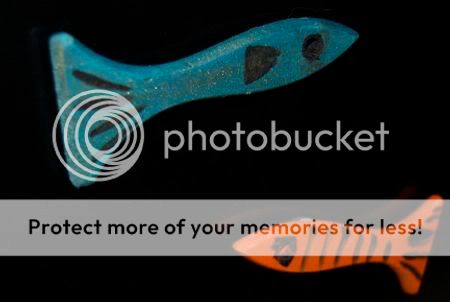
For some reason, I tend to associate fish with dads. I think it's because of Mark's fish tank, and also my own father's love of fishing. Emily and I had so much fun with this simple and frugal project -- fish magnets! They are made using handles of old paintbrushes. In mind was this cute fishing game, so I sawed off the handles, and Emily got to work with the sanding!
Next, it was time to paint our beautiful fish!
Attach some magnets to the back, and give to Dad to admire proudly on the fridge!
Friday, May 28, 2010
Beautiful City Silhouette Painting
Now that Emily is finished with her school work for the Summer, we've been taking advantage of these pockets of time during Clara's nap for some one-on-one crafting fun. This project is very easy (and frugal) to make!
Begin by folding a sheet of paper in half as shown.
We used kitchen sponges (pack of 12 for $1) from the dollar store, and cut them up to make different sized buildings. Emily stamped each sponge twice -- once above the fold, and once directly below it to make the reflection. I love that she chose the color pink for the buildings!
Wednesday, May 19, 2010
Sunset Silhouette
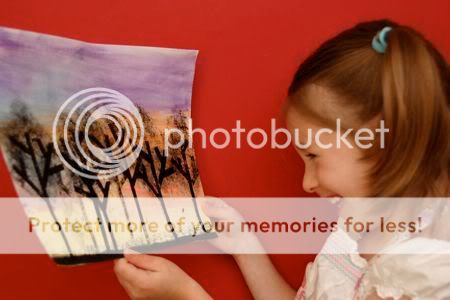
I have been playing around with the idea of a tree silhouette at sunset painting for some time now, but I was struggling to find an easy way for Emily to do this and get good results. Then I had a "eureka" moment this afternoon while playing with some rubber bands. Let me explain...
First, break out the water color paints....
Tuesday, May 11, 2010
Finger Painted Strawberry Prints
For a colorful and fun project, roll out a long piece of freezer paper, and dip your child's thumb into some red paint. We used Crayola Washable paint. Make two thumb prints next to each other to make a heart shape.
Have your child dip their pinkie finger into some green paint and write a "W" on top of all the heart-shapes.
Monday, April 19, 2010
Mother's Day Gifts Kids Can Make -- Ceramic Trivets
Another post in our fun series of Mother's Day Gifts Kids Can Make -- if you haven't already done so, send your husband over here, and maybe he'll take a hint. (wink, wink!) Most of these projects will feature very inexpensive items you can find at any hardware store, so manly men don't need to make another trip to the craft store.
We used imprinted ceramic tiles from the hardware store ($2.64 each), and I let the girls have a go at painting them with acrylic paint. They had so much fun!!
Tuesday, April 13, 2010
Easy Hyacinth Paintings
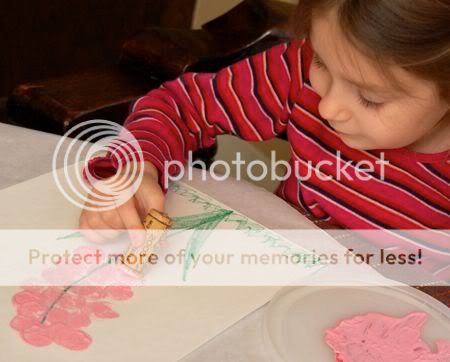
The hyacinths are in full bloom at our house, and to celebrate, the girls made these fun paintings using a cork as a stamp!
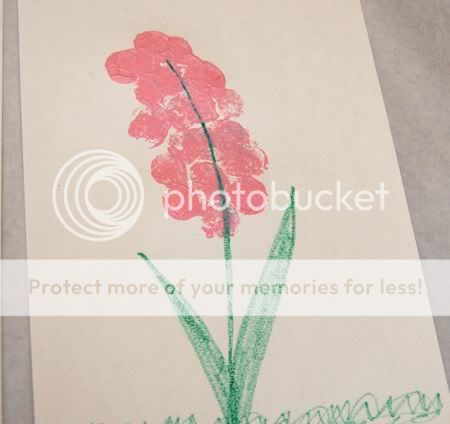
I drew the stem and leaves, and the girls dipped the cork in some pink paint and stamped away!
This project combined two of their favorite activities -- painting and stamping!
Here's how Emily's turned out.
I can appreciate the "artistic license" Clara used to stamp hers.
Lots of fun!!
Wednesday, March 31, 2010
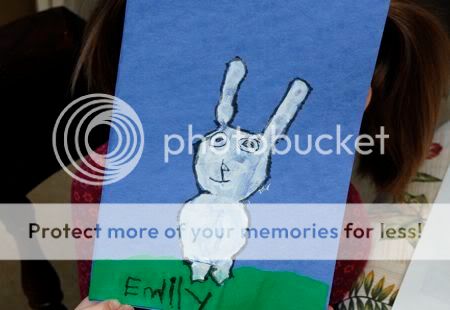
Quick Craft -- Bunny Handprints
Emily loved making this adorable bunny handprint this afternoon, and I think Clara will want to do one when she wakes up from her nap too! It was a super quick and easy project. I'll be making color copies of them to turn them into Easter greeting cards!

To make your own, you will need blue and green construction paper, white paint, a paint brush, and a black marker. Have some baby wipes or paper towels on hand too!
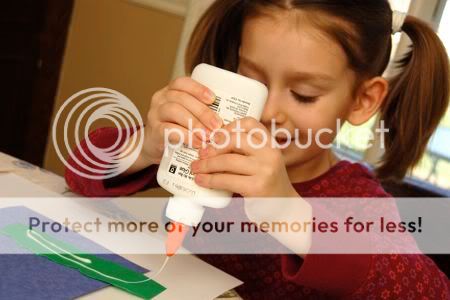
I tore a piece of green paper to form the grass for the picture, and invited Emily over to glue it down on the blue background. I didn't have to twist her arm!

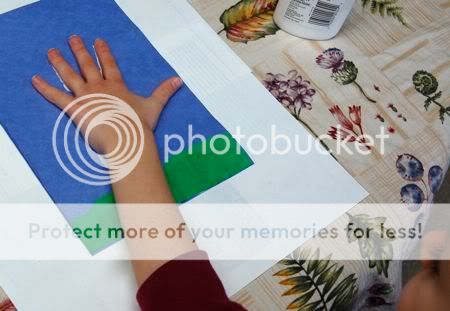
Next, I painted the palm of her hand with white paint. This forms the body of the bunny. Emily pressed this down firmly on the paper to make a good print.
To form the bunny's head and ears, I painted Emily's palm, first, and ring fingers with the white paint.
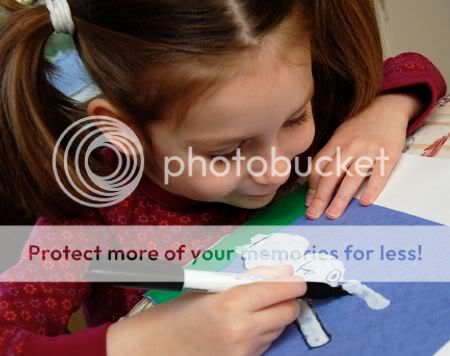
Once the paint is completely dry, with a black marker, add the bunny's eyes, nose, and mouth.
Add an outline around the entire bunny, and don't forget to sign your artwork!
Why buy greeting cards when making your own is this much fun??
Tuesday, March 23, 2010
Flower Prints from Soda Bottles
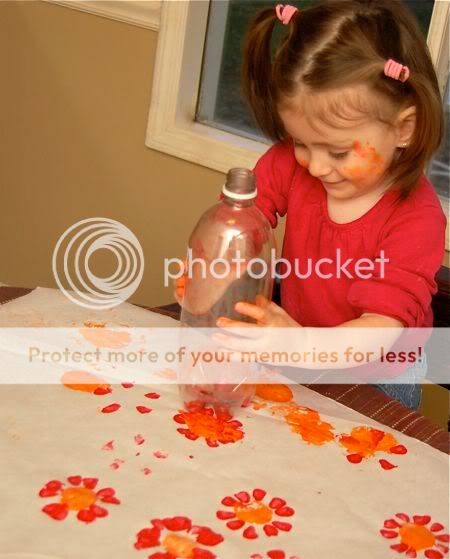
Another rainy day here, and the girls were starting to go through a bit of "messy art withdrawl". We made flower prints using empty soda bottles! In our case, they were empty seltzer water bottles, but you get the idea.
Clara really got into the painting today! She could hardly contain her excitement!
In mind, were similar prints I had seen on various blogs, but had forgotten about until I spotted a few empty bottles in our Invention Kit.
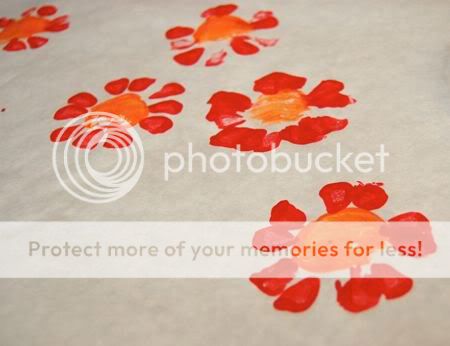
To make your own flower prints, roll out some freezer paper. Dip the bottom of an empty soda bottle into some paint, then stamp on the paper. Rotate the bottle around to make even more petals!
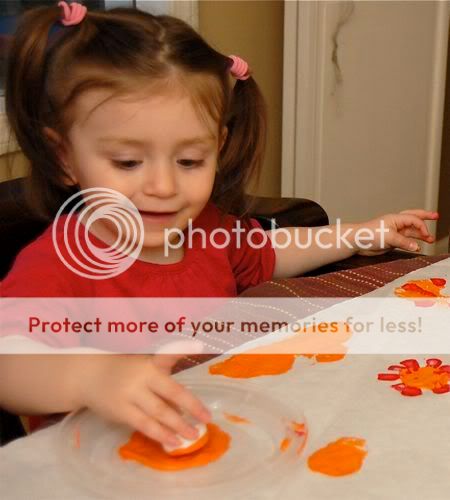
Dip the bottle cap into some paint and it makes a great stamp for the centers of the flowers! The girls took turns stamping with the cap and the bottle. So much fun!
They look so bright and cheerful!
Bonus points for drinking imaginary water from your empty bottle!
EXTRA bonus points if your face is smeared in paint!
I added this post to:
Saturday, January 30, 2010
DIY: Scratch N Sniff Valentine Treat Bags
To make your own, you will need: white paper lunch bags (we found ours at Target), unsweetened powdered drink mix (ie. Kool Aid - very inexpensive), and a bit of ribbon.
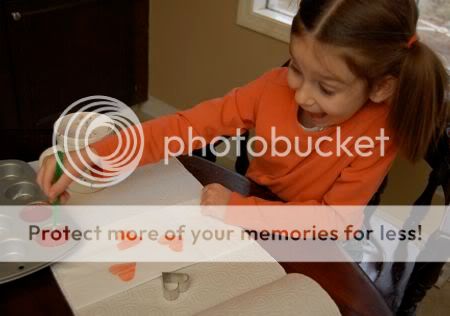
Emily was so excited to make the paint with the unsweetened powdered drink mix! We had done this one other time, and it was big hit. To make the paint, mix the packet of powder with 2 Tbsp. of water.
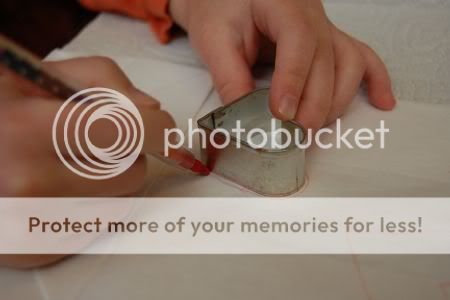
We used heart-shaped cookie cutters to trace our designs onto the bags.
Then it was time for painting!!
...and sniffing!!
Once the paint was dry, we filled the bags with Valentine's Day goodies, folded the tops down, and used a hole puncher to make holes for a bit of ribbon.
So much fun!!
Thursday, January 28, 2010
Easy Reverse Resist Paintings
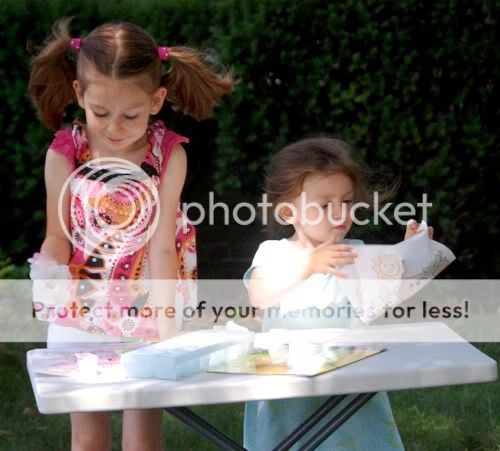
If your kids love to paint, but you would rather not deal with the mess, bleeding art tissue paper is for you. It's very inexpensive and can be found at any art supply store -- plus, a little bit goes a long way! We are never afraid to get messy with art, but at times making a mess is not really the best option (i.e. a few minutes before dinner). Instead of getting out the paints, we had fun experimenting with a new technique this afternoon to make some reverse resist paintings! The girls thought this was so cool!
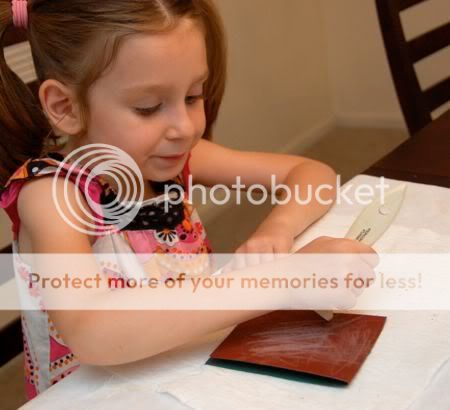
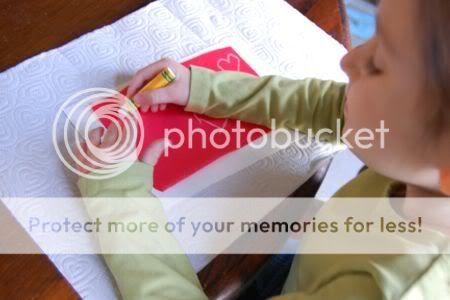
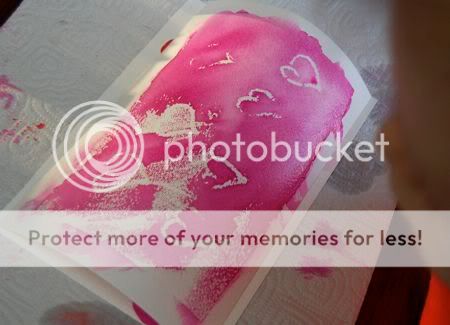
Cut out a piece of bleeding art tissue paper, and use a white crayon or oil pastel to make your design. (In this case, hearts for upcoming Valentine's Day.)
Flip the tissue paper over (design side down) onto some thick paper.
"Paint" with water over top! Both of the girls love to paint, but Clara was really into it today!
Encourage your child to use the water over the entire piece of tissue paper. Some may need more encouragement than others... ahem.
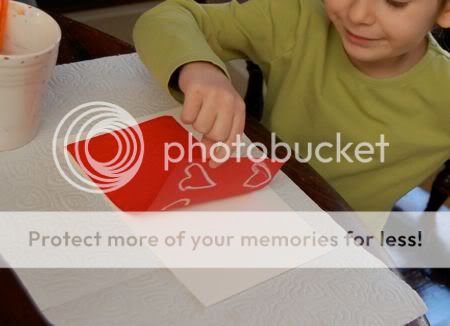
Peel off the tissue paper.....
....and admire your beautiful designs!!
[Update: This is not to be confused with regular tissue paper. Having trouble finding bleeding art tissue? You can order it online from Blick Art here!]
Labels:
crafts,
frugal,
fun,
holidays,
inexpensive,
kids,
no-mess,
painting,
toddlers,
Valentine's Day
Subscribe to:
Posts (Atom)