Showing posts with label no-mess. Show all posts

Wednesday, June 23, 2010

Painting.... with Ice Cubes!

Today was a real scorcher, but the girls still wanted some outside play time (and of course some sort of art is aways a necessary part of our day). I had some very inexpensive "paint with water" books, but we thought it would be more fun to paint with ice cubes instead!!


If you're afraid of messy paint, this is the project for you! 
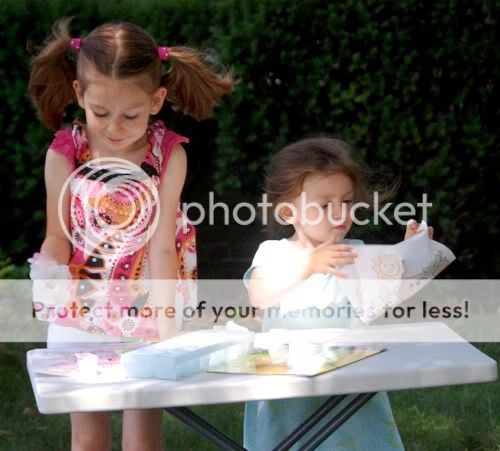

Since the ice cube melts relatively slowly, Clara was able to paint her picture nicely without dumping so much water on it that the pages tear. 


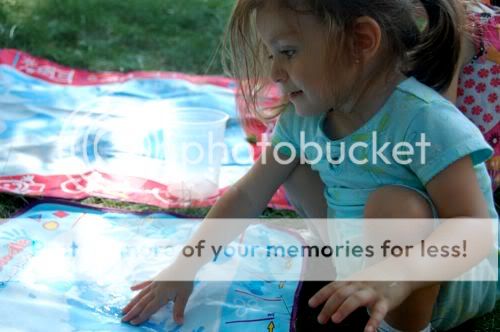
Next, we brought out the Aqua Doodle mats, but again painted with ice cubes on them. These mats are a wonderful mess-free way to enjoy painting and drawing!


Once the mat is covered in doodles, wait for it to dry, and then start drawing all over again!


Clara thought this was a great way to cool off!


They had so much fun, that I had to bribe them with homemade chewy granola bars to get them to go back in the house.

Stay cool, and have fun!!
Wednesday, May 12, 2010

Ladybug Cuteness

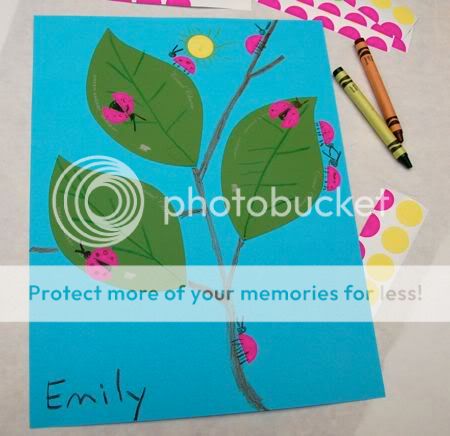
This fun ladybug picture was inspired by a recent ladybug sighting at the playground a few days ago. In our household, we are all about celebrating the little things in life! The best part -- this project is very low cost!!


Did you know that Home Depot has paint chips in the shape of leaves? Fantastic! If you don't already have some, you can pick some up for free! Invite your child to glue the leaves on a sheet of construction paper. Emily loves to use glue!

Monday, March 29, 2010

Easy Spring Mural

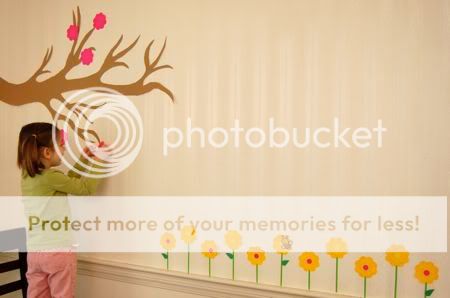
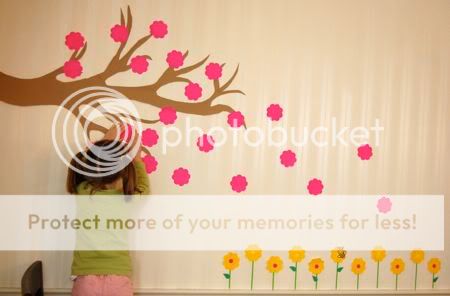
A few days ago, I bought a package of flower-shaped Post-Its. We couldn't resist making an inexpensive no-mess Spring mural with them! While Clara was napping this afternoon, Emily helped me take down the four leaf clovers in the sewing room and replace them with colorful flowers! One pack of Post-Its comes with three different colored flowers. We used color coding labels for the centers of the flowers.


Using a cheap roll of craft paper, I cut out the shape of a tree branch, and used masking tape to hold it to the wall. Emily had a go at it with the pink flower-shaped Post-It notes. She kept adding more and more flowers....


I think it turned out quite nicely...


...and it helped brighten up an otherwise rainy afternoon!

I added this post to:

and

Thursday, January 28, 2010

Easy Reverse Resist Paintings


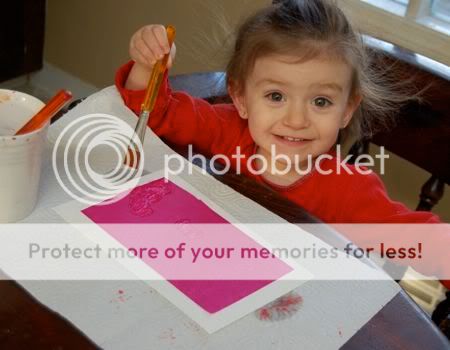
If your kids love to paint, but you would rather not deal with the mess, bleeding art tissue paper is for you. It's very inexpensive and can be found at any art supply store -- plus, a little bit goes a long way! We are never afraid to get messy with art, but at times making a mess is not really the best option (i.e. a few minutes before dinner). Instead of getting out the paints, we had fun experimenting with a new technique this afternoon to make some reverse resist paintings! The girls thought this was so cool!


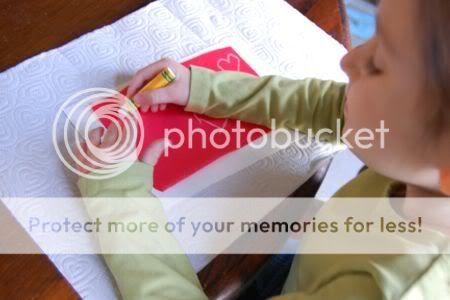
Cut out a piece of bleeding art tissue paper, and use a white crayon or oil pastel to make your design. (In this case, hearts for upcoming Valentine's Day.)


Flip the tissue paper over (design side down) onto some thick paper.


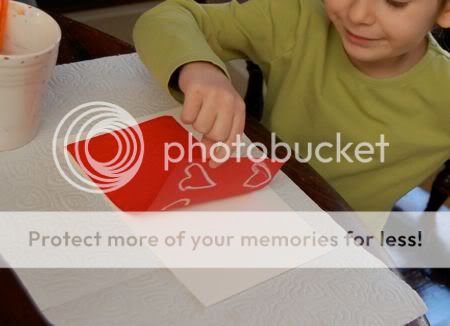
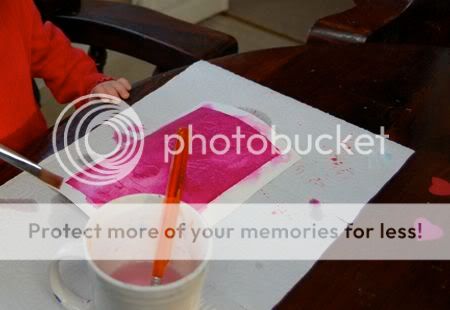
"Paint" with water over top! Both of the girls love to paint, but Clara was really into it today!


Encourage your child to use the water over the entire piece of tissue paper. Some may need more encouragement than others... ahem.


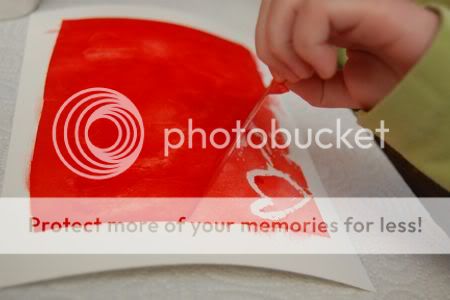
Peel off the tissue paper.....


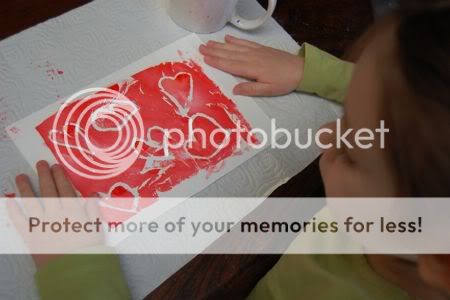
....and admire your beautiful designs!!

[Update: This is not to be confused with regular tissue paper. Having trouble finding bleeding art tissue? You can order it online from Blick Art here!]

Wednesday, December 9, 2009

Handmade Holidays -- Easy No-Mess Snowflake Ornaments


These beautiful snowflake ornaments (shown above) couldn't have been easier to make! I love that the process was mess-free, very easy, and frugal. Plus, we have more ornaments to add to our tree that are not fragile!!

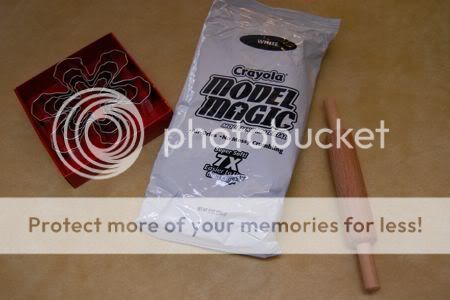
To make your own snowflake ornaments, you will need: white model magic, snowflake cookie cutters, a rolling pin, and some ribbon.

I like to purchase model magic in big tubs when I have a 40% off coupon for the craft store. You can print one out here, if there is a Michael's craft store near you!! Or AC Moore has all Crayola merchandize as a Buy One Get One Free special this week!


Invite your child over to roll out the Model Magic. Keep rolling until you have a piece that is about 1/4" thick.


Cut with cookie cutters!! (This was Emily's favorite part!)


A straw does a great job of making a hole to thread the ribbon through.


Roll up any excess Model Magic, and repeat the process until all the Model Magic is used up.


One package will make several ornaments!


Allow to air dry, then thread with ribbon to hang on your tree. You could also write on these with markers and they could double as gift tags!!


We had a great time making these, and I cannot wait for Clara to wake up from her nap so she can join in the fun!

Monday, October 26, 2009

Beautiful Autumn Leaf Garland


We thought the dining room (aka sewing studio) could use some decorating this season, so Emily gathered up some leaves earlier in the day and we got to work on this beautiful garland for some late night crafting.

Emily had been begging me to do the waxed paper leaf collage for a long time, but I don't know... it seemed kinda... *yawn*. Boring. But, when we thought of this project, we both got so excited about it.

The garland turned out even better than I had anticipated, and we had so much fun putting it together! From start to finish, it took about five minutes.


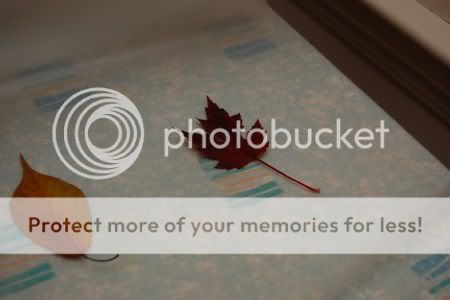
To make your own Autumn leaf garland, you will need some leaves, waxed paper, and a sewing machine or serger (you may call this an over-lock machine). Begin by laying down your leaves on top of some waxed paper. It helps if the leaves have been pressed first for a few days, but if you are particularly impatient (as my five year old sometimes is.... ahem) that isn't necessary.


Sandwich the leaves between two sheets of waxed paper, as shown. Be sure to have plenty of space between the leaves.


Use a cloth to cover over the top....


...now iron until the wax paper melts together.


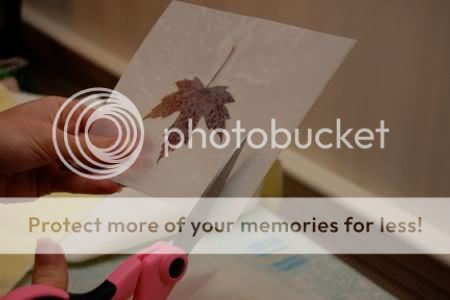
Trim the edges as shown.


Using your serger, or sewing machine, start with a tail of thread about 4 inches long.


Stitch through the top of the leaf square, and continue with just the thread for another four inches, stitch through the top of another leaf square. Repeat this step until all the leaves have been stitched to make a garland.


Hang proudly for all to see!


I think Clara approves of our taste in home decor, don't you?

Friday, October 16, 2009

Brighten Your Day with a Flower Crown

We were missing the flowers from Spring, but that didn't keep us from making our own flower crowns!


Just seeing all these beautiful colors was enough to brighten our otherwise rainy day.

For instructions on how to make tissue paper flowers, click here!

Thursday, October 15, 2009

Creative Rainy Day Fun

We are forecasted to have at least four days of non-stop rain here, and the girls were getting a touch of cabin fever. We did what any normal parents would do when faced with a similar situation.... placed both of them in our sound-proof anti-gravity chamber with padded walls and let them burn off some of that energy!


They will be sleeping well tonight!


Whatever did they do in the olden days before anti-gravity chambers were in every household? Those poor parents!

Tuesday, September 15, 2009

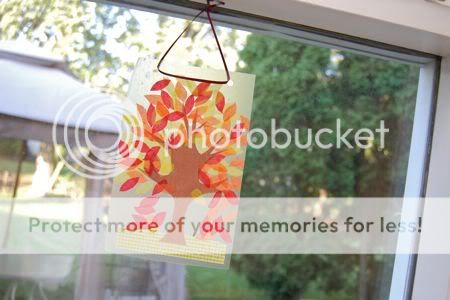
Easy Autumn Tree Suncatcher

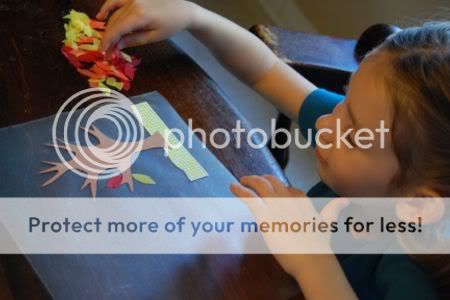
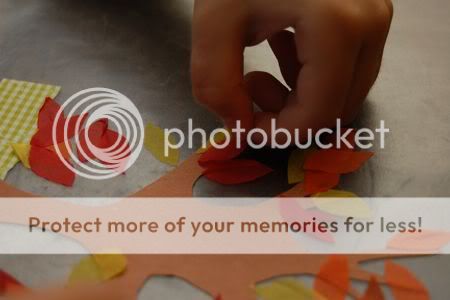
This cute Autumn tree suncatcher is an easy craft that even the little ones can do, and it doesn't involve any messy glue. To make your own Autumn tree suncatcher, you will need: clear contact paper, tissue paper, construction paper, and scissors.

Pre-cut some leaf shapes out of tissue paper. I folded the tissue paper many times before making any cuts, and this made the cutting much faster. Also, cut some brown construction paper to form a tree trunk, and some green construction paper to make some grass. Older kids can do the cutting themselves.

Next, lay a sheet of contact paper sticky side up, and attach the trunk and grass to one side. Invite your child to arrange the leaves on and around the tree.


Fold the contact paper over to form a seal. Trim the edges, and hang with a ribbon.


Admire your beautiful suncatcher!

Have fun!
Related Posts with Thumbnails