Showing posts with label recipe. Show all posts

Wednesday, July 7, 2010

Solar-Powered Lunch!

We had a scorcher of an afternoon today -- prime conditions to make our own solar oven! We recycled a pizza box and a clear plastic lid from a disposable cake pan. Add a little aluminum foil, and voilá... a super eco-friendly and frugal solar oven!!


We even made our own sun tea, just to harness the power of the sun a bit more. I love that it's made from a tea called "Children's Tea". Mark and I often joke that it is "made from only the most well-behaved real children".


It's actually a caffeine free berry/honey tea, and it's quite delicious! 

Emily LOVED helping out with the solar oven! We made our own pizzas using spinach tortillas, mozzarella cheese, tomato sauce, and oregano... yum!


Adjust the reflector to get as much sun as possible directed into the solar oven. You can use a stick or wooden dowel to prop it up, but we found a little more foil worked well too.


After a few minutes, the pizza was done and baked to perfection!!


Now it's time to stuff yo' face!!!
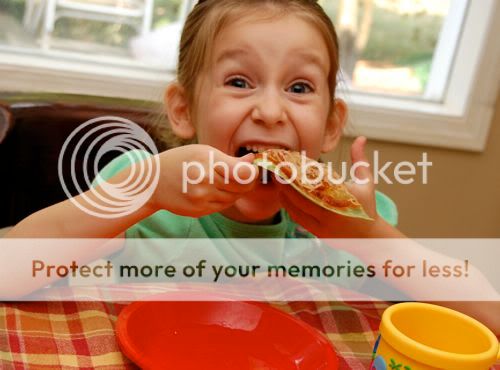

Nom, nom, nom!!
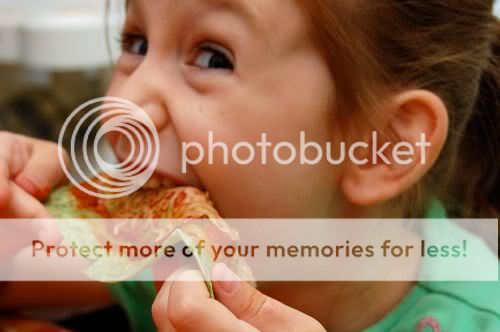

I love that we were able to bake while keeping the house cool, and without using any electricity! We had so much fun, that we may even try baking some cookies for dessert!!!
Friday, June 11, 2010

World Cup Soccer Snack

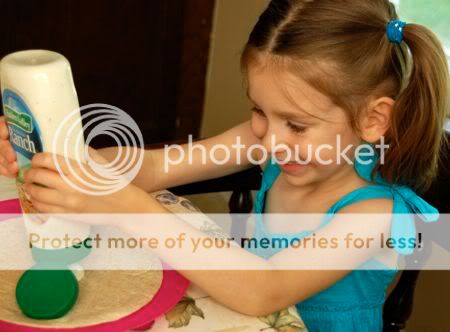
In honor of World Cup 2010, we made soccer ball tortilla snacks! Emily LOVED making them, and especially eating them!!

Start by adding some ranch dressing to a whole wheat tortilla.


Spread out the dressing evenly with the back of a spoon.


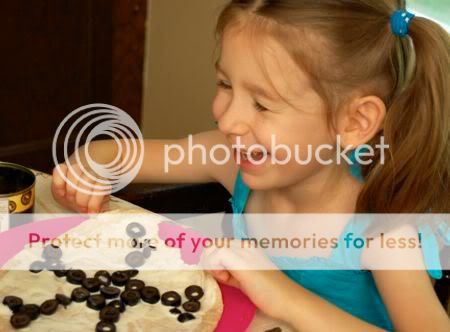
Add some sliced black olives to make a soccer ball design!


Eat and enjoy! Emily loves olives, but if that's not your thing, you can substitute with cream cheese and raisins instead.


Don't forget to watch the US play England tomorrow night -- fun!

Tuesday, December 29, 2009

Cute Marshmallow Snowman

I have been wanting to make marshmallow snowmen with Emily for some time now, and when I mentioned it to her, she instantly adored the idea of making a snowman out of marshmallows!


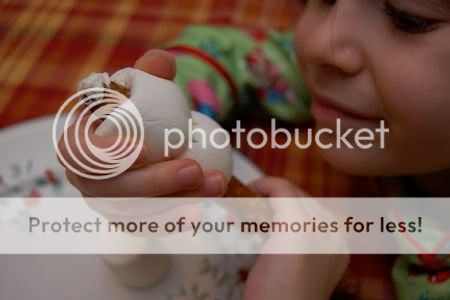
We used jumbo marshmallows and pretzel rods. Push three marshmallows through one end of the pretzel rod, and stack them together to make your snowman.


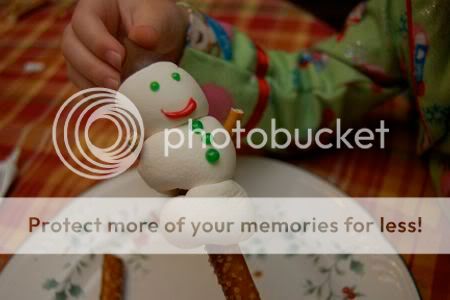
Add pretzel stick arms. Emily made hers wave to the camera.


Use writing icing for the eyes, mouth, and buttons.


Attach a chocolate kiss with some more icing for the snowman's hat.


Oh, dear! It wasn't long before our cute marshmallow snowman became a scary headless snowman! Ahhhh!!!

Enjoy and have fun!

Friday, December 18, 2009

Gifts Kids Can Make -- Chocolate Nut Bark

I found this recipe for Chocolate Nut Bark in an issue of Real Simple magazine, and it's so simple and easy -- a five year old can do it (with a bit of supervision). That's my kind of "baking"!

To make your own, you will need: one 12 oz bag of semi sweet chocolate chips and about 2 cups of mixed nuts (ours were salted & roasted).


Melt chocolate chips in a double boiler. We like to add ours a little at a time.


In the meantime, ask someone to spray a 13 x 9 inch pan with non-stick spray. The recipe says to line the pan with parchment paper, but we don't keep that in this house due to the lack of actual baking. So we used non-stick spray instead. It worked! Man, I am soooo good at this.


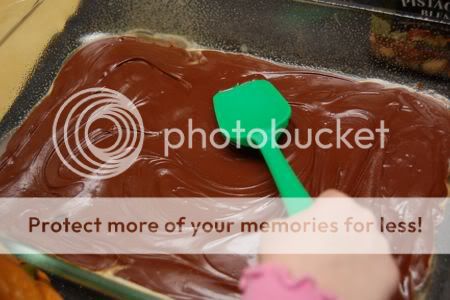
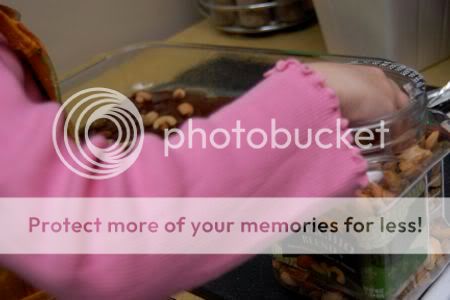
Spread chocolate out evenly. Five year olds can do an exceptionally thorough job with this step.


Sprinkle mixed nuts over top!


Place in the refrigerator to harden up (about 30 minutes). Break into pieces, and place in a wax paper lined box.

Yummy!!

Wednesday, December 16, 2009

Adventures in Baking -- Cornbread

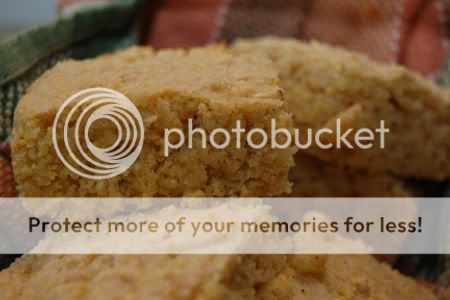
Emily and I made cornbread to go with chili for dinner, and it was delicious, fun, and frugal!


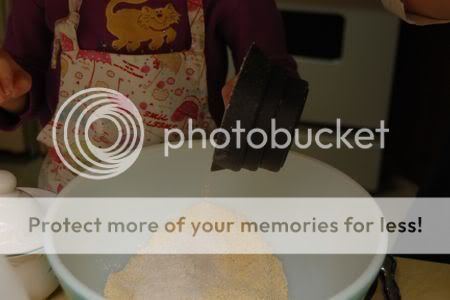
We followed the recipe on the back of the bag of Bob's Red Mill Corn Meal found here. It was so simple, even I couldn't screw it up.

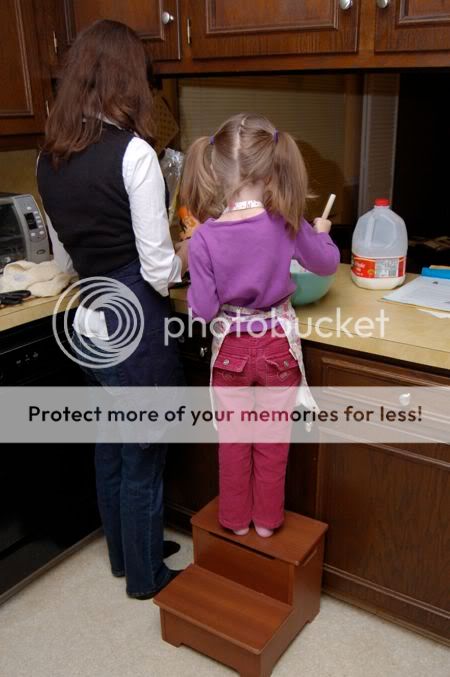
Emily had so much fun with this....

...and was a big help with all that stirring!

Special thanks to Gardenmama for her inspiring post.
Have fun!!

Tuesday, December 15, 2009

Gifts Kids Can Make -- Chocolate Covered Pretzels

The girls and I did some holiday "baking" this afternoon. These chocolate covered pretzels were so much fun to make! We made several bags of them for neighbors, friends, and family. To make your own, you will need:

One 12oz. bag of semi-sweet chocolate chips
2 Tbsp. shortening
Pretzel Rods

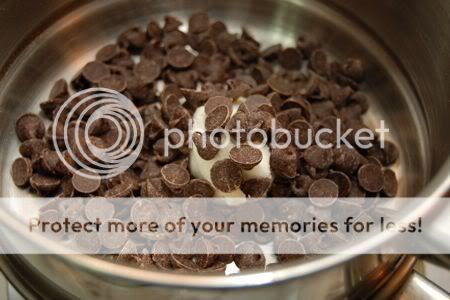
Melt shortening and some of the chocolate chips in a double broiler. Stirring occasionally.


When the chips start to melt, add more, and continue to stir, until the entire package is melted.

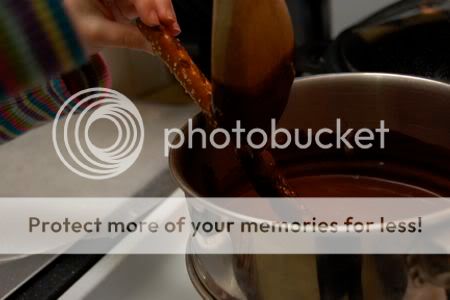
Spoon the melted chocolate over each pretzel rod, and place on a baking sheet lined with waxed paper.

Time for sprinkles!!!

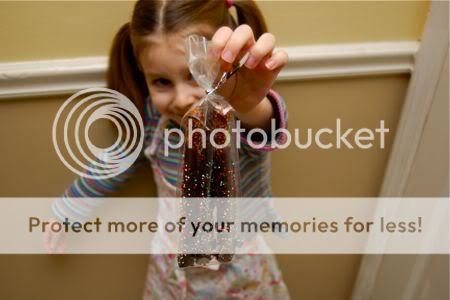
Both of the girls really got into the sprinkle-fest! Place the baking sheet in the fridge until the chocolate has completely hardened. Package them up! We used pretzel bags (found at A.C. Moore), and could fit 3 pretzels to a bag. (See first photo.)


Time for the taste test......
....success!!!

So much fun!

Monday, November 30, 2009

Handmade Holidays -- Peppermint Hot Cocoa Mix

Hot cocoa is a real treat in our household, and I've found that it is so simple and easy to make your own mix! Plus, Emily thinks this is a super-fun activity! We went the all organic route, but you certainly don't have to.

To make your own peppermint hot cocoa mix, you will need:

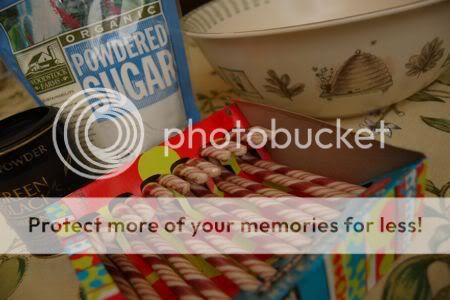
1 1/2 cups powdered sugar
1 cup + 2 Tbsp. cocoa powder (one 4.4 oz container will have enough for one batch plus about 1/2 cup leftover)
5 candy canes


Place candy canes in a plastic zipper bag, and close most of the way. Pound the bejesus out of those suckers!


Emily's little rolling pin did a great job, but then Mark took the bag over to the garage. I'm not *quite* sure what he did, but the candy canes came back as a fine powder!!


It sure was fun watching Emily, though!

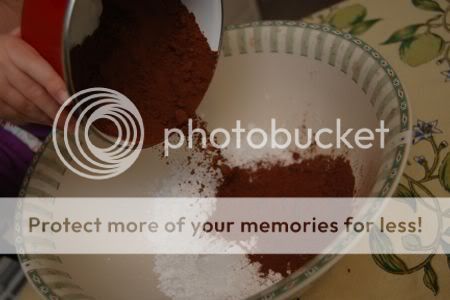
Next, to the powdered sugar, add the (unsweetened) cocoa powder, then the crushed (pulverized..??) candy canes.


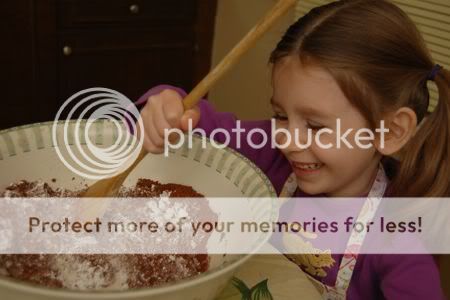
Stir, stir, stir! Make sure your mix is well-blended. There's nothing worse than poorly stirred hot cocoa mix. Trust me on this.


Spoon into air-tight containers.

To make hot cocoa:

To 1 cup warm milk, add 1 1/2 - 2 Tbsp. mix.


Mmmm.... delicious and so festive!

Friday, October 30, 2009

Super Easy Marshmallow Pumpkins

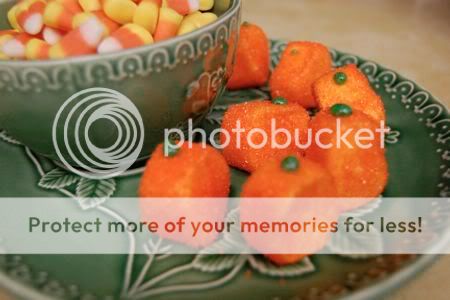
Emily and I did some Halloween "baking" this afternoon. She thought these marshmallow pumpkins were the coolest thing, and they were super-easy to make. Each marshmallow makes two pumpkins. Very frugal! She made these with very little help from me whatsoever.

For a slightly healthier option, try slices of banana instead of marshmallows. I say, go for the marshmallows! After all, Halloween only comes but once a year.


Begin by cutting each large marshmallow in half. It is scientifically proven that when you cut sweets in half all of the calories spill right out.


Poke the marshmallow through a skewer.


Let the marshmallow go for a quick swim in a small bowl of water.


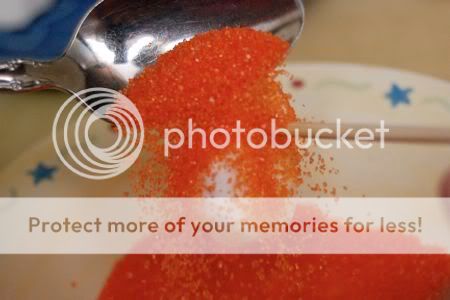
Cover with orange decorating sugar! Emily did a happy dance when we got to this step, and I think a happy dance is mandatory for this activity. It makes the marshmallows taste a little better.


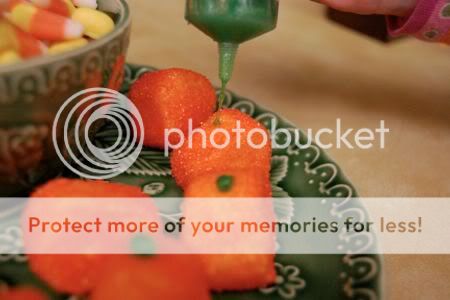
Use green icing to make stems.


The taste test results..... success!! Nom nom nom!

Related Posts with Thumbnails