Showing posts with label Christmas. Show all posts

Sunday, December 27, 2009

Sunday Snapshot -- All Dressed Up (Sort of)

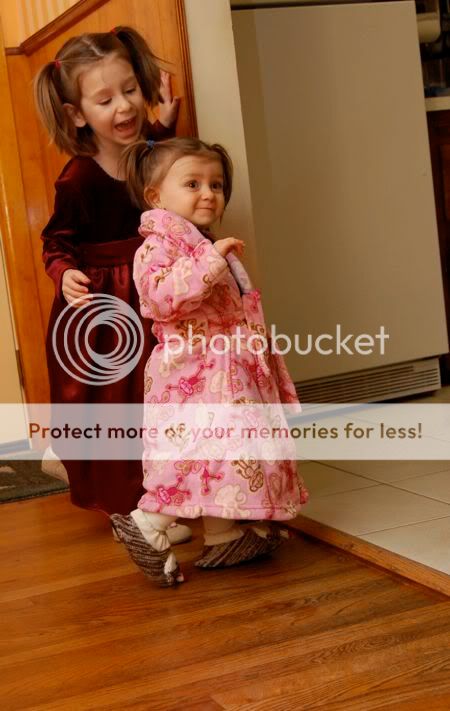
Almost a year ago, I had found these beautiful holiday dresses for both of the girls at our local thrift store. The girls wore them to my parents' house for Christmas dinner, until my brother gifted Clara with an adorable monkey bathrobe and sock-monkey slippers. She LOVES them. The minute she saw them, she made it quite clear that she wanted to try them on. And while you can't see it in any of our holiday photos, I swear she is wearing a cute holiday dress under that robe!!


I thought she would wear them for a few minutes, then take them off. But noooooooo! She's been wearing that robe for about 3 straight days, and cries like you're ripping her arm off if you threaten to change her into anything else. The only reasons it has come off were for a few minutes yesterday (she had an apron on so she could paint), for baths, and for sleeping. In the morning, the robe goes right back on!

I haven't done it yet, but I'm considering taking her to the grocery store with it on. It's either that, or deal with incessant screaming in protest.

Hey, you pick your battles.

Thursday, December 24, 2009

Christmas Eve

It is 11:33 PM on Christmas Eve. There has been much gift wrapping, card writing, decorating, stocking stuffing, tree trimming, and other such activities going on.... and so much more left to do! Wishing you and your family a very Merry Christmas.

Tuesday, December 22, 2009

Handmade Holiday -- Meet Butter!


This sweet kitty cat was a late night sewing project I made using this free pattern found on Wee Wonderfuls, and I wish you could have seen the look on Emily's face when she first saw him! She immediately named him "Butter", and they have been enjoying many adventures together this morning.


Butter's made from a vintage pillowcase, some felt, stuffing, and 2 buttons for eyes. I even attached a little jingle collar, so Emily will be able to keep track of him, should he wander off on his own. The pattern only calls for 1/4 yard of fabric, so it's a good way to use up scraps. Val in the Rose Garden might recognize this fabric, since it came as part of this wonderful surprise package she mailed us. (Thanks, Val!)


Butter is so brave! Sometimes he climbs the back of the sofa and pretends to be a mountain lion!


Meow!!

Sunday, December 20, 2009

Handmade Holidays -- Scented Bath Salts


It's not too late to make some last-minute handmade gifts for that special someone on your list who is in need of a little pampering... (hint, hint). Mark and Emily whipped up a batch of lavender scented bath salts and it only took a few minutes!

To make your own scented bath salts, you will need: lavender essential oil (or whatever scent you prefer), food coloring, epsom salts, a mason jar, and some ribbon.

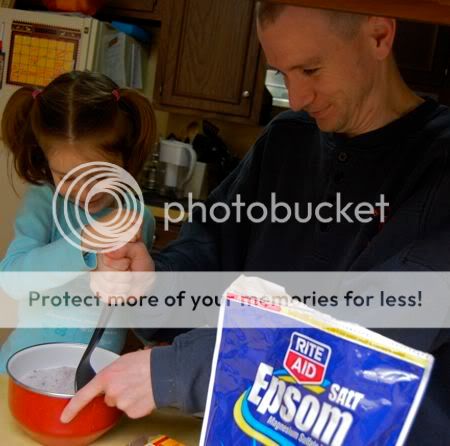
Begin by mixing the food coloring in a separate small bowl. We used 6 drops red food coloring and 4 drops of blue. Sorry kids, but this is a grown up job. Please note: be careful with food coloring as it will stain the dickens out of anything it comes into contact with (including counter tops).


To that same bowl, add about 3 drops of essential oil. Emily thinks lavender is a lovely scent, so we went with that. Again, this is for the grown ups only. I'll refrain from divulging about the time some essential oil spilled on the furniture and it took the finish off, but please be careful!


To a larger glass mixing bowl, add 2 cups of epsom salts.


Combine the essential oil/food coloring mixture to the epsom salts.


Stir the crap out of it!!! Keep stirring until everything is well-combined. This may be a two person job.


Spoon into mason jars. Close jars and tie on some ribbon.


Hmmm.... I wonder who we could give this lovely gift to??


Ahem!

Friday, December 18, 2009

Gifts Kids Can Make -- Chocolate Nut Bark

I found this recipe for Chocolate Nut Bark in an issue of Real Simple magazine, and it's so simple and easy -- a five year old can do it (with a bit of supervision). That's my kind of "baking"!

To make your own, you will need: one 12 oz bag of semi sweet chocolate chips and about 2 cups of mixed nuts (ours were salted & roasted).


Melt chocolate chips in a double boiler. We like to add ours a little at a time.


In the meantime, ask someone to spray a 13 x 9 inch pan with non-stick spray. The recipe says to line the pan with parchment paper, but we don't keep that in this house due to the lack of actual baking. So we used non-stick spray instead. It worked! Man, I am soooo good at this.


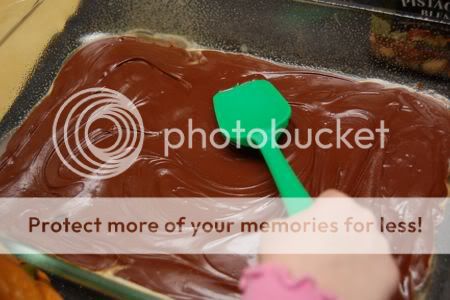
Spread chocolate out evenly. Five year olds can do an exceptionally thorough job with this step.


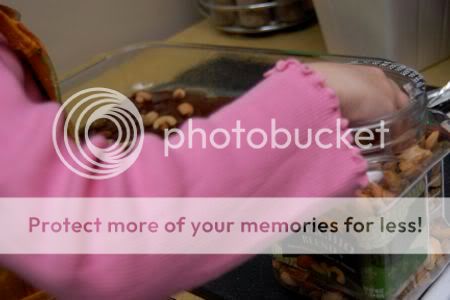
Sprinkle mixed nuts over top!


Place in the refrigerator to harden up (about 30 minutes). Break into pieces, and place in a wax paper lined box.

Yummy!!

Tuesday, December 15, 2009

Gifts Kids Can Make -- Chocolate Covered Pretzels

The girls and I did some holiday "baking" this afternoon. These chocolate covered pretzels were so much fun to make! We made several bags of them for neighbors, friends, and family. To make your own, you will need:

One 12oz. bag of semi-sweet chocolate chips
2 Tbsp. shortening
Pretzel Rods

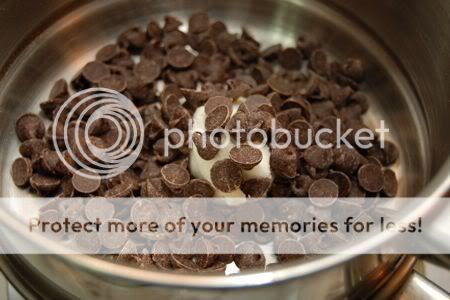
Melt shortening and some of the chocolate chips in a double broiler. Stirring occasionally.


When the chips start to melt, add more, and continue to stir, until the entire package is melted.

Spoon the melted chocolate over each pretzel rod, and place on a baking sheet lined with waxed paper.

Time for sprinkles!!!

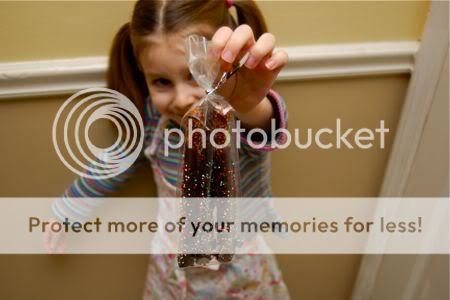
Both of the girls really got into the sprinkle-fest! Place the baking sheet in the fridge until the chocolate has completely hardened. Package them up! We used pretzel bags (found at A.C. Moore), and could fit 3 pretzels to a bag. (See first photo.)


Time for the taste test......
....success!!!

So much fun!

Saturday, December 12, 2009

HELP! Advice Needed -- Gift Ideas Kids Can Make

A few days ago, I received the following email from Sherry at A Little Fun with Me and Lu. I know Sherry is not alone in this dilemma, so I thought I would share her email with all of you, and together maybe we can come up with some options for the rest of us to enjoy too!

Hi Valerie,
I always bake for my family for their holiday gifts ... between my husband and I, we have 6 brothers and sisters, 4 sets of living grandparents, and 4 sets of parents ... I could never buy for all those people, so every year I have Lu make an ornament, then I get our pictures professionally done and include that in the gift. I get a regular tin from the dollar store, bake cookies, and voilá! Done! This year I want to do something better. I love them, but as always I am on a budget. Truly I am at a loss. Can you help at all? I always see great handmade items on your blog and if theres anyone that understands a budget you do :)
Thanks for your time,
Sherry

Any good ideas for gifts kids can make that won't break the budget? Leave a comment and share your ideas with us!

Friday, December 11, 2009

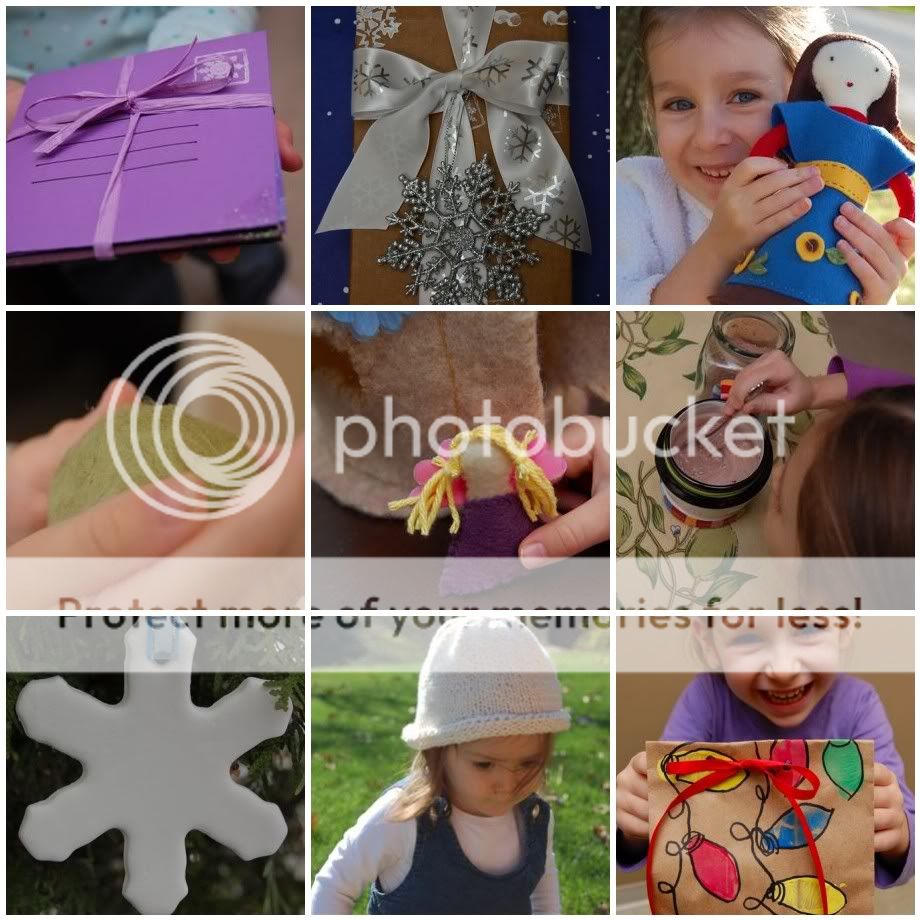
12 Days of Handmade Holidays -- Round Up

Some of our favorite Handmade Holiday posts:


Hope you are getting ready for a fun holiday!! More frugal crafty goodness coming this weekend, including a much-anticipated guest post from Mark (napkin doll tutorial!!) so be sure to check back.

Thursday, December 10, 2009

Handmade Holidays -- Felt Fairy House Tutorial

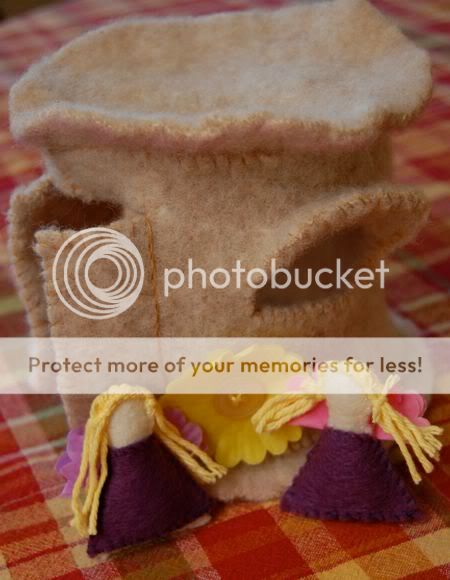
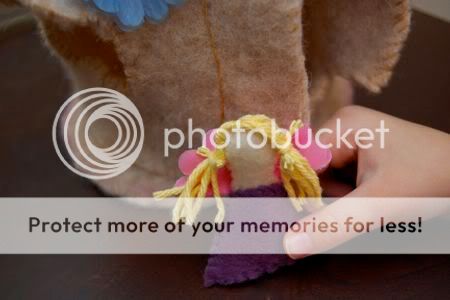
This little fairy house was an impromptu sewing project for two sweet girls (sisters) we were lucky enough to meet for a play date this afternoon. In mind was this fairy house from Imagine Childhood. Ours was made from this felted wool sweater, some other pieces of felt, a tiny bit of yarn, some buttons, and a few flowers from a lei kit. It was a great hit with the girls, and of course it was super-frugal (and fun) to make!

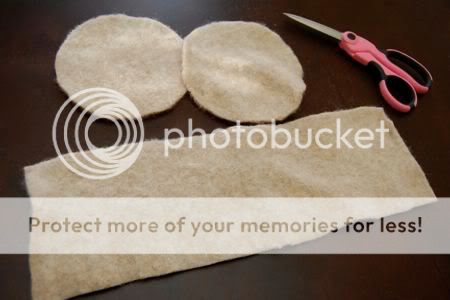
First, cut out your pieces of felt from a felted wool sweater. If you don't know how to felt a wool sweater, click here. You will need two 6" diameter circles, and one 15" x 5" rectangle. Or use whatever dimensions you want to make. I promise the fairy police will not come to your house and arrest you, so go crazy! I'm merely giving these dimensions as a guideline.

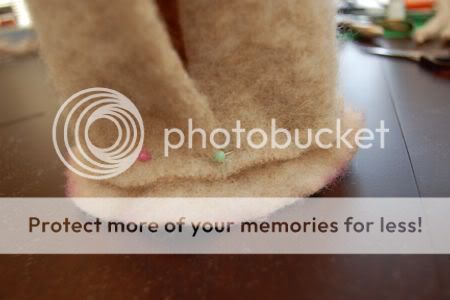
Next, pin the rectangular piece around the circle piece as shown. Whip stitch into place. To see a video demonstrating how to do a whip stitch, click here. This will be the floor of the fairy house. Do the same with the other circle piece. This will be the roof.

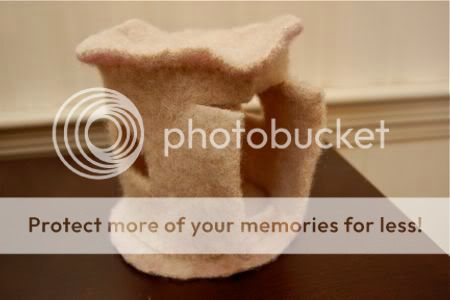
Cut out windows and doors. I just eyeballed it. Because I'm crazy, and live on the edge!

Whip stitch around the windows, and doors. Add awning to the windows, if desired. In our case, it was very much desired to have awnings on the windows. When we got to this point, I could not keep Emily from playing with this fairy house. It was like trying to hold back the ocean.


Decorate your fairy house with flowers! We used flowers from a lei kit and buttons for the centers. Very easy!

Of course, every fairy house needs fairies!!! I cut these shapes from felt for the body. Whip stitch the front and back together and leave a space for stuffing. Stuff the body and whip stitch closed.

I used a flower from the lei kit folded in half as wings, attached a dress, and stitched on some yarn for hair.

Play time!!!!


A few things I noted while working on this project:
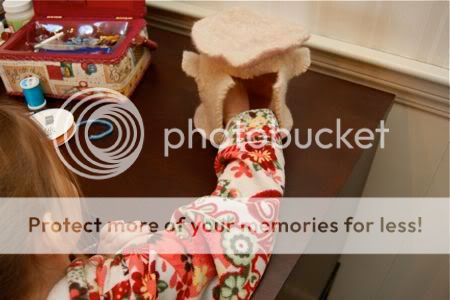
:: I wish I had added a handle to the roof. It's the perfect size for the girls to tote around from room to room, and a handle would have been an easy addition.
:: I was surprised how sturdy the felt held up. I used a thick sweater, so that may have helped.
:: When we gave the girls some cotton balls, the fairies magically turned into snow fairies. So much fun!!


I listed this post on:
and

Wednesday, December 9, 2009

Handmade Holidays -- Easy No-Mess Snowflake Ornaments


These beautiful snowflake ornaments (shown above) couldn't have been easier to make! I love that the process was mess-free, very easy, and frugal. Plus, we have more ornaments to add to our tree that are not fragile!!

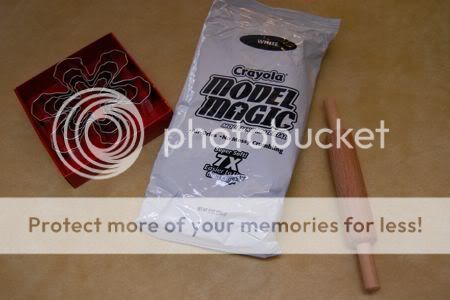
To make your own snowflake ornaments, you will need: white model magic, snowflake cookie cutters, a rolling pin, and some ribbon.

I like to purchase model magic in big tubs when I have a 40% off coupon for the craft store. You can print one out here, if there is a Michael's craft store near you!! Or AC Moore has all Crayola merchandize as a Buy One Get One Free special this week!


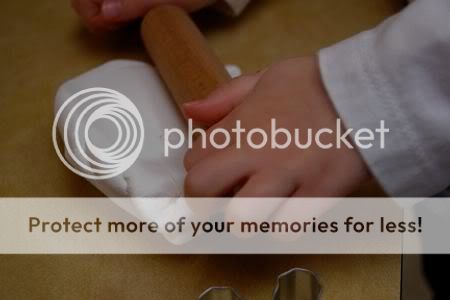
Invite your child over to roll out the Model Magic. Keep rolling until you have a piece that is about 1/4" thick.


Cut with cookie cutters!! (This was Emily's favorite part!)


A straw does a great job of making a hole to thread the ribbon through.


Roll up any excess Model Magic, and repeat the process until all the Model Magic is used up.


One package will make several ornaments!


Allow to air dry, then thread with ribbon to hang on your tree. You could also write on these with markers and they could double as gift tags!!


We had a great time making these, and I cannot wait for Clara to wake up from her nap so she can join in the fun!
Related Posts with Thumbnails