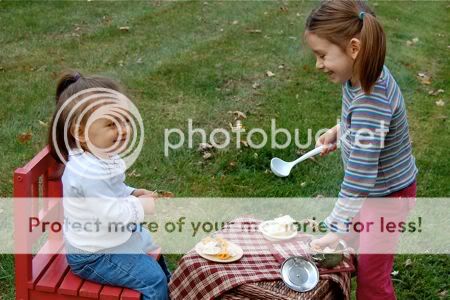
Emily is about to burst with anticipation! It does not involve a sewing machine, but it does involve a pattern that is free for download. Fun!!
Tuesday, November 17, 2009
Monday, November 16, 2009
Handmade Holidays -- Postcard Gift Sets
Whenever Mark's sister (Julia) travels, she manages to slip a postcard in the mail for Emily. I don't know if I've mentioned it before, but my sister-in-law rocks! Emily is always so happy to get mail, and loves to see the beautiful photos of where Aunt Julia mailed the postcard from -- Japan, Germany, Taiwan, Italy, Dubai to name a few. Not to mention the stamps!
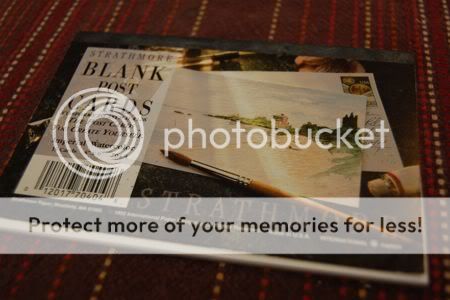
This afternoon, while Clara was napping, we had a nice pocket of time to get to work making our own postcards to give to Aunt Julia. We used these blank post cards by Strathmore. They are fabulous, and usually sell for $4-5 for 15 postcards.
Of course, you could very easily make your own postcard gift set using some of your child's existing artwork. Just have it sized to 4" x 6" and photocopied onto heavy cardstock.
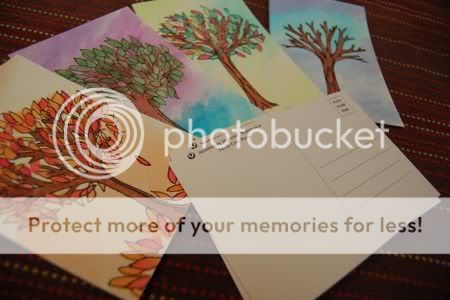
Emily loved drawing on the postcards, and then painting with watercolor.

...and I couldn't resist painting a few of these myself!
After the paint was completely dry, we outlined our paintings with a very thin black marker. This seemed to make a great finishing touch on the postcards.
A fun, frugal project, and a great way to re-use some of your child's artwork!
Also, I would like to thank everyone who has taken the time to vote for us for the Best Thrifty Homeschooler Blog Award! We've reached over 200 votes, and the race is a close one! If you haven't already voted, please go vote for us. There's no need to login and it only takes a second. Tell all your friends! We need your votes!! Voting ends Nov. 21st. Thank YOU!!
Sunday, November 15, 2009
Sunday Snapshot -- We've been interviewed!
Hmm... what could possibly be making Clara so happy?
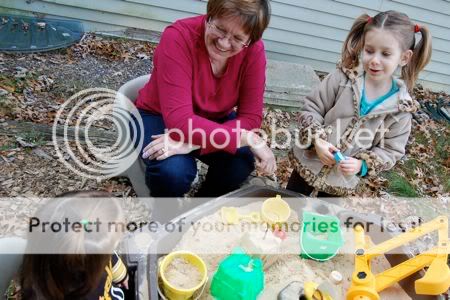
...a surprise visit from Grandma and Papock!
Also, we are honored to be featured on the Examiner for a fun interview. Be sure to check it out!
More frugal crafty goodness coming up... fun!!
Labels:
family,
frugal,
grandparents,
interview,
kids,
press,
sunday snapshot
Friday, November 13, 2009
Intro to Our Inspiration Wire
This afternoon was spent browsing through magazines and websites. There was a lot of clipping and printing of photos...
...and Emily learned all about the word "inspiration" and what it means to be inspired. One small problem -- she kept calling me over to say that this photo really "expired" her. Which... is not exactly the same. Ahem.
Anyhoo... all this browsing and cutting was to update our inspiration wire! If you don't already have an inspiration wire in your household, I highly recommend creating one.
Thursday, November 12, 2009
Handmade Holidays -- Dolly & Me Lounge Pants
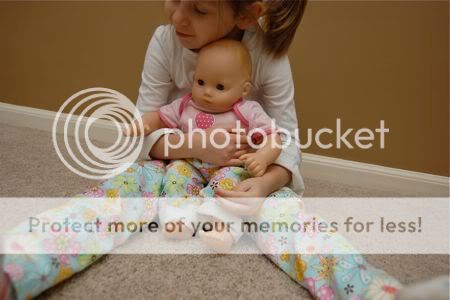
I had purchased one yard of pretty flannel fabric at JoAnn back when it was on sale, with the intention of sewing some cozy lounge pants for Emily. When the pants were done, I had just enough fabric leftover for a fun pair of matching pants for Dolly. Emily was so happy with these!
The pants were very quick and easy to sew up, and I used a similar method to the one in Amanda Blake Soule's book The Creative Family. I had made pants like these for Emily before from a pillowcase, but I think she loved the idea of Dolly matching!

I think I have a tiny bit of fabric leftover from this jumper, and if I do, I'll be making a matching skirt for Dolly too!
Also, a big thank you to everyone who has voted for us for the Best Thrifty Homeschooler Award from Homeschool Post! The race is a close one, and if you haven't already voted, please go vote for Frugal Family Fun Blog. Tell all your friends! We need your vote!! There is no need to login and it only takes a second. Thank YOU!!!
Wednesday, November 11, 2009
Gratitude Activity Jar
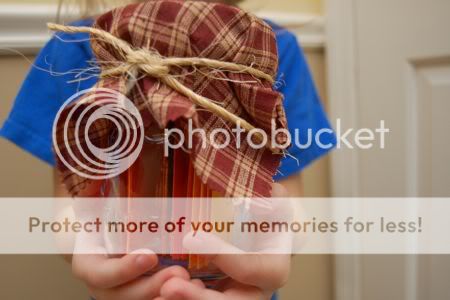
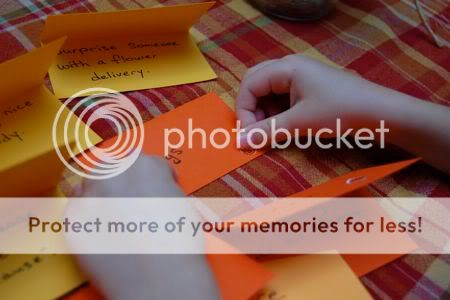
Around Thanksgiving we try to do crafts and activities that promote gratitude and focus on the things we have to be thankful for. Last year we did gratitude journals, but this year we're trying something a little more active -- Gratitude Activity Jars!
I asked Emily to name some of the things she was thankful for, and together we came up with a coordinating activity to go along with it. At first, we were just going to type these up and print them out, but I like to think that by physically writing these things down it sends more positive energy out into the universe. Mark would probably say that's just a bunch of new-age crap, but that's how I like to picture it, anyway!
Decorate your cards with stickers!!
I am thankful for.....
:: Dad -- Do something nice for Daddy.
:: Friends -- Make 1 new friend today.
:: Hugs -- Hug 3 people today.
:: Books -- Visit the library today.
:: Home -- Clean the guest bedroom, and invite a guest over to stay.
:: Play Time -- Invite a friend over to play.
:: Good Health -- Make a "Jared Box" to donate to the hospital.
:: Toys -- Donate a toy to Goodwill.
:: Clara -- Spend some time playing with your sister today.
:: Good Food -- Donate canned goods to the food pantry.
:: Pies -- Bake a pie for a neighbor.
:: Flowers -- Surprise someone with a special flower delivery.
:: Nature -- Play a fun game outside today.
.... and so on. The idea is to pick one card from the jar every day between now and Thanksgiving and do the activity on the card. Emily is looking forward to this with great anticipation!
Fill your jar with the cards....
...tie with a pretty bow....
.... and remember to take time to appreciate all the wonderful things in your life!
Labels:
activities,
fall,
family,
frugal,
fun,
gratitude,
holidays,
inexpensive,
Thanksgiving
Tuesday, November 10, 2009
You can't catch me!
All four of us enjoyed some late night baking this evening. We made gingerbread cookies! This is an activity Emily has been begging me to do for ages, but I'm not much of a baker. At all. Clearly, it was time to call in reinforcements! Hey, I know my limits.
First, find the perfect cookie sheet.
Next, get a big, strong, daddy to roll out the dough.
Be sure to turn on your oven light!
Cut out the gingerbread men, and make them talk to each other.
Assign someone to keep an eye on things and make sure the cookies don't burn.
Carefully transfer cookies to a cooling rack.
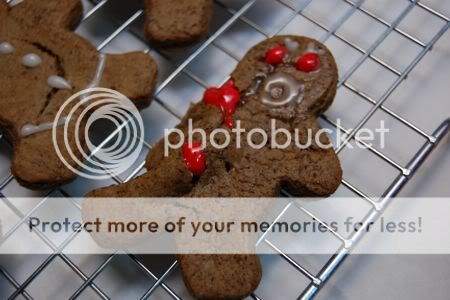
Decorate! Oh dear, we did have one casualty....... *sniff*... poor guy. He didn't even see it comin'.
These guys looked much happier!
Craft!! Super quick and easy felt gingerbread men. 1. Trace cookie cutter. 2. Cut out felt. 3. Sew two layers of cut felt together. 4. Decorate with PUFFY PAINT for icing!
I don't know about you, but I'm thinking this is probably the best use for puffy paint I've seen in a long time!
In other exciting news, I just found out we have been nominated for a Homeschool Blog Award from The Homeschool Post! Please, please, please consider voting for us (there's no need to sign in). We have been nominated for two categories: Best Thrifty Homeschooler and Best Cyber Buddy Blogger!
More good news -- Dawn, (aka UK Lass), has granted me permission to sell some fun fabric dollhouses in our etsy shop. You can look for them there early next week -- just in time for the holidays! Thank you, Dawn!
Monday, November 9, 2009
Handmade Holidays -- Fabric Dollhouse
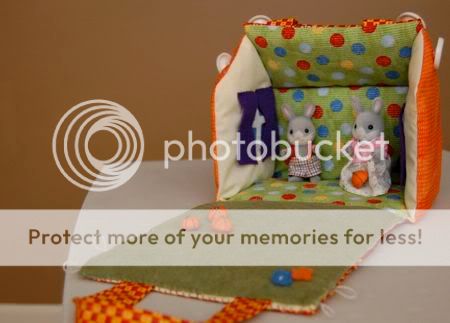
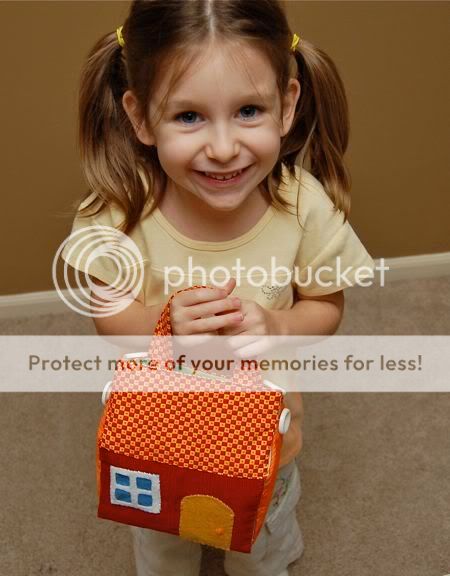
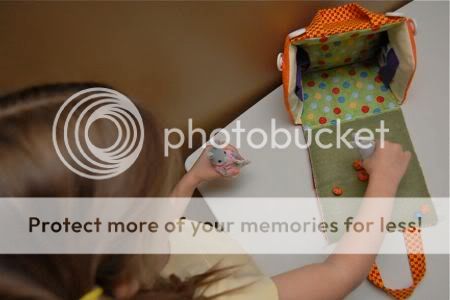
When I set out to do this project, I thought it would take me about a month to complete, or at the very least, a few weeks. I was wrong! Thanks to this wonderful (and free!) tutorial over at UK Lass in the US, I had almost the entire doll house complete before the girls even woke up this morning! Of course, it did help that the girls are good sleepers. Yay for good sleepers!
In the end, I'm glad I let her in on this little secret. She helped pick out the color for the curtains and door, and came up with all sorts of other little details that I would have never thought about.
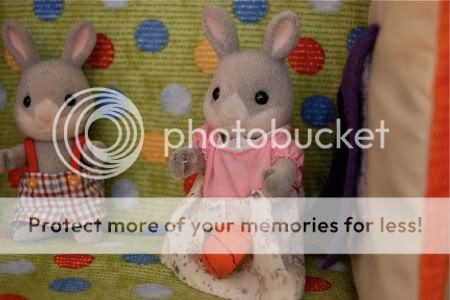
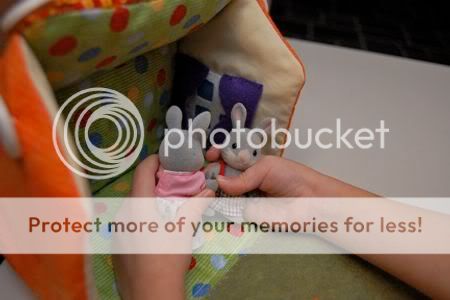
It's made with felt, some buttons (inherited from my grandmother), plastic canvas, thin hair elastics, batting, an old bed sheet, an old tablecloth, and some fabric scraps. Super frugal, and a lot of love went into it. It's sturdy, yet lightweight, and it's the perfect size for her Calico Critters.... and other small toys that seem to reproduce, multiply by the dozen, and kill my feet every time I step on them.
Now she has the perfect on-the-go dollhouse!
Sunday, November 8, 2009
Sunday Snapshot -- And the winner is....
Wow, there were so many entries for this giveaway! Thank you to everyone for your kind words and support. I love hosting giveaways... they are so much fun!
... #2 Adrienne! Congratulations, and thank you to everyone for participating. If you didn't win, you may be happy to know there are still a few more felt pasta sets available in the shop. I'm not sure how long they will last! Another fun giveaway starts soon!
Saturday, November 7, 2009
Macho Manly Man Pocket Hand Warmers for Men
This little project combined two activities Emily has asked if we could do recently, but I had to give the "yes, we will do that later" answer. A good tip -- Keep a list of requests your child makes to be done "later". When boredom starts to creep in, break out the list! In this case, Emily had been asking if we could 1. Make hand warmers. and 2. Leave a surprise in the mailbox for our letter carrier. So today, we made hand warmers for our letter carrier!

For other projects we've done with old jeans, you can check out these baby bibs, lunch sacks, or this no-sew wall organizer.
While working on this, it occurred to me that men are particularly hard to shop for, and even more difficult to craft for. I think they would be great for all the manly man things that men do (ie. shoveling the walk, taking out the garbage, going to football games, fishing, or hiking). Place in the microwave for 30-45 seconds, remove from microwave, and warm your hands! They also double as cold packs for bumps and bruises if kept in the freezer. If you don't have the time to sew, there are a couple of these available in our new Etsy shop!
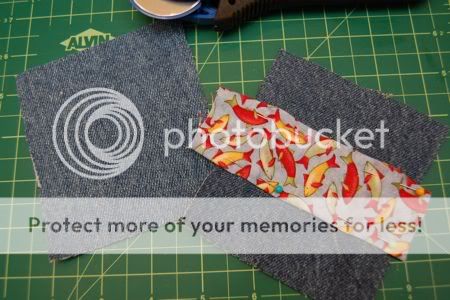
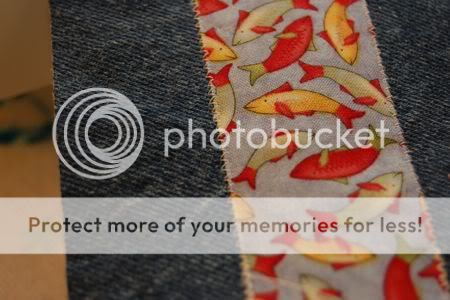
To make your own macho manly man pocket hand warmers for men, cut two pieces of generously sized 4 x 4 1/2 inches of denim. We recycled a pair of mens jeans for this! I used manly fish-print fabric for one side. Fold the top and bottom sides of the fabric and pin into place.
Zig-zag stitch along the fabric.
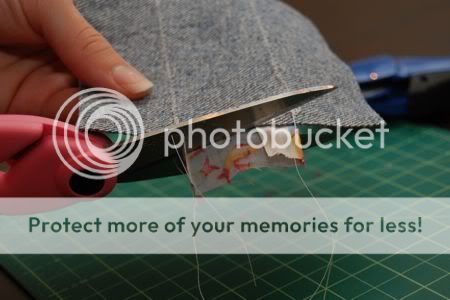
Trim excess fabric.
With right sides of denim together, stitch three sides closed. Be sure to leave an opening for turning and filling with rice!
Leave an opening, as shown.
Flip right-side out, and gently poke corners out with a chopstick or knitting needle.
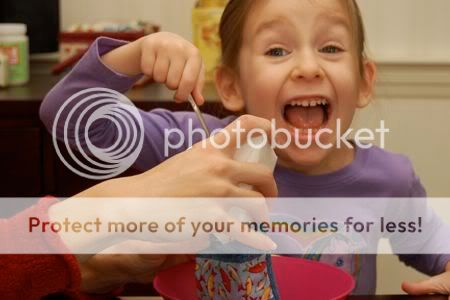
Fill with rice! We couldn't find a funnel, so Mark made another paper cup and we cut off one of the bottom corners.
Attach instruction card....
...and give to someone special!
For other projects we've done with old jeans, you can check out these baby bibs, lunch sacks, or this no-sew wall organizer.
Thursday, November 5, 2009
Felt Food Giveaway... and Our New Etsy Shop!
It's our one year blogiversary! To celebrate, I thought we would revisit one of our first craft posts from the archive, do a fun giveaway, and open a new Etsy shop! We have been very busy around here!
Giveaway ends Saturday, November 7th @ 6:30pm EST, and winner will be selected by random.org and contacted via email for shipping information.
One of the first crafts I ever posted at Frugal Family Fun Blog was for a felt ravioli play set. They are so simple, and yet the girls still enjoy playing with the set I made.
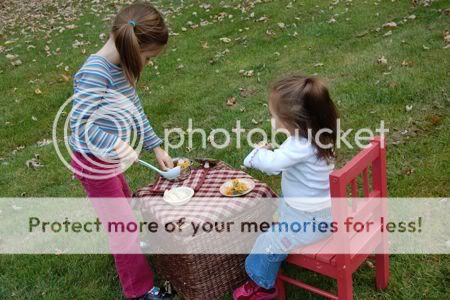
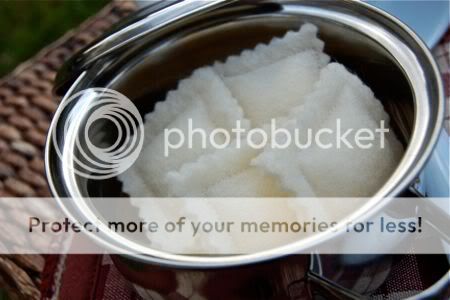
This afternoon, I added a felt bow tie pasta set to their felt food collection. It was a big hit, and the girls spent many hours immersed in their own world of pretend play! In case you don't have time to sew, I listed a couple of these in our new Etsy shop. I thought they would make perfect stocking stuffers!
Now the fun part, I thought you might want one of these fun felt pasta sets for your little one too! One lucky reader will win a handmade felt bow tie and felt ravioli play set!
To enter for your chance to win, leave a comment on this post (be sure to leave your email address in the comments field). Become a follower of Frugal Family Fun Blog or subscribe to our feed, and you're in for three more entries! Just leave a comment that you subscribe/follow.
Good luck!!
Subscribe to:
Posts (Atom)